
Reflections Upon Becoming a Laurel Vigilant (It’s About Time)
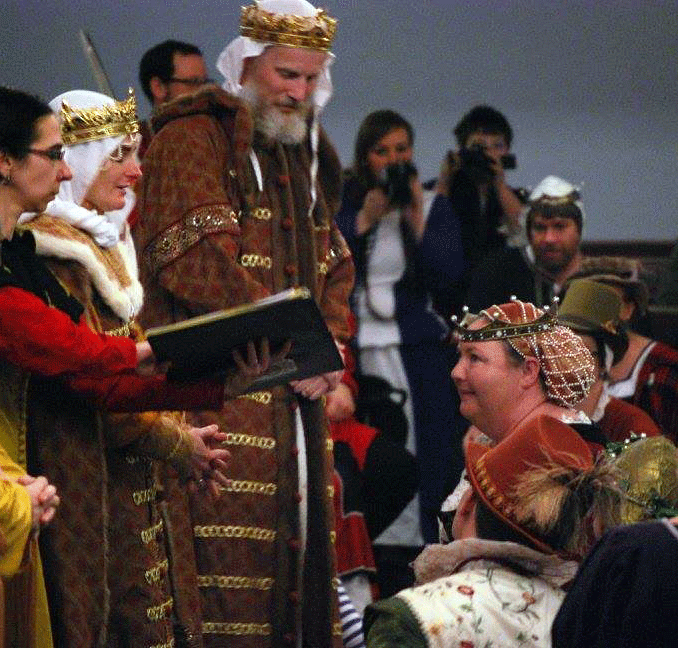
Me being placed on vigil to join the Order of the Laurel at Pentamere 12th Night on January 9, 2016 (Photo by THL Eva vanOldeBroek)
On Saturday, a significant and pivotal event occurred along my winding path in the SCA. I was invited to join the Order of the Laurel and placed on vigil. For those unfamiliar with this, it is the Society for Creative Anachronism’s highest honor for excellence and mastery in the arts. I am deeply honored to have been chosen to join the Order and I am greatly looking forward to “being a Laurel” and furthering the arts in our Society.
As you might imagine, I am still processing what this means, how I feel about it, and my intentions for my vigil and elevation to the Order. This will likely take me some time. I am definitely the “still waters run deep” sort of person.
There is one matter I would like to address now, however, and that is a sense by some of my dear friends that this was long overdue, that they were surprised it didn’t happen before now, and, well, it’s ABOUT TIME. For those who said this to me, I appreciate your kind words and I understand your sentiment, but I respectfully disagree on those points all save one: it really is about time. But not for the reason you might think.
As a member of the general populace, my perception of when someone was ready to become a Peer had a lot to do with time. I watched my fellow SCA members working at their art, doing their good deeds, and fighting the good fight. When I saw that someone had been doing something for a long time, with a purpose, I generally thought, “hey, someone should make that person a Peer!” I think this happens often, as I hear my friends and other members make similar remarks.
I recall one of my first thoughts about joining the Order came during Pennsic 2013. A friend from out of Kingdom looked at me and said, “You’re a Laurel, right?” Naturally I replied that I was not—I had not even received an arts award at that point. But it planted a seed in my mind. Why did she think I was a Laurel? Was I Laurel material? Should I be one if she thinks I should? Do I want to be one? And so on.
So now that it’s happened and I’ve been placed on vigil, what do I think? Was it long overdue? Was I held back? Were the Order’s expectations on me too hard? Did the Order make me wait too long and cause resentment and frustration and burnout? (All statements I’ve heard uttered.)
A good friend asked that I address these points for the benefit of others who may be thinking along these lines. I’ll do my best to give the honest answers, not just the noble answers. (That’s not easy for me, by the way. Still waters and all that.)
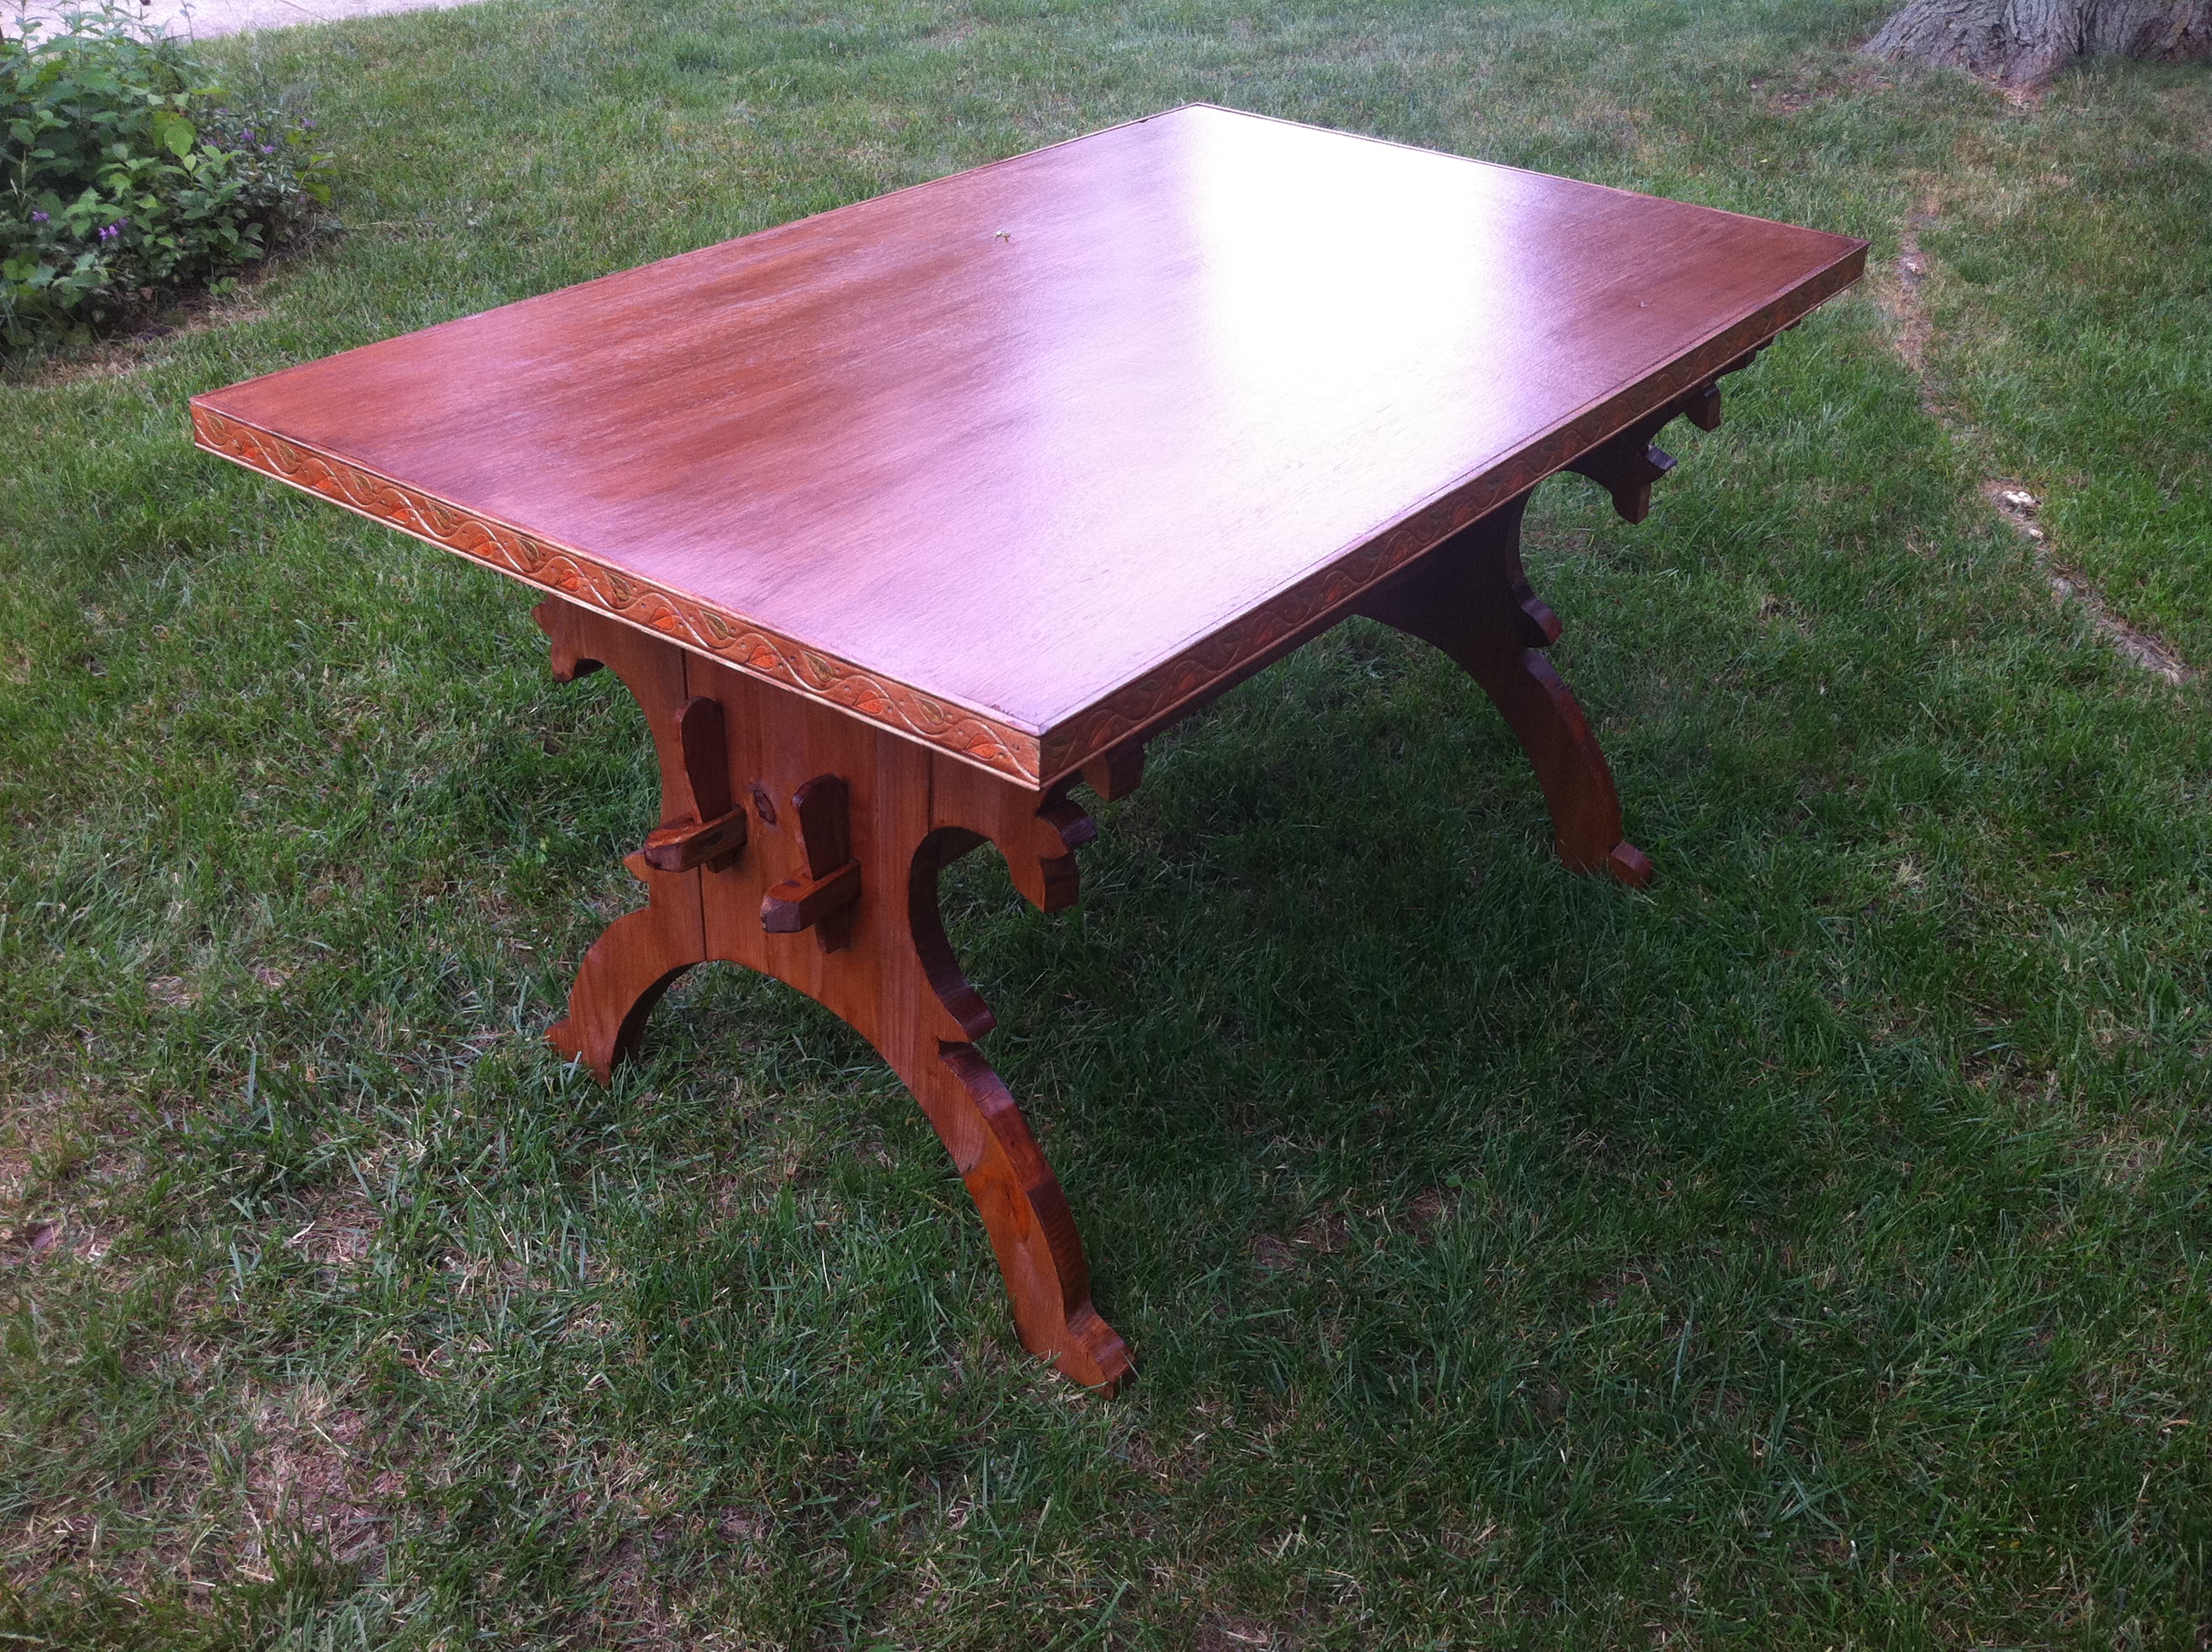
My first A&S project, a table based on St. Jerome in His Study by Albrecht Dürer. I love this table. I’ve made nearly all of my A&S projects on it over the years, and it goes with me to Pennsic annually, too!
Was it long overdue? I started in the SCA in ’97, but didn’t progress. I began again in 2011 and jumped in with both feet. I made my first “thing” within one month (my early 16th c. trestle table), entered my first A&S display a few months later (blackwork), and entered not one, but two, things into my regional A&S competition nine months later (blackwork caul and the red goldwork Swabian gown I was wearing this past Saturday). From my observation of other artisans, this intense behavior was a bit unusual. But it was totally in keeping with my personality. I’m a go big or go home type. From an outside perspective, it may have seemed I was ready before now. Eight first place awards at Kingdom A&S and Pentathlon A&S Champion could give that impression. But despite this obvious enthusiasm, I was still a beginner at recreating period artifacts. It took time for me to dig deeper, understand nuances, create beautiful things that were both visually and structurally appealling … and I’m still working on that. I have much further to travel and much more to learn. It’s only recently that I began to feel that I was achieving a sense of mastery, of hearing myself speak to others and being amazed at what information I was able to convey, and at my technical abilities that were all built upon one another. Only in the last few months had I finally arrived at a place where — frankly — I was less interested in other’s approval of my art and it was less of a motivation to do better. My motivation was turning inward, becoming more about my journey and less about proving myself to others.

Me and my 16th c. style carved doll. Displaying and talking about my art took courage.
Was I held back? I don’t know what others have done, but I have no sense of this. It takes time to get to know people, and it took time for the Order to get to know me and see my progress. I won’t fall back on false modesty and say that I didn’t think I was ready, because I was already thinking of myself as a Peer long before I was recognized. If this seems impertinent, you must understand that I do not suffer from low self-esteem. My ego is quite healthy! But just because I know myself does not mean that others do. Part of this journey has been allowing the quiet parts of me to be seen by others. Being out there, displaying my art, writing blogs and tutorials, teaching, and sharing what I know with anyone who asks. These things took time and courage to do. When I consider how long it takes me make big moves in my own relationships, I’m rather impressed the Order came to know this aspect of me as quickly as they did.
Were the Order’s expectations on me too hard? Well, let’s see. My own personal signifier of mastery is the ability to write an entire book about one’s field of study and have it be well respected and regarded by its audience. That’s what I do in my modern world. Did they make me write a book? Have that book win awards? Have that book be a bestseller in its field? No, they did not. Thus, the Order’s expectations are actually lower than my personal ones for myself. (No, I do not expect others to do this in the SCA either, but the expectations I hold myself to are different than what I hold others to.) And for what it’s worth, I would one day like to write down what I know in a book so it can be preserved and shared with others, but I’m still a ways off from that. Just know that that that expectation has not changed just because of this event.
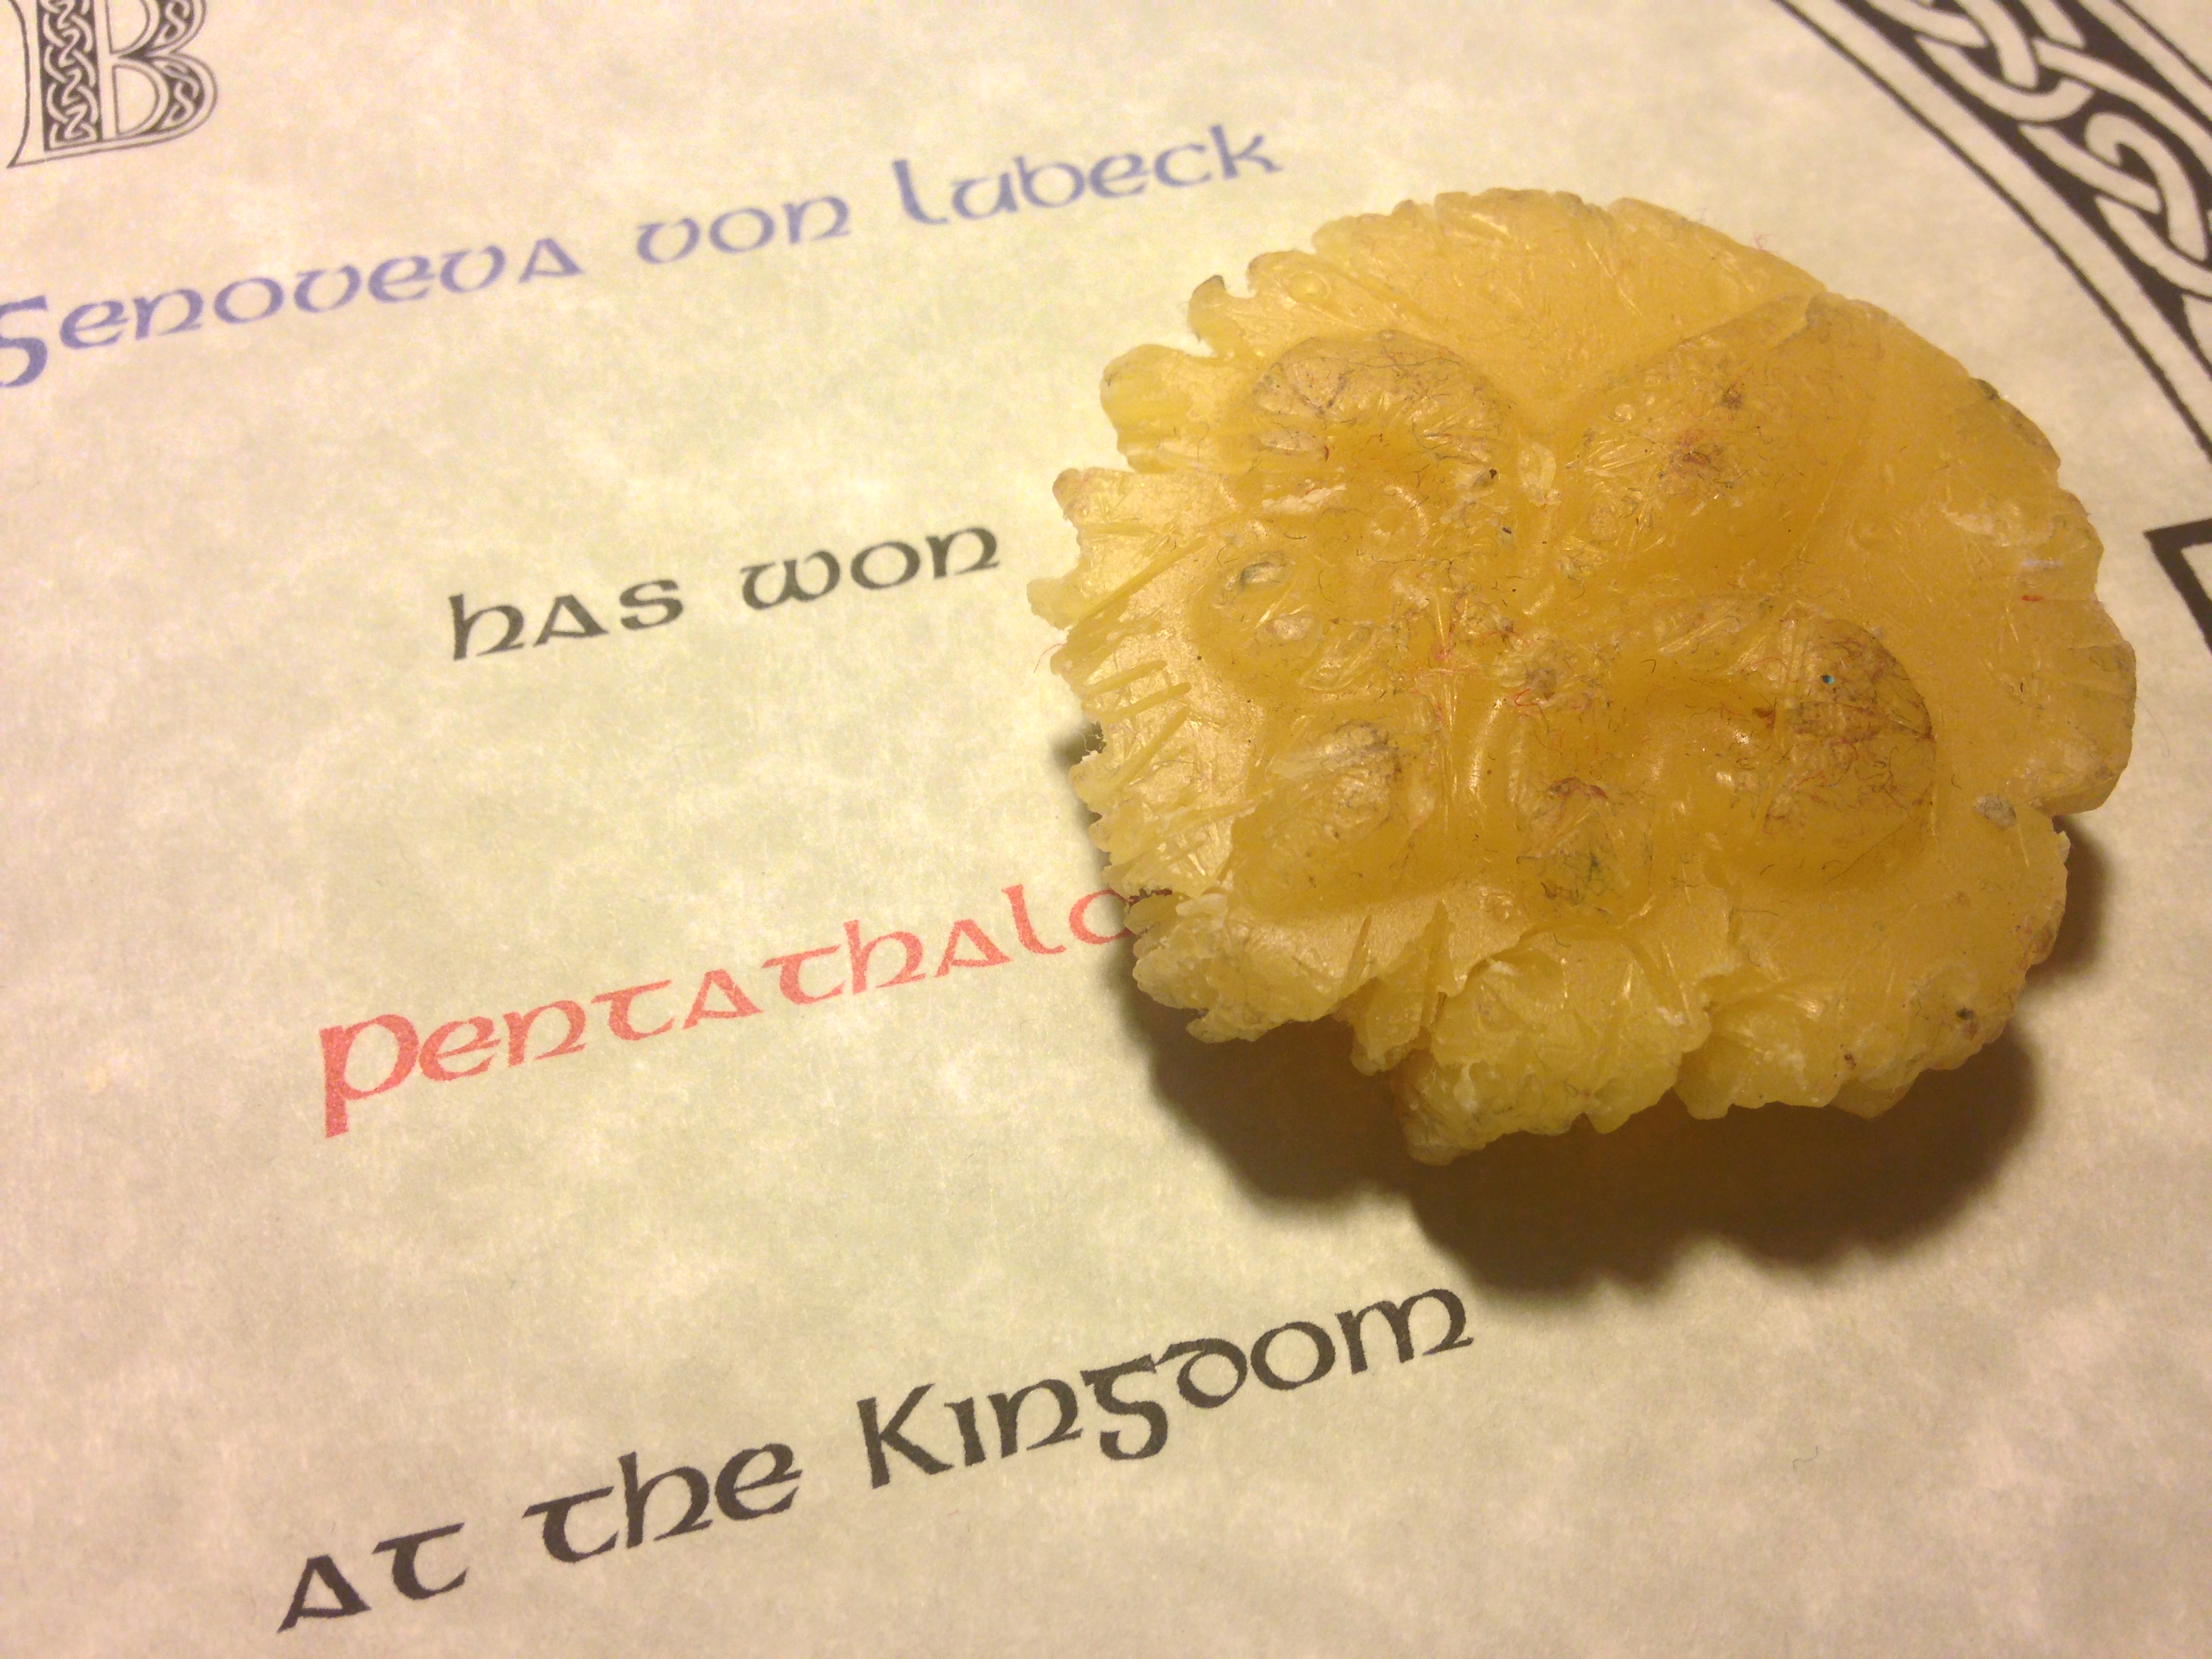
Winning the A&S Pentathlon in 2014 was both joyous and frustrating. It was frustrating not because I thought, “hey, I won now I should be a Laurel” but because it underscored the fact that not everyone was confident in me.
And finally, the big one … Did the Order make me wait too long and cause resentment and frustration and burnout? This one is a less pat answer. I’m rather an impatient person, as can be evidenced by my enthusiasm and history of making things. When I get a notion to do something, darn it, I want to do it. Now. Right away. I hate to wait. This is both a blessing and a curse. If I am completely honest, there were moments of frustration. I felt confident in myself, but there were times it was pretty clear to me that others were not as confident in me. That was difficult for me. But after I cooled off, I could see the solution — if some individual was not confident in me, then it was probably because I wasn’t expressing myself well enough. I usually didn’t even know that person. So then the ball was in my court to get to know them, and if I couldn’t do that for whatever reason (shyness), I could at least try to express myself to the world better. Because in the end, being recognized as a Peer is really just recognition of the awesomeness already present. It won’t change who you are, make you a better person, or anything like that. It’s recognizing something you should already be feeling inside. So, yeah, I felt frustrated when the Order didn’t work as fast as I wanted, but not resentful. Honestly, I’m grateful they even noticed me — I do not like to toil in obscurity. And now that I’ve been placed on vigil, I feel humbled that they chose me at all. It has put many things into perspective for me.
As for burnout, that’s really more about my inclination to take on ambitious projects. That is MY problem. That has nothing to do with the Order. I get burned out all the time. I also bounce back all the time. But the burnouts are usually preceded by burning brightly and making or doing something awesome, often something that challenged me to grow. So that’s alright with me. Life might be a bit boring and mundane for me otherwise.
Of all the things on my mind since this happened, a big one is how my being placed on vigil could make others feel — those who are not yet Peers but might like to be. Maybe someone out there reading this is feeling a bit sad, or overlooked, or just unrecognized. Why her and not me? Or why her and not this other person? If we’re all honest with ourselves, I bet we all have felt this at one point or another. My best advice, and this comes direct from my psychology degree, is to neither repress this feeling nor to feed it. In time, you will find the ways to express the awesomeness inside you to the point that others recognize it, too. In that way, it really is all about time. Time to be the best you can be, time to share it with others, and time for the Order to recognize it.

")


