
Richelieu Cutwork Embroidery Apron and Tutorial
 This weekend my mentor and friend Mistress Crespine de la Vallée was to become a member of the Order of the Pelican, the Society’s highest service award. To celebrate this auspicious occasion, Crespine’s mentor Master Philip White (also my mentor and friend), asked if I would make her an apron. When I queried him as to what sort of apron he envisioned, as there are many fine aprons one could make, he said he once saw an apron with piece work, white embroidery, and a laurel wreath with the pelican inside of it. He told me to let my creative license go. So after some research and consideration to Crespine’s persona of a 16th c. French noblewoman, I decided to make a fine white apron with a cutwork motif.
There was just one hitch—I’d not done cutwork before. I was familiar with the concept and I’ve done drawn thread work, but this was a step beyond. Nevertheless, I love to learn new fabric manipulation and embroidery techniques, so this wasn’t deterring me. Looking online, I could find examples of 16th century cutwork, but no comprehensive tutorials on how to actually reproduce it. I pieced bits together from two web sites (needlework-tips-and-techniques.com and NeedlenThread.com), which introduced the concept but did not go into great detail. I later found a few pages in Encyclopedia of Needlework by Donna Kooler (Leisure Arts, Inc., 2000). The book that really helped me was a 100-year-old book, The Priscilla Hedebo and Cutwork Book by Lilian Barton Wilson (1916), which is reprinted in the Cutwork, Hedebo, & Broderie Anglaise book edited by Jules & Kaethe Kliot (Lacis, 1992). The Cutwork book didn’t have step-by-step instructions, but it had plenty of notes that lead me in the right direction. After that, I learned by doing, which means trying, failing, and trying again until it worked and looked right.
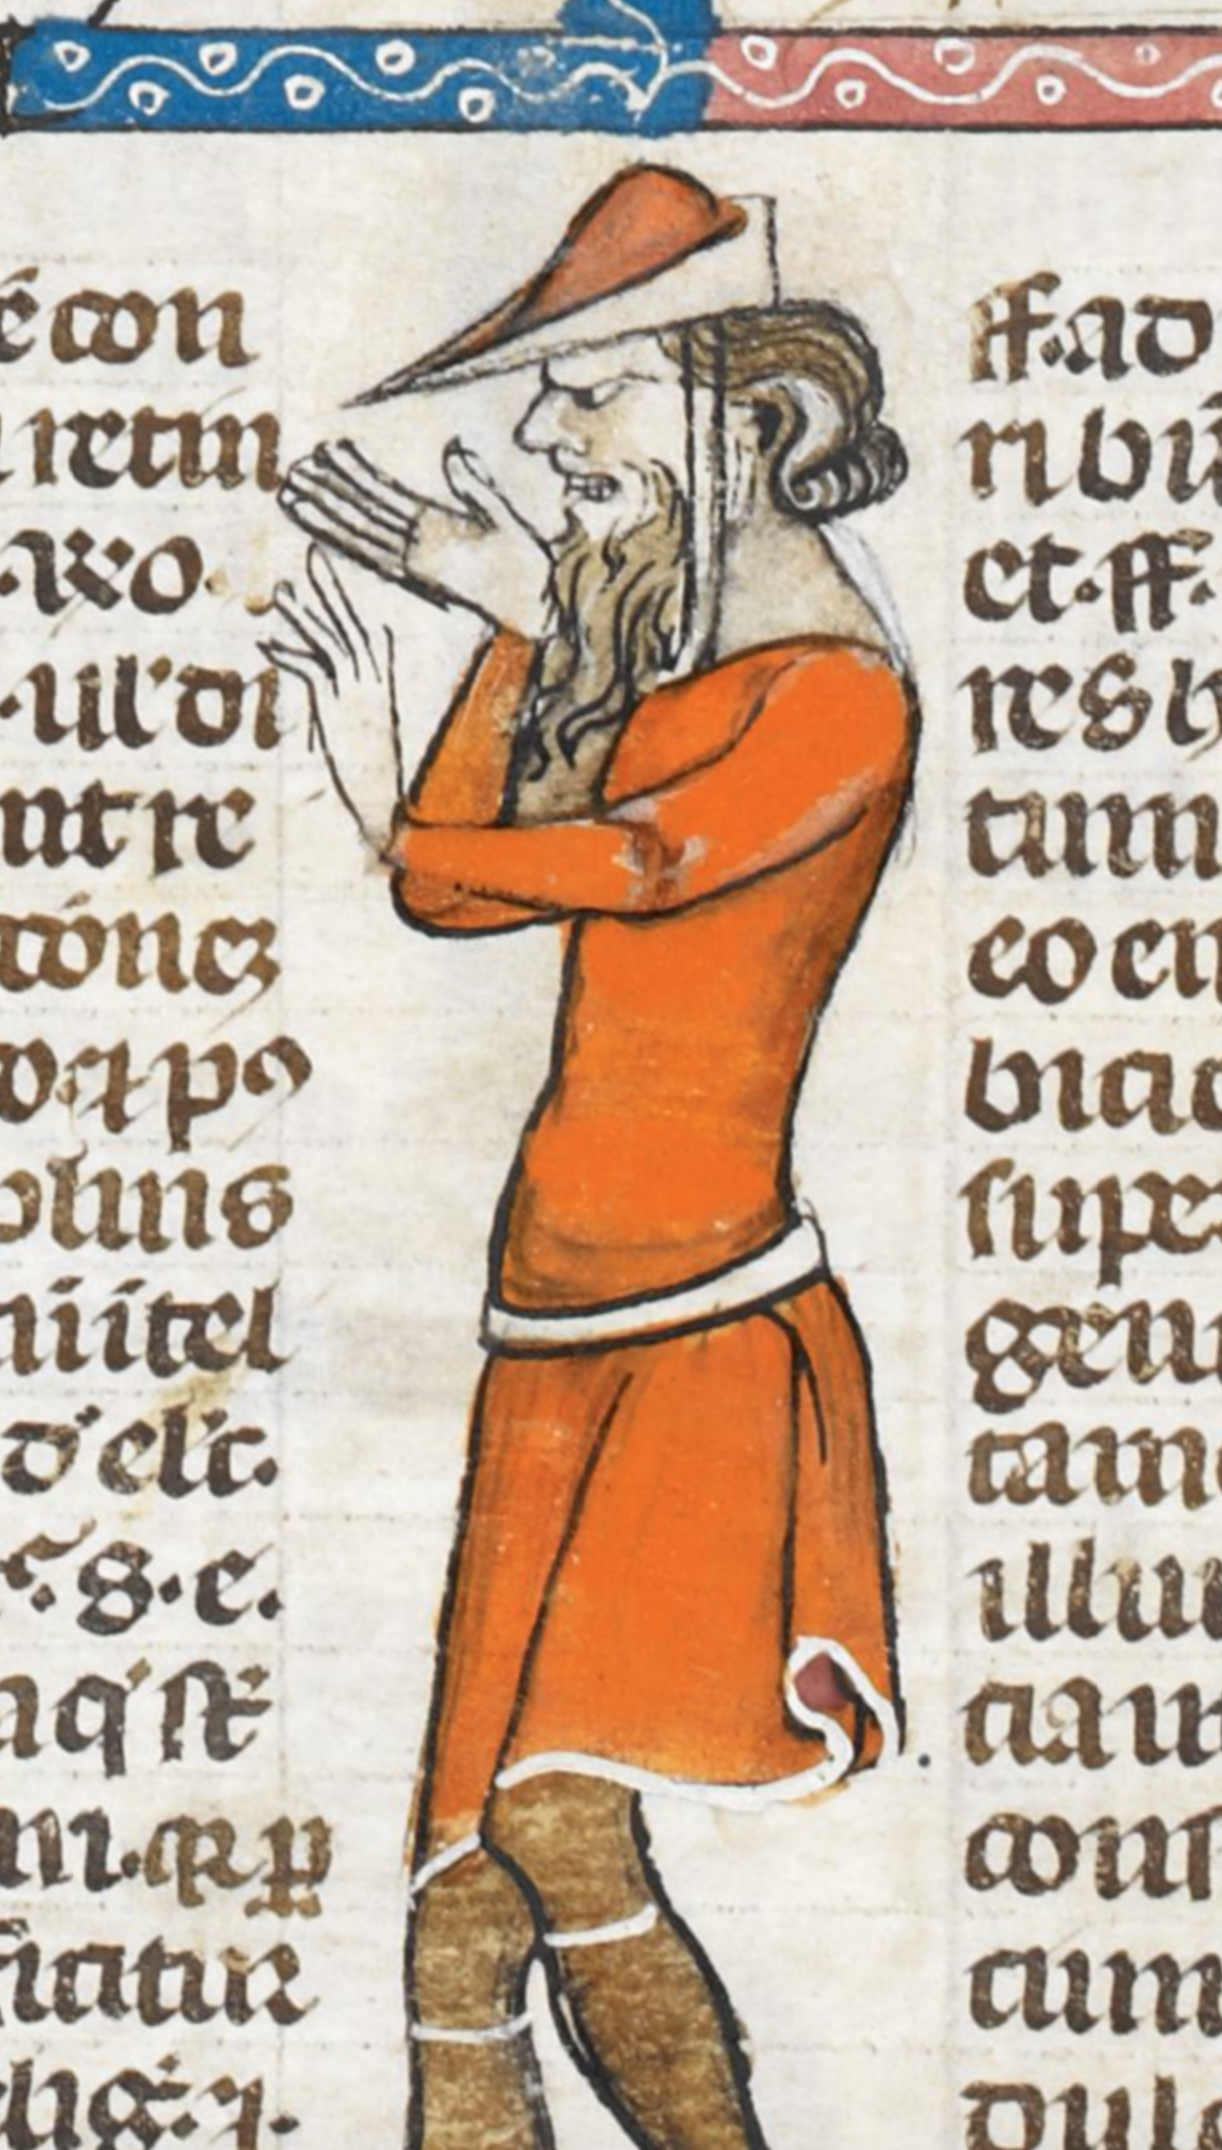
The style of cutwork I learned is typically called French Richelieu cutwork, named after Cardinal Richelieu, who imposed a duty on all Italian imports and then brought lacemakers to France to teach the locals how to do it themselves. Cardinal Richelieu post-dates the Society’s time period by a few decades, but we know the technique existed in the 16th century and was in employ in Italy, France, and the Netherlands, among others. Cutwork pieces were highly prized amongst the royals and nobles throughout Western Europe—Mary Queen of Scots received cutwork as a New Years gift in 1556 and then later made her own “cutit out work” while she was imprisoned. England has sumptuary laws that restricted cutwork clothing and accessories to the rank of baron and above only. (For more historical information, see Needlework Through History: An Encyclopedia by Catherine Amoroso Leslie, 2007). Richelieu cutwork is characterized by freeform designs with buttonhole stitch bars the stabilize the areas of removed fabric.
Here are photos of the cutwork apron I made, and below them is a tutorial on how to create your own Richelieu cutwork piece.
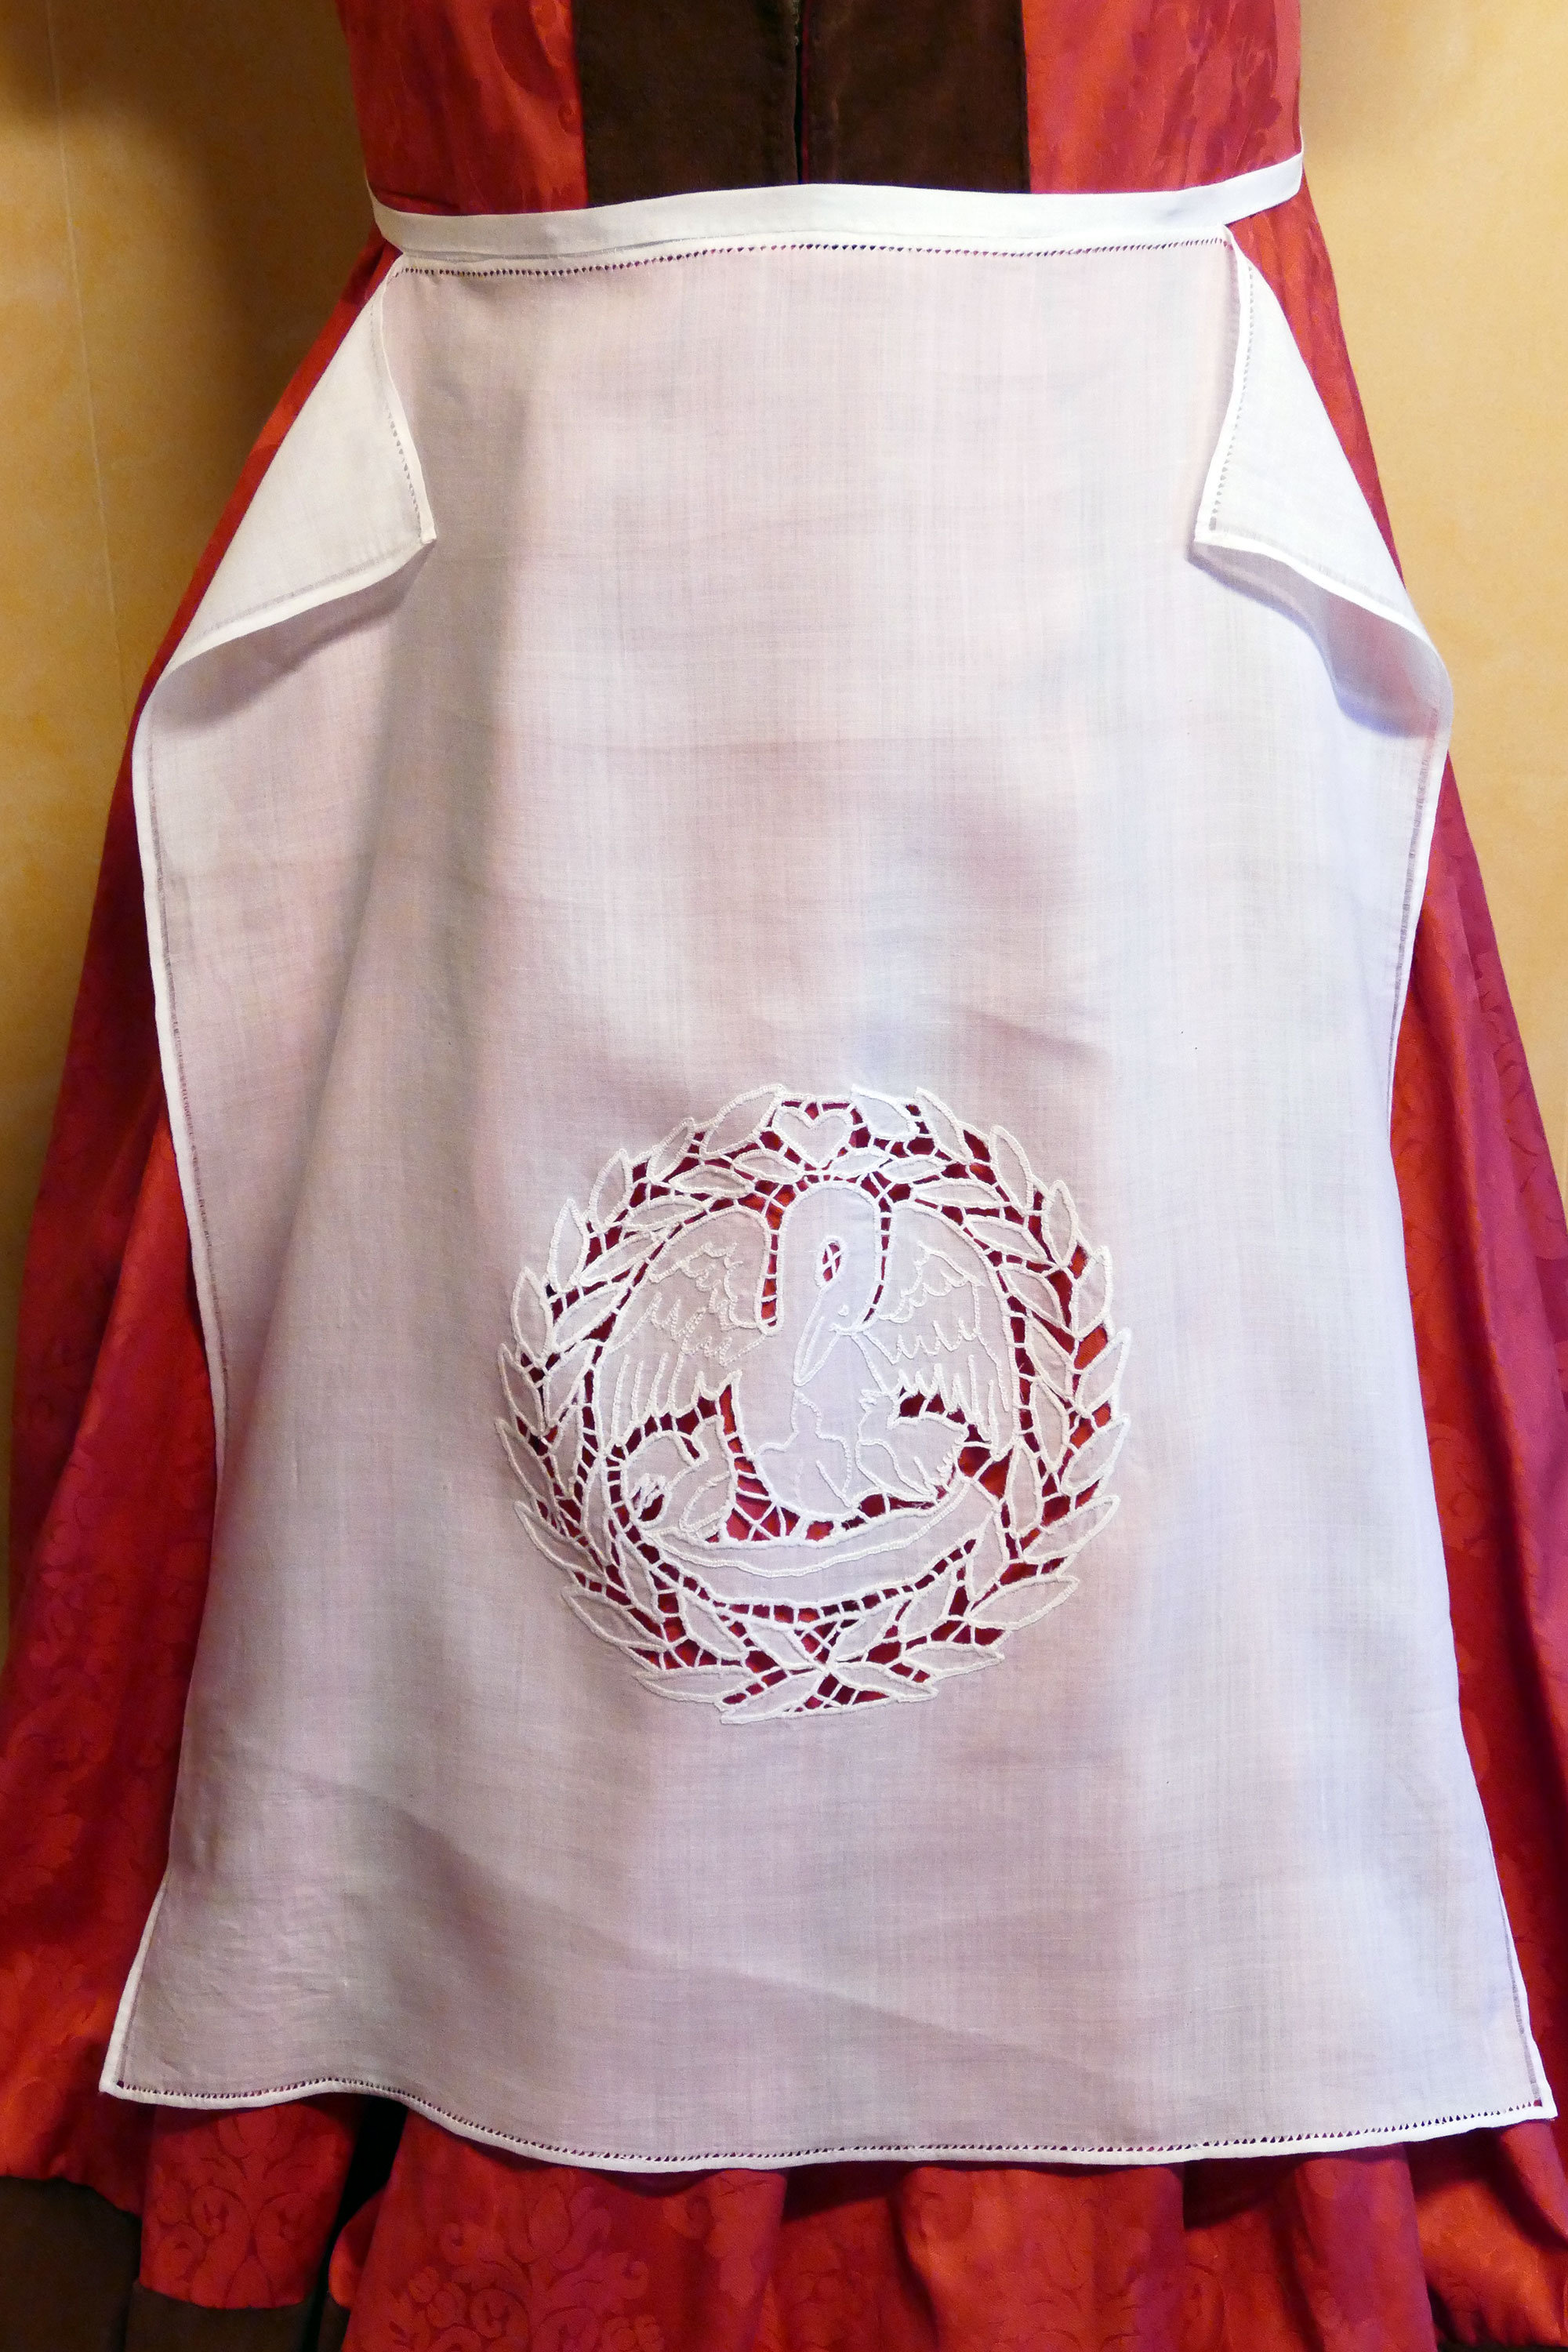
The cutwork apron as may be worn
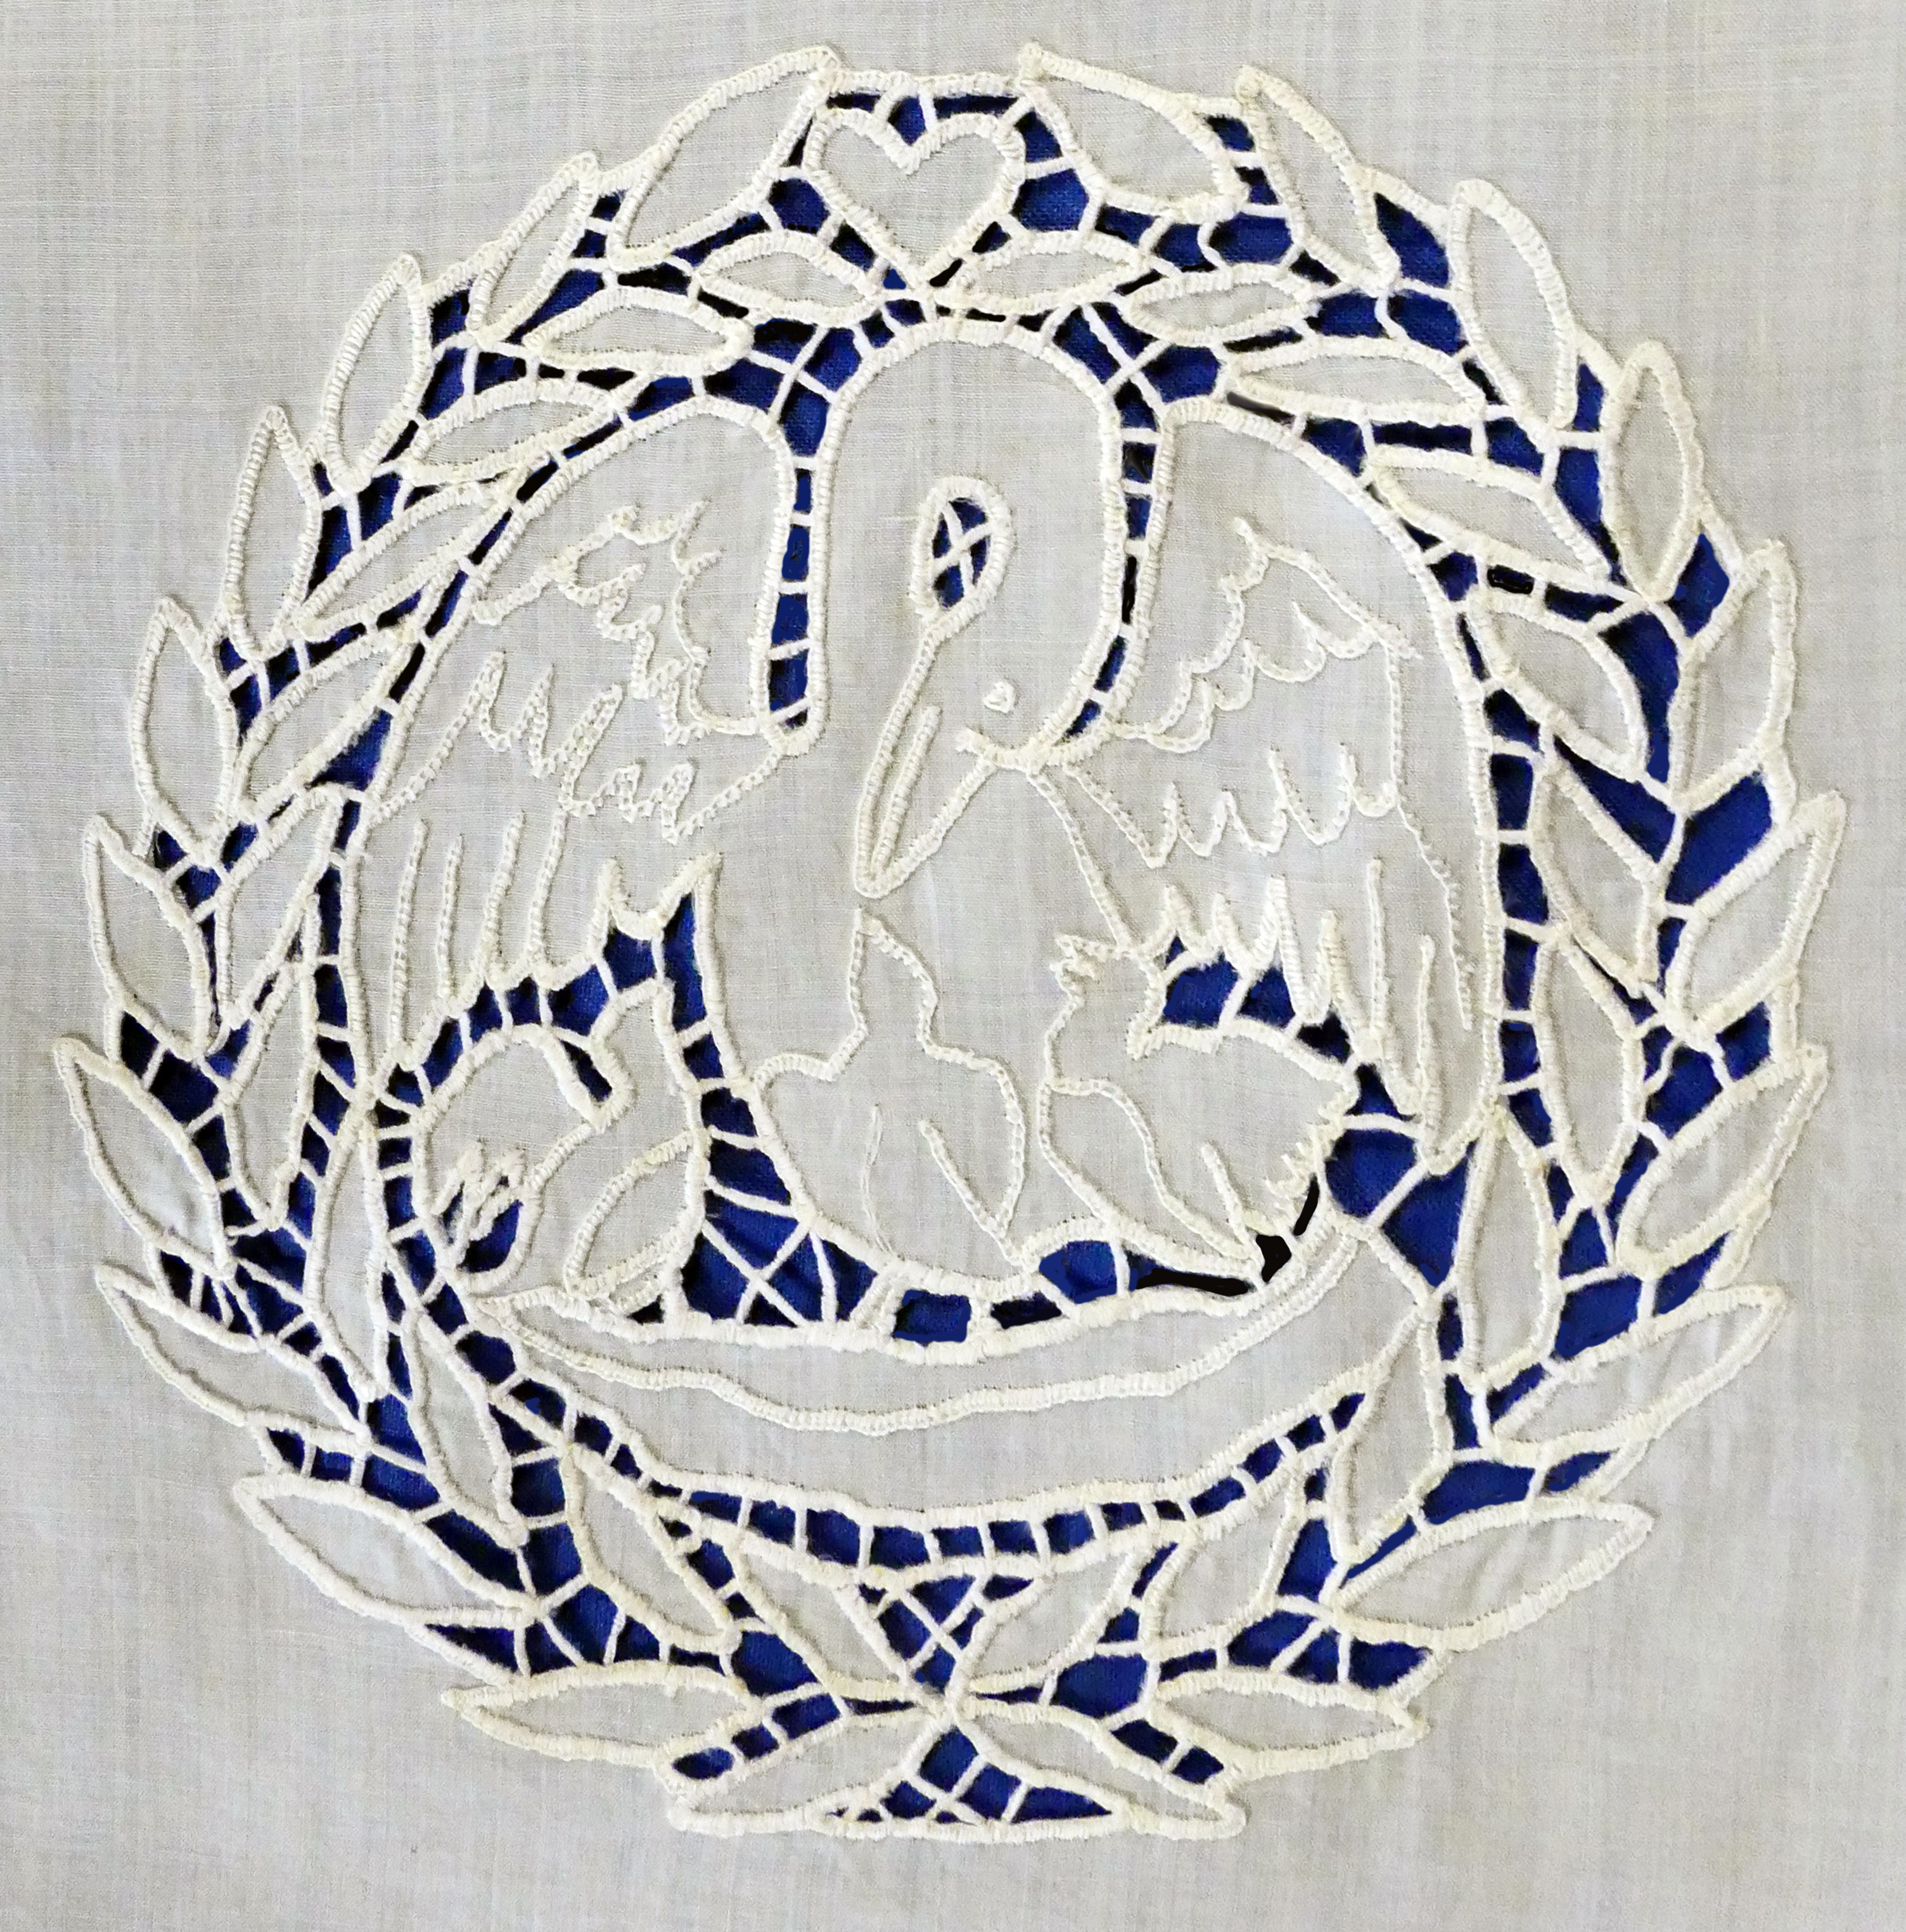
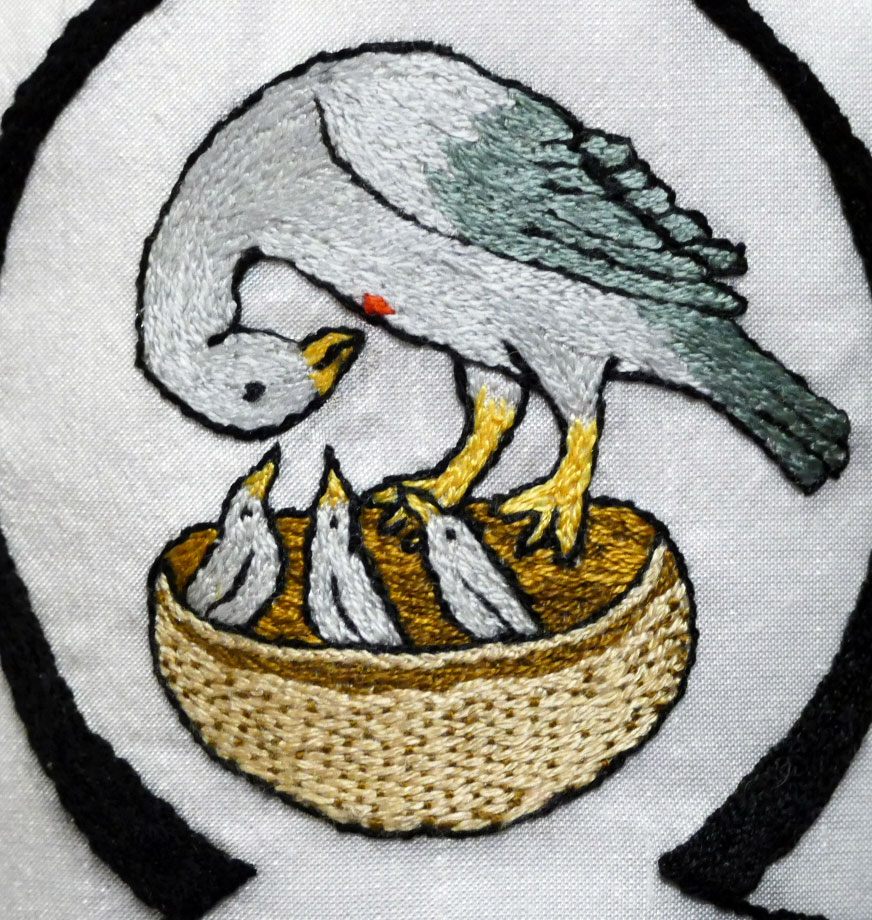
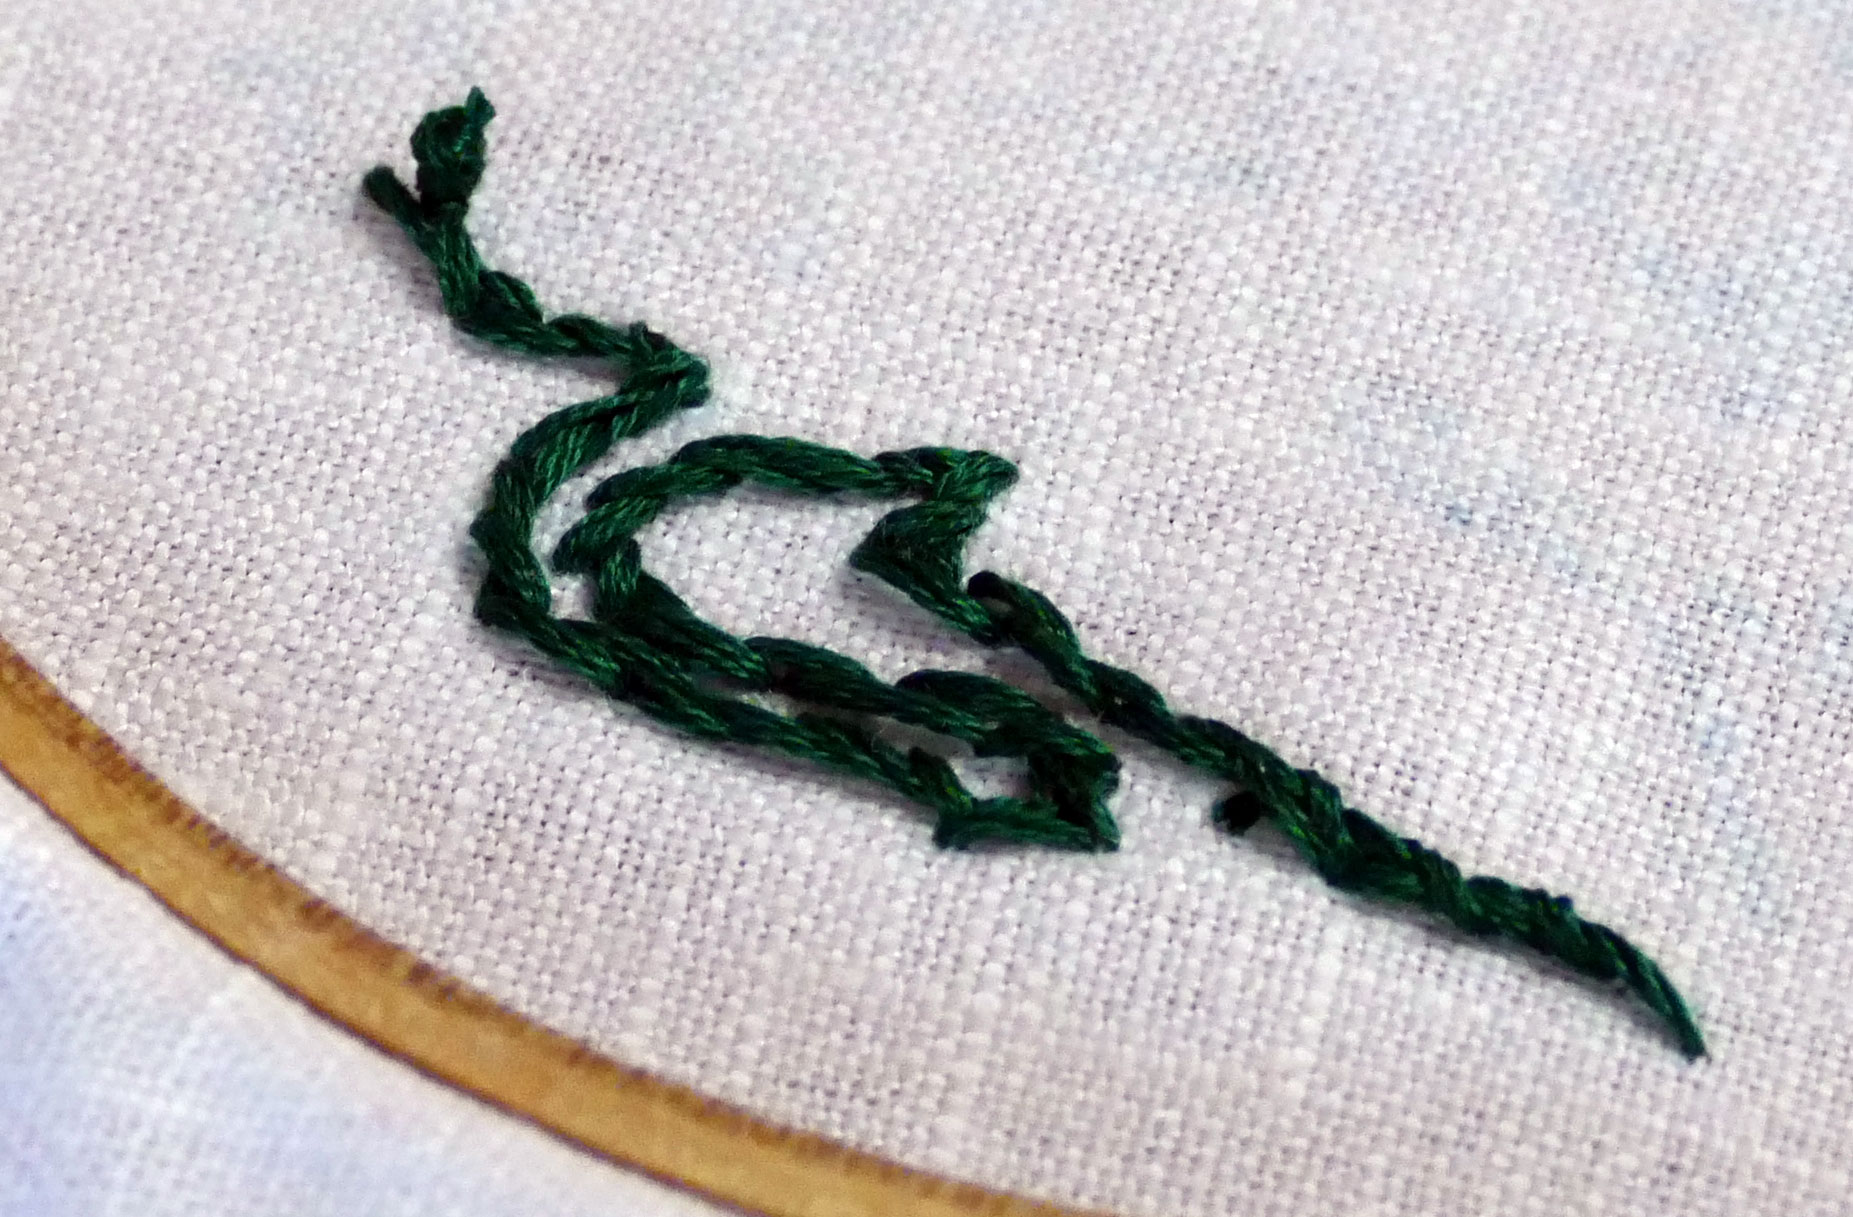
The laurel-pelican cutwork motif

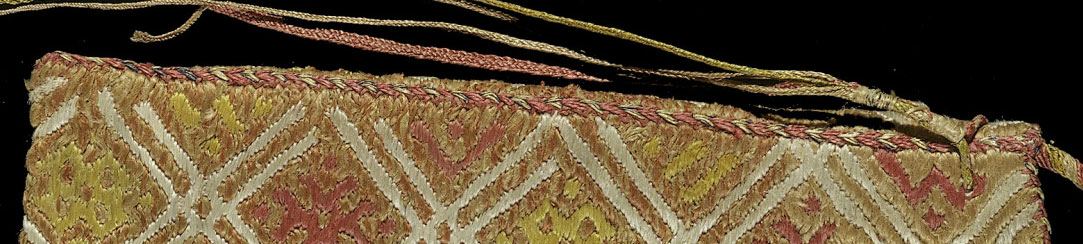
The belt and the drawnwork hems of the apron
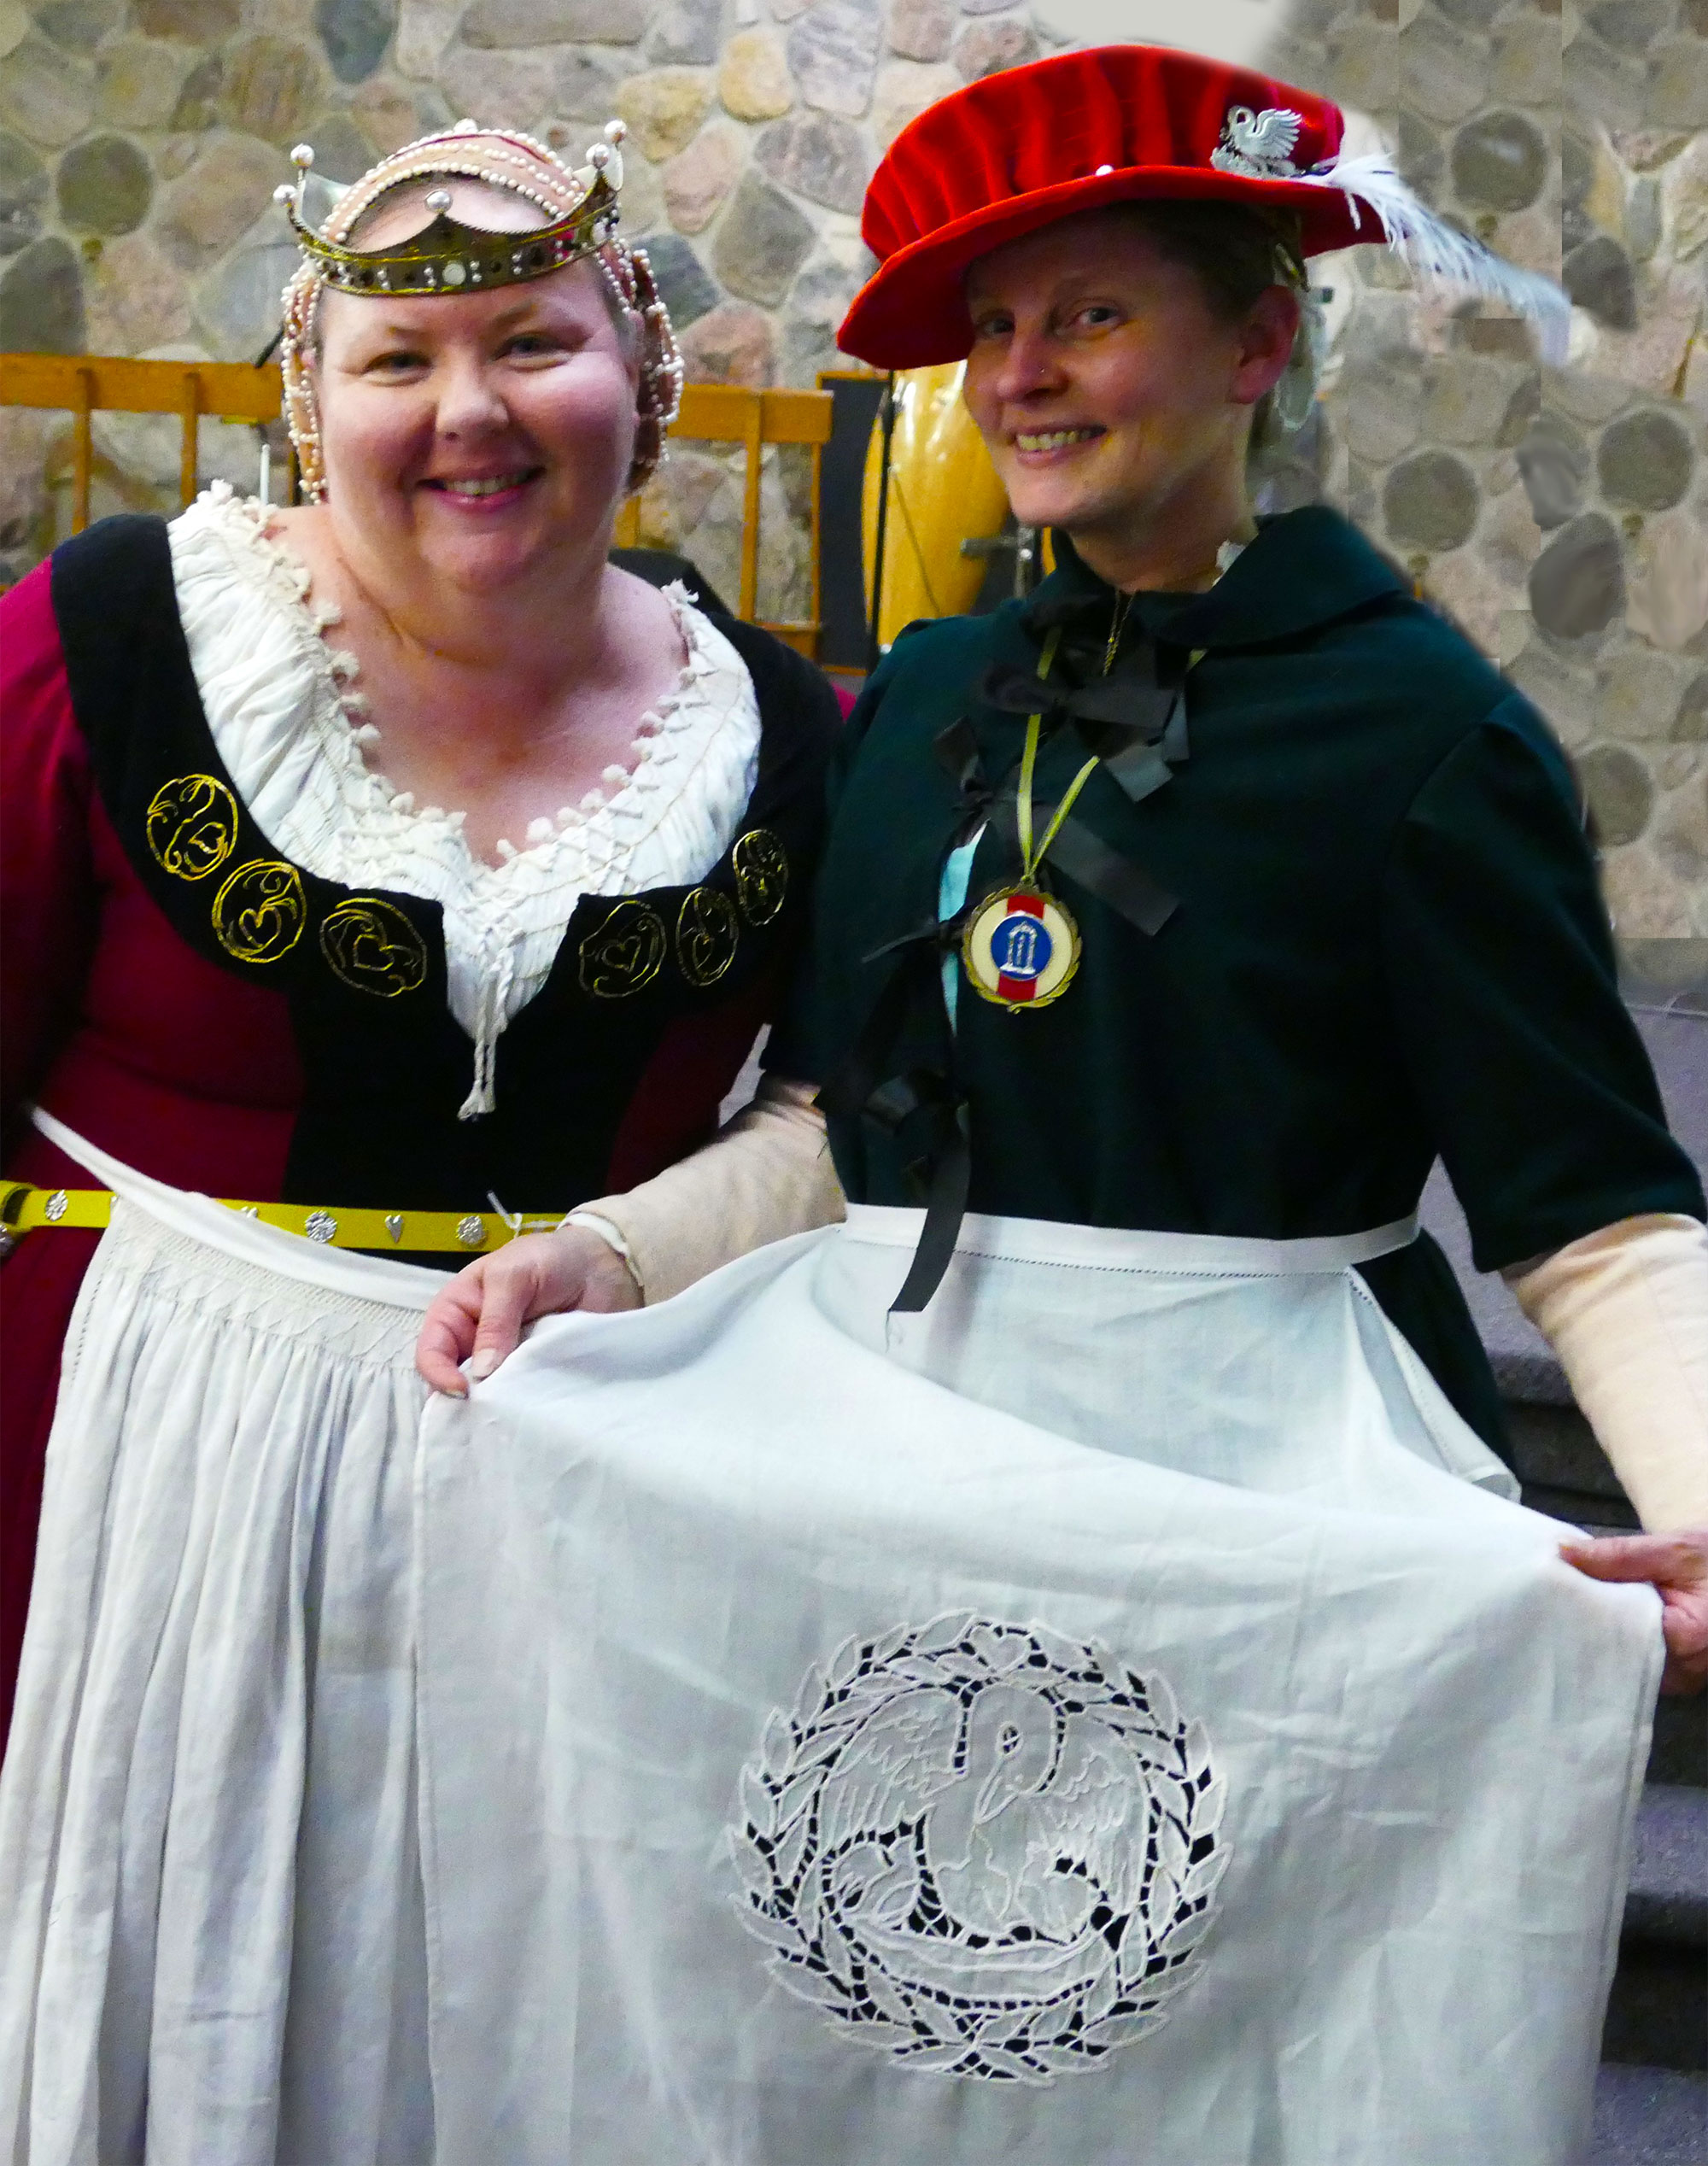
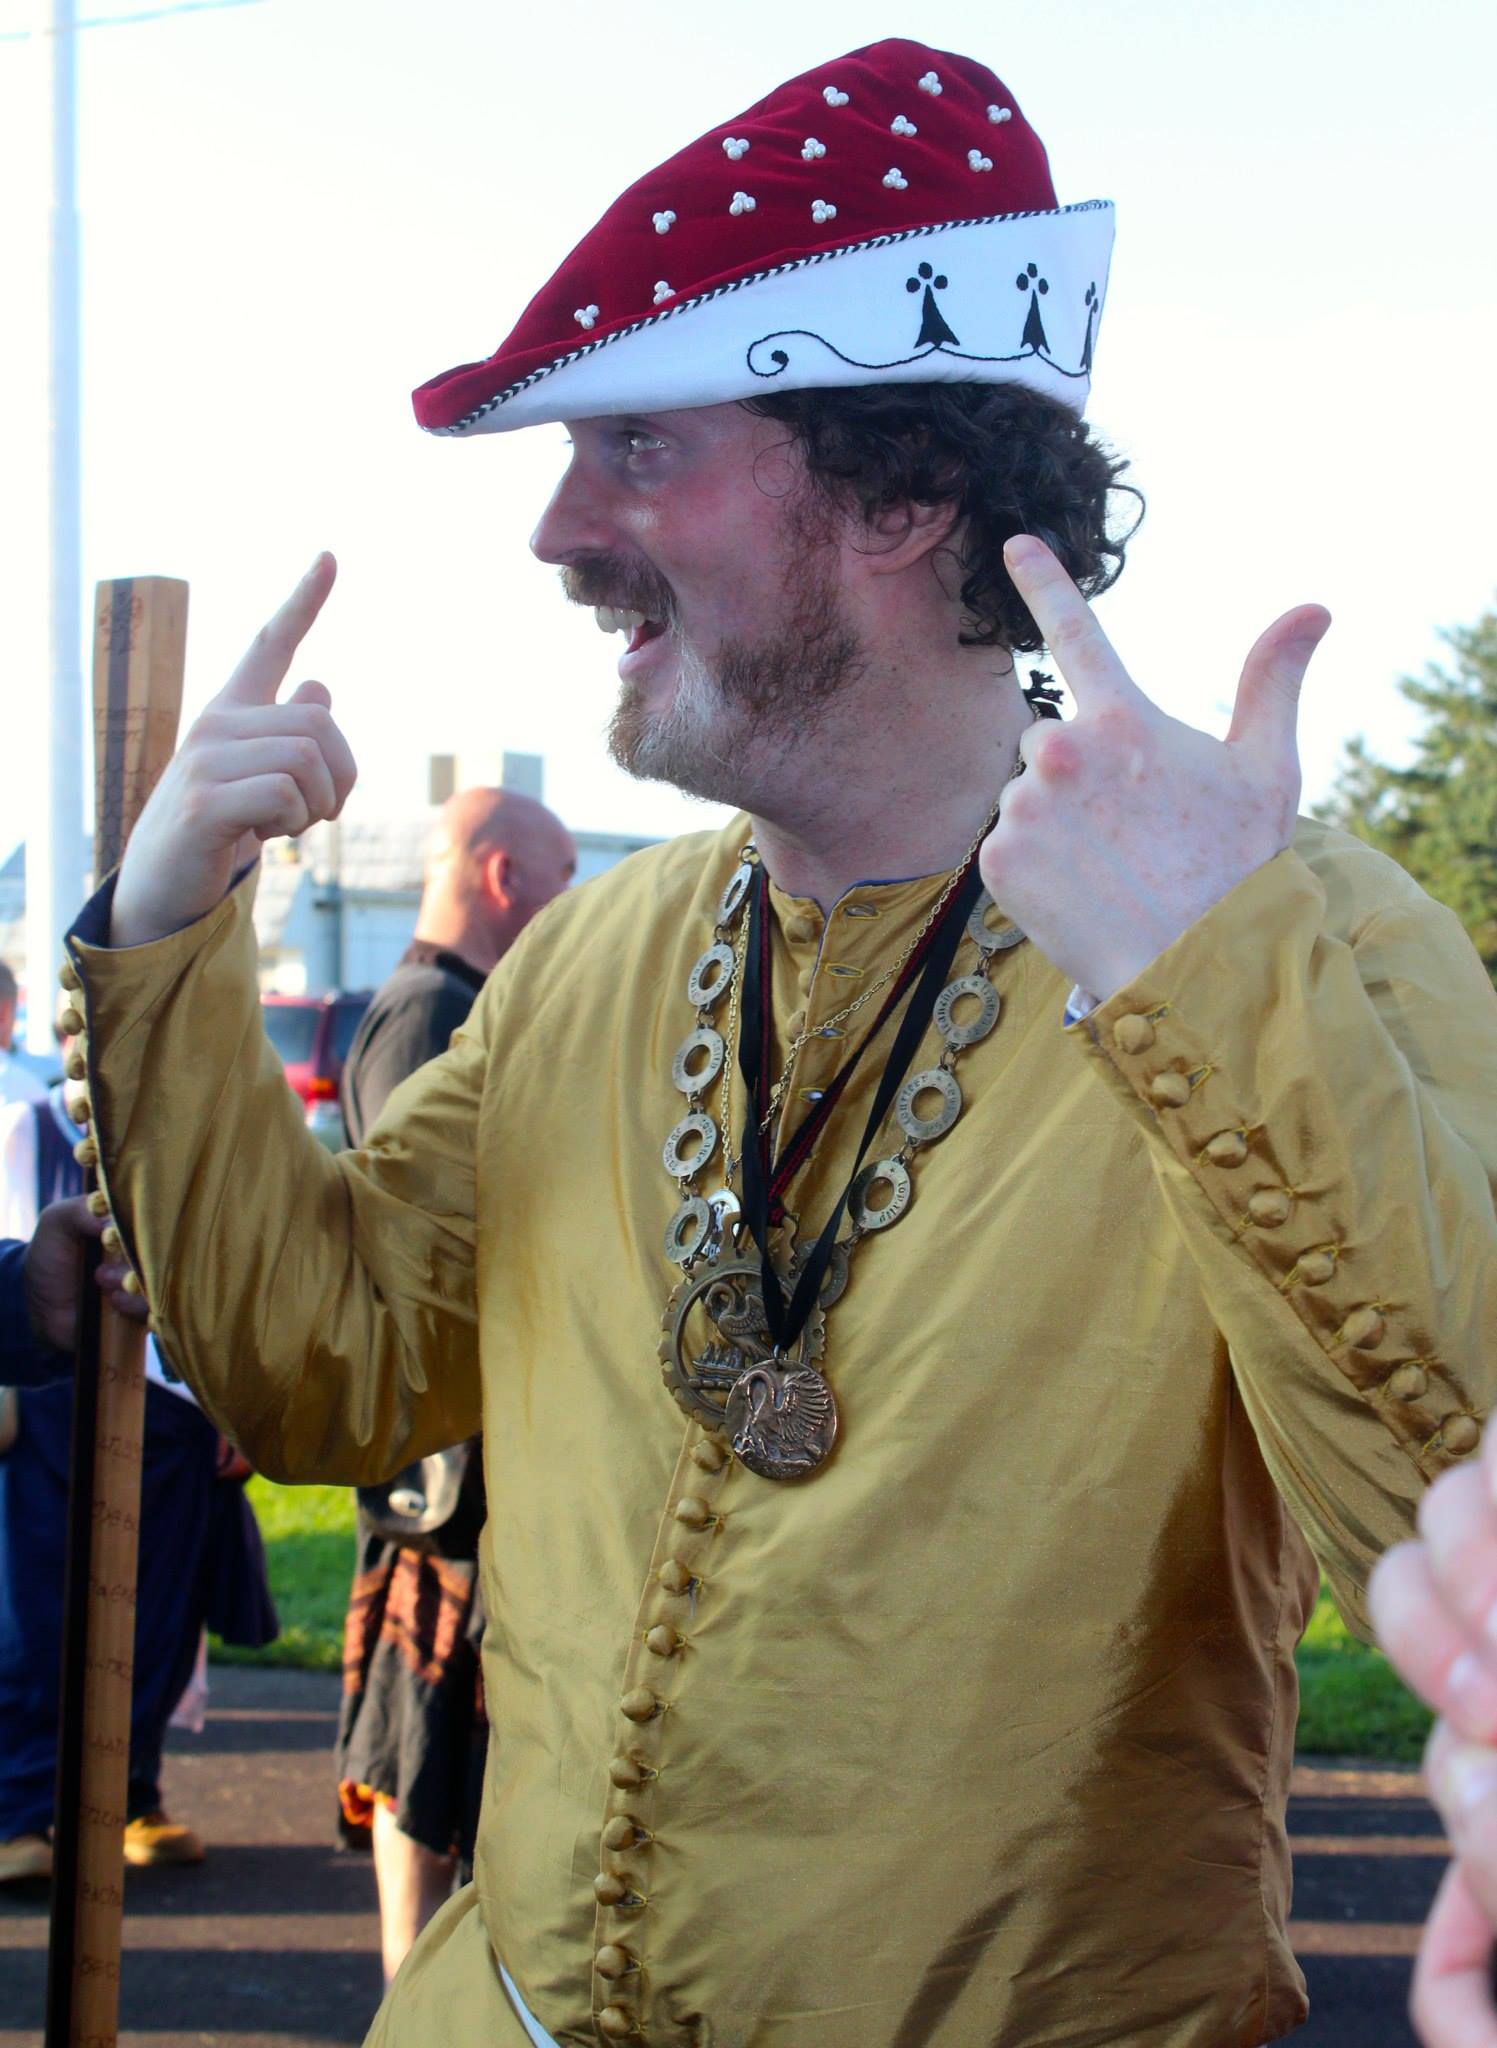
Mistress Crespine wearing her apron
Richelieu Cutwork Tutorial
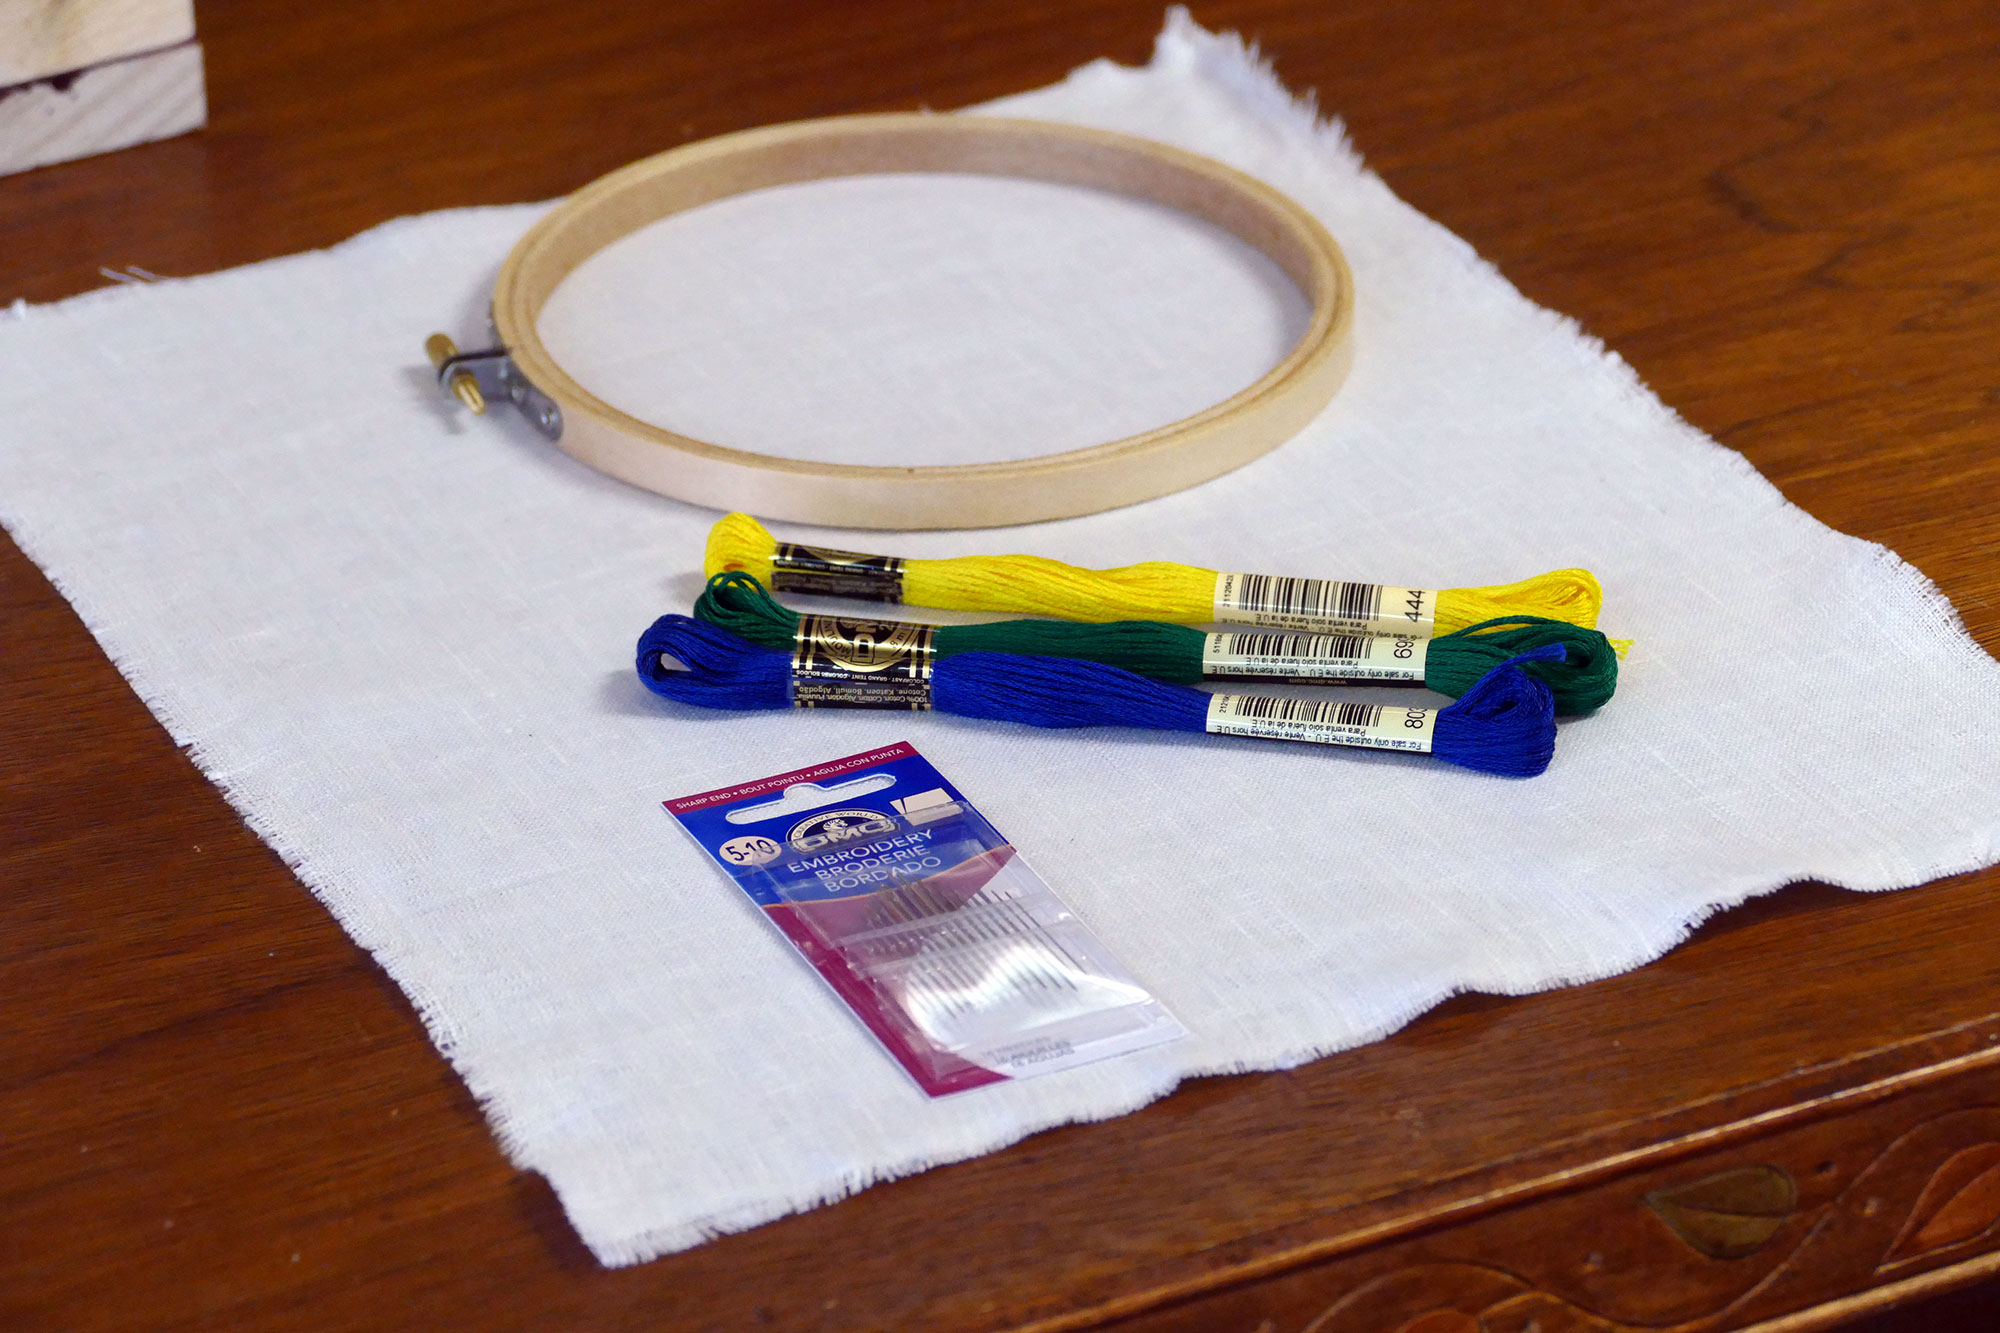
Materials:
High quality linen, the tighter the weave the better (Note: I used 2 oz. white handkerchief linen [WLG 109] from Wm. Booth, Draper @ $32/yard. It is their finest linen, very tightly woven with tiny threads, and is not often in stock, so if you find it, get it. If you can’t get it, go for the 2.8 oz linen.)
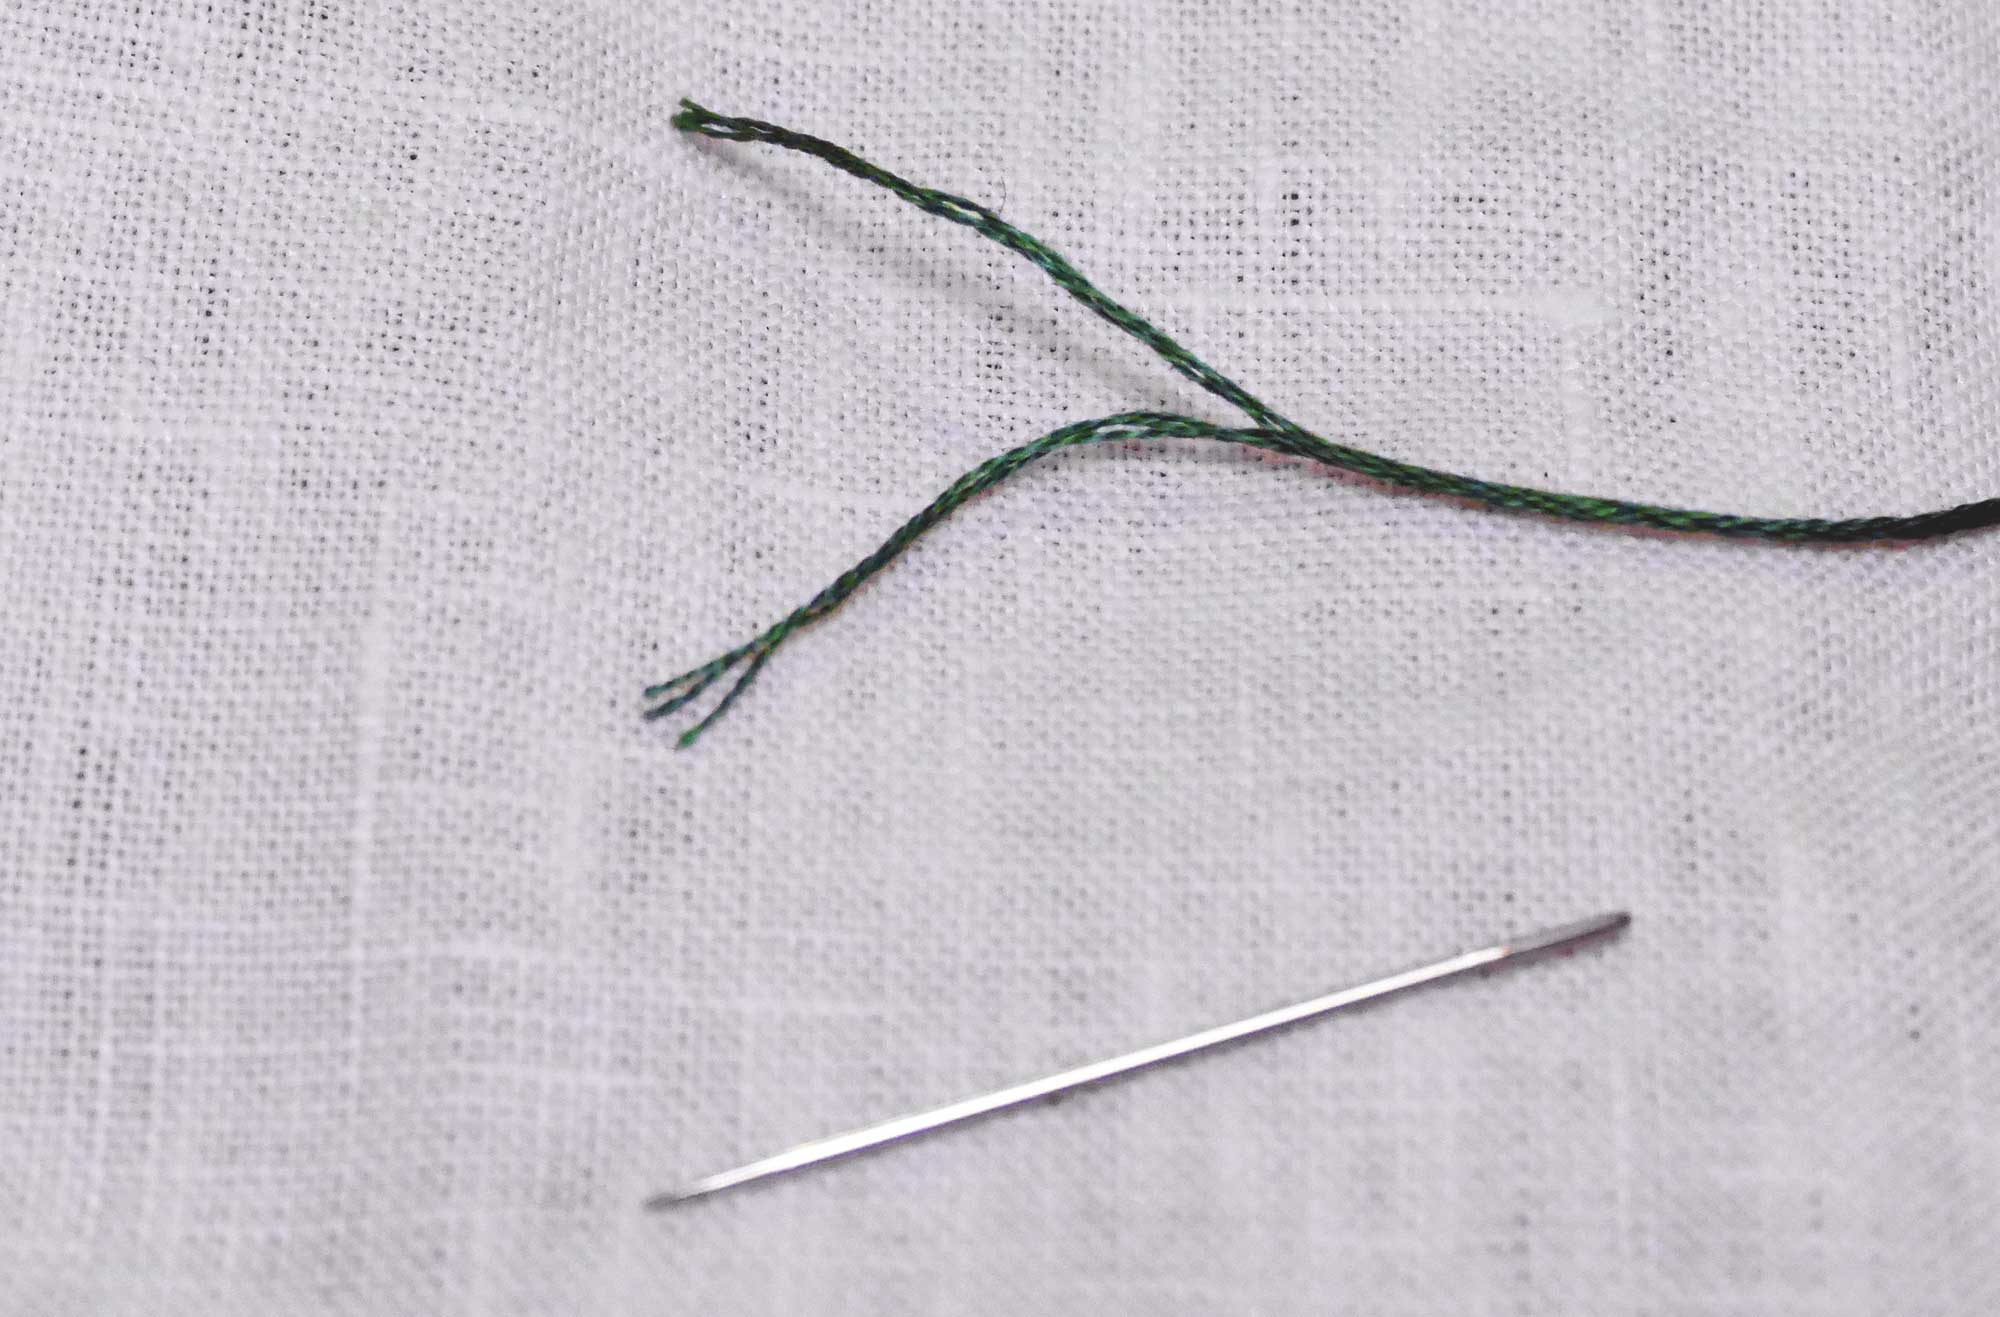
White Linen thread 80/3 (available at http://www.wmboothdraper.com/Thread/thread_main.htm)
White silk thread (I used 1 strand of the 12 ply Splendor silk available at http://www.needleworkdiscount.com/product/S — I used cool white) -OR- white coton a border #25 (available at http://www.hedgehoghandworks.com/catalog/FBRDMC107CLRS.php)
A word about the threads—it is important to use the right kind. You need linen thread for the buttonhole bars—they must be strong and durable (cotton will fuzz and look messy). You could use the same linen thread for the buttonhole stitching around the motif, but it looks a bit rough. I preferred either the silk or the coton a border, with a slight preference for the coton a border.
Tools:
Embroidery frame (I used a circular frame because it’s easier to hold in my hands, but you could also use a slate frame)
Small, sharp embroidery scissors (for example: http://www.joann.com/gingher-epaulette-3-1-2in-embroidery-scissors/4655338.html)
Small curved blade scissors (for example: http://www.allstitch.net/product/gingher-312-curved-blade-embroidery-scissors-4718.cfm)
Water soluble pen
Good lighting and maybe magnifier glasses (if you are like me)
Steps:
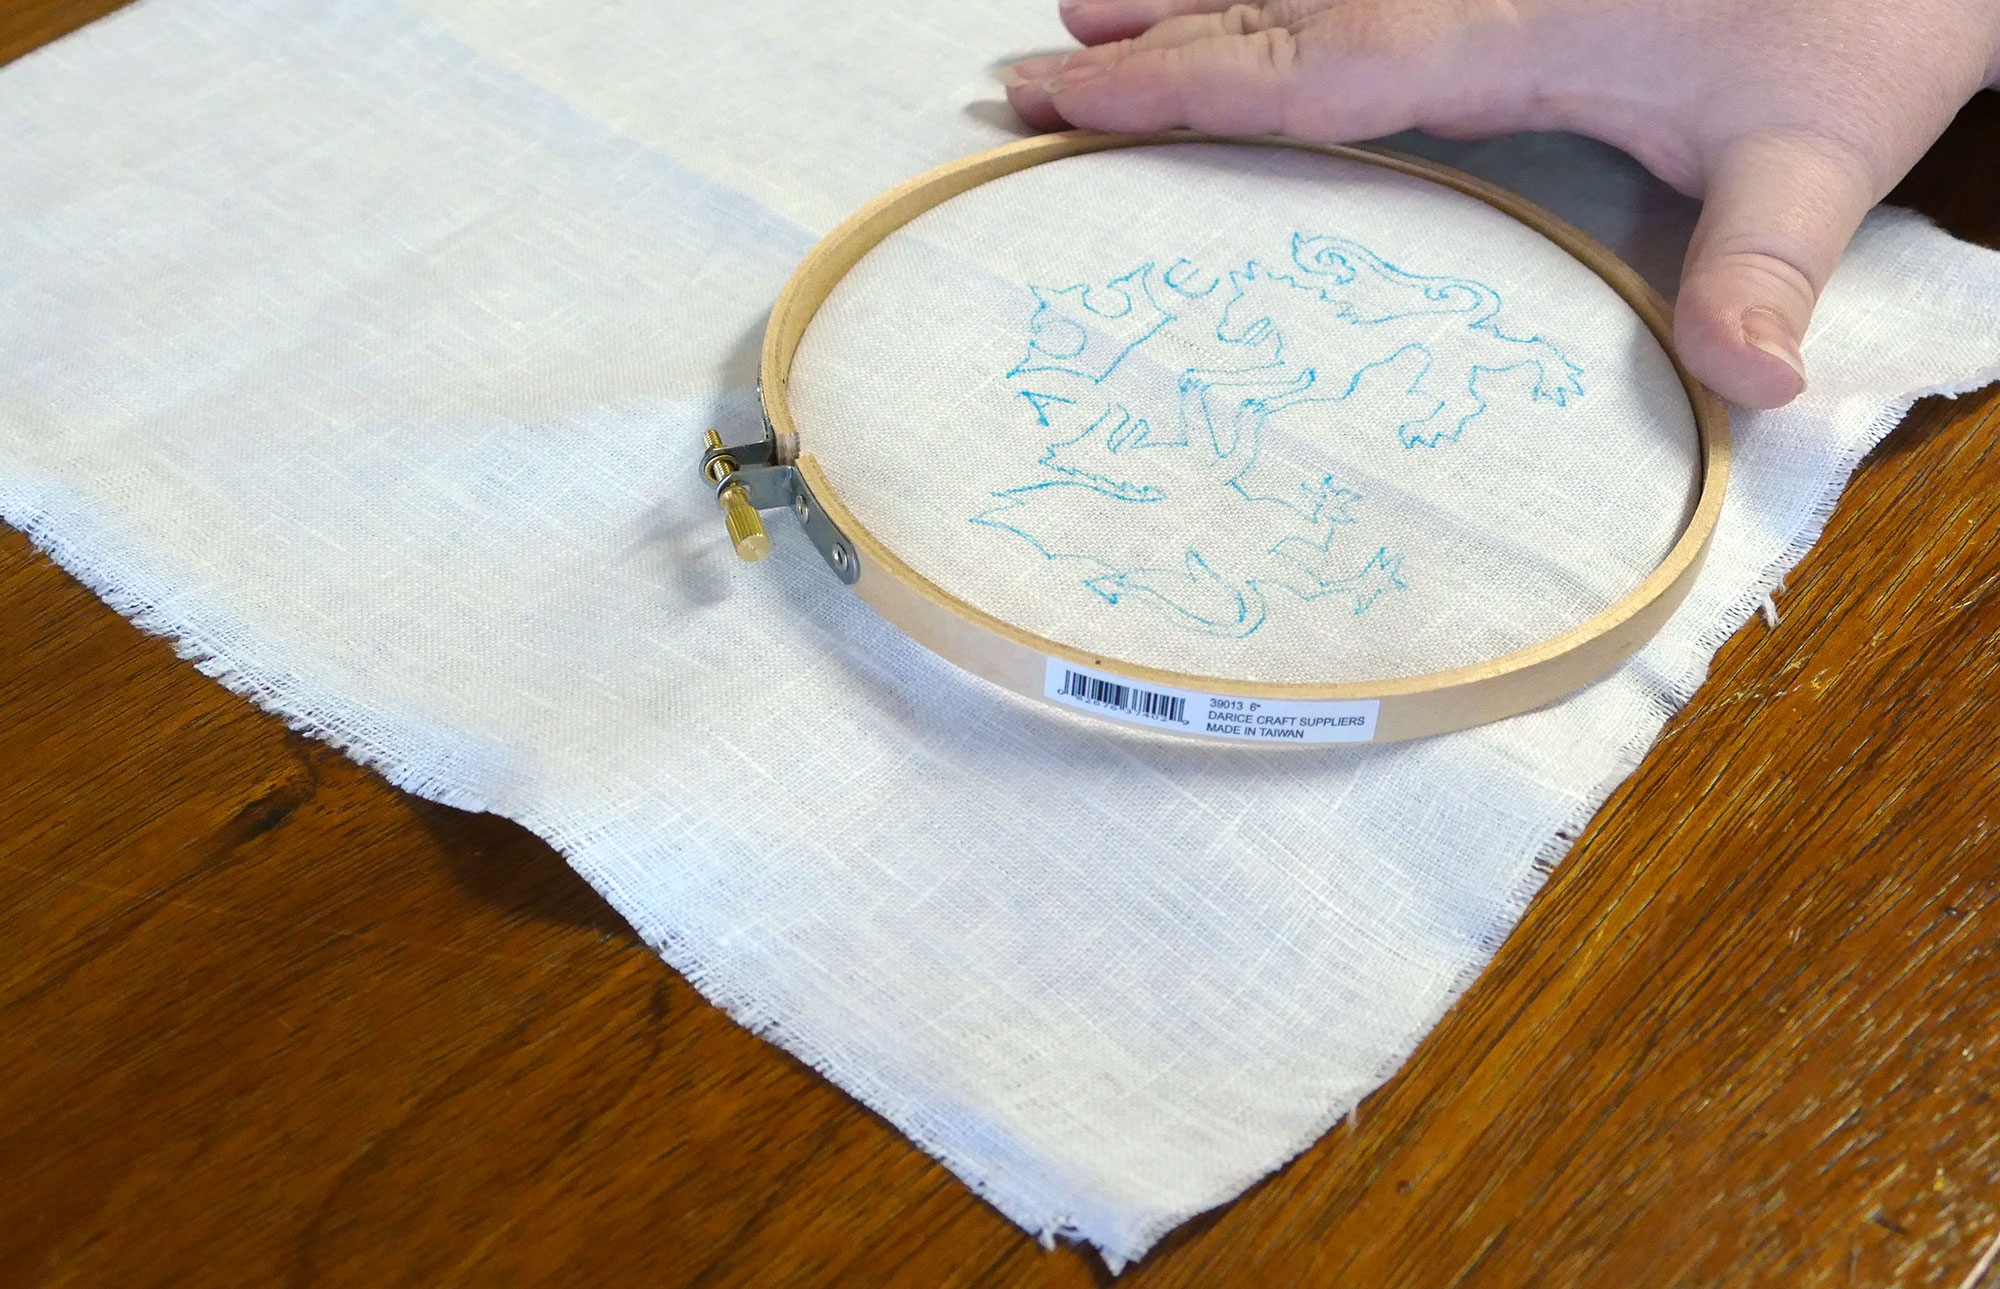
1. Iron your fabric. You’ll want to start with it as smooth as possible.
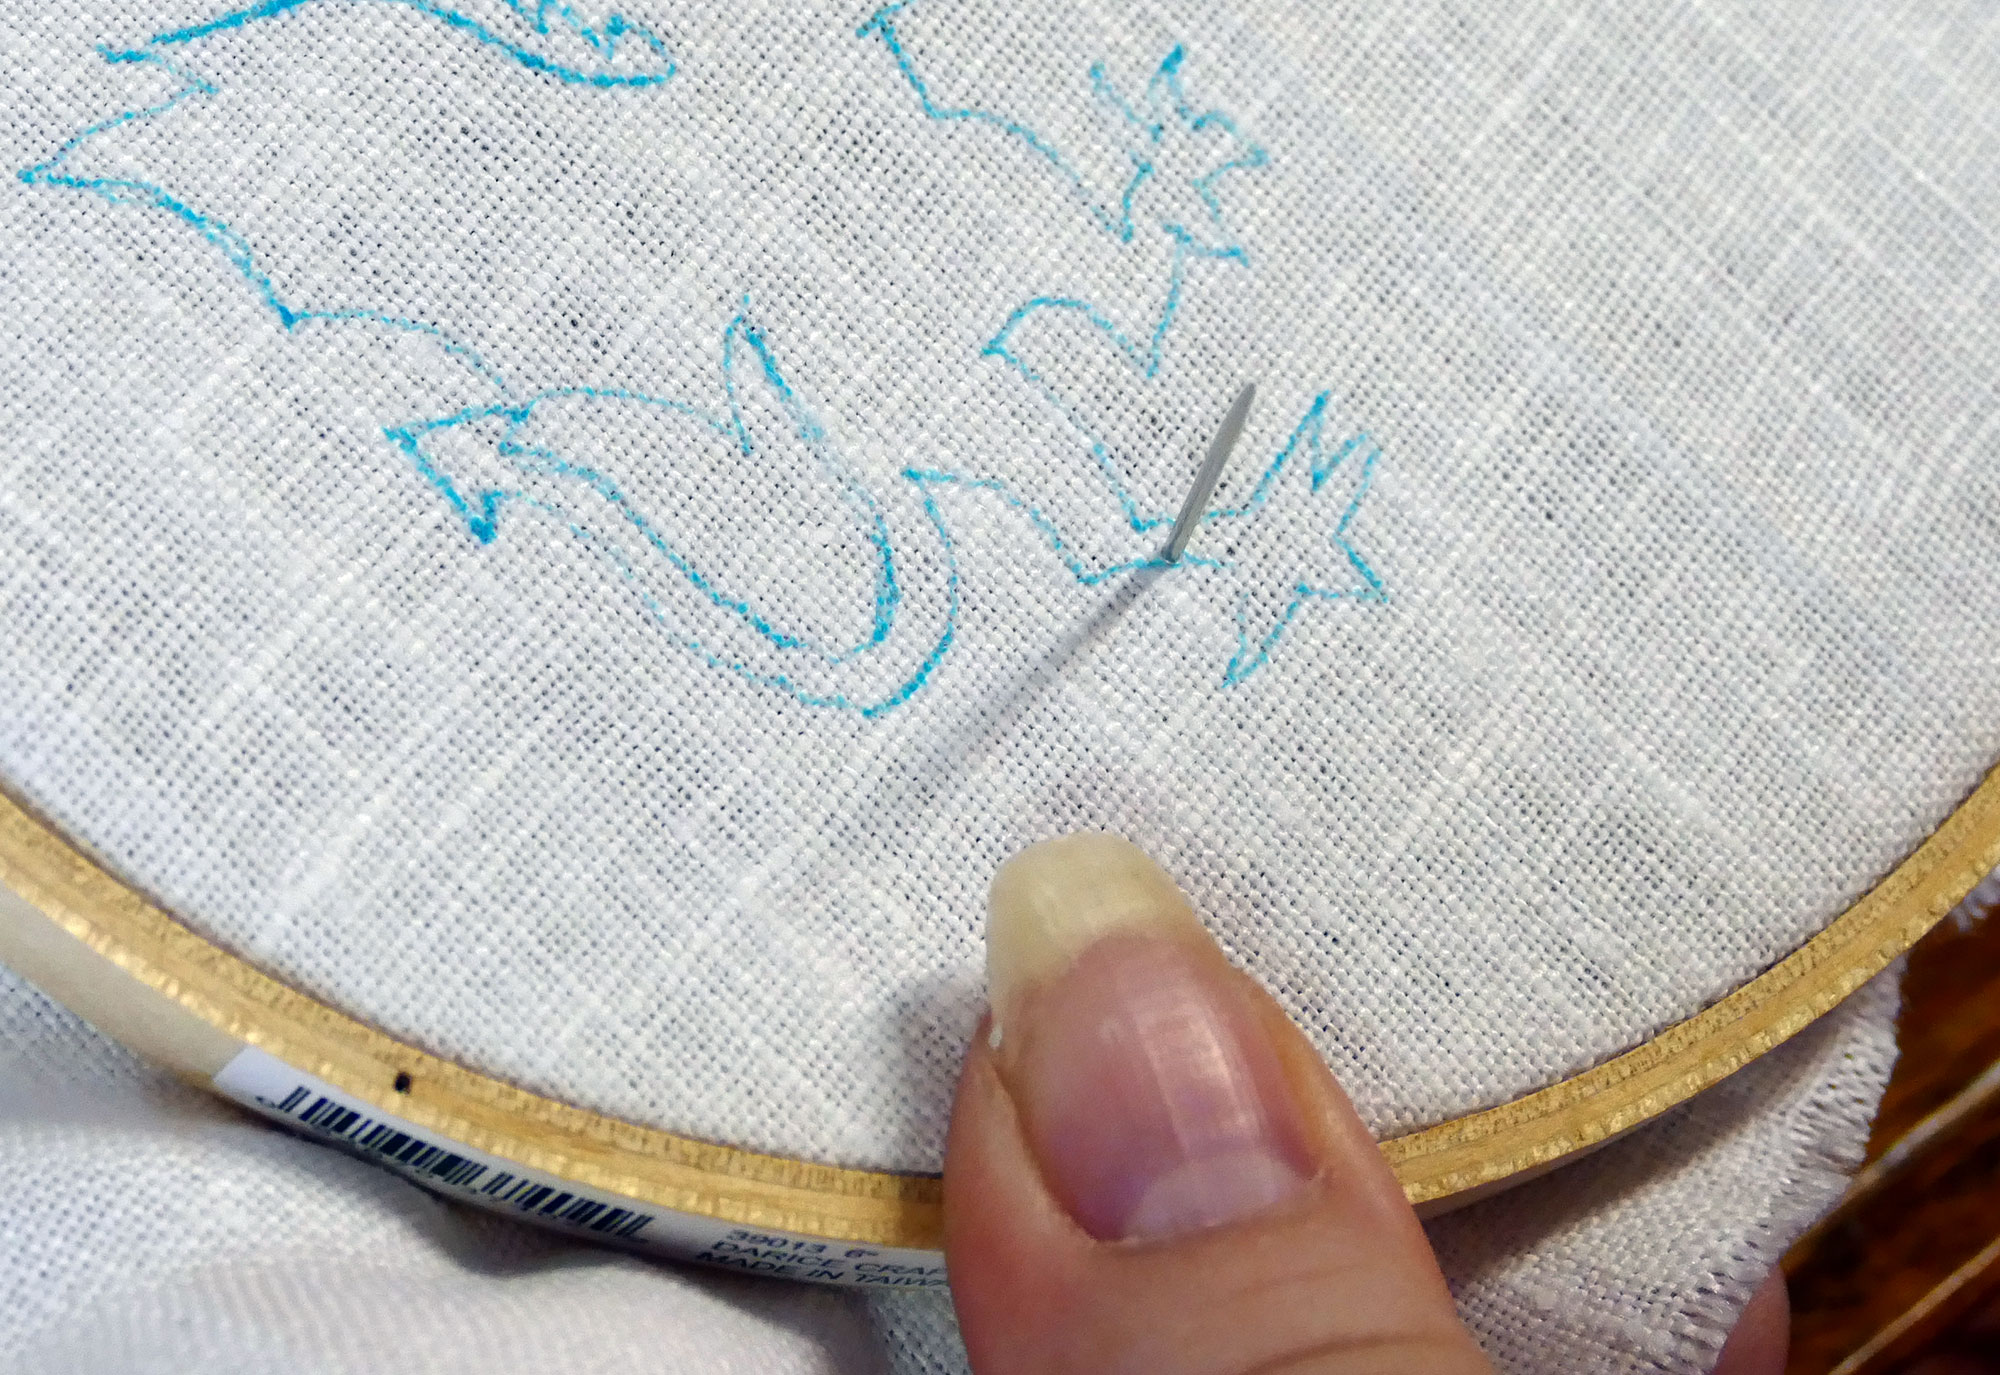
2. Create a pattern and trace it onto your fabric with the water soluble pen (test that pen first to make sure it comes off easily). DO NOT use a pattern printed on an inkjet printer and water soluble pen to trace over it — the liquid in the pen will cause some of the ink to come off onto your fabric. Go on, ask me how I know this. (I had to scrap my first yard of fabric because of this mistake.)

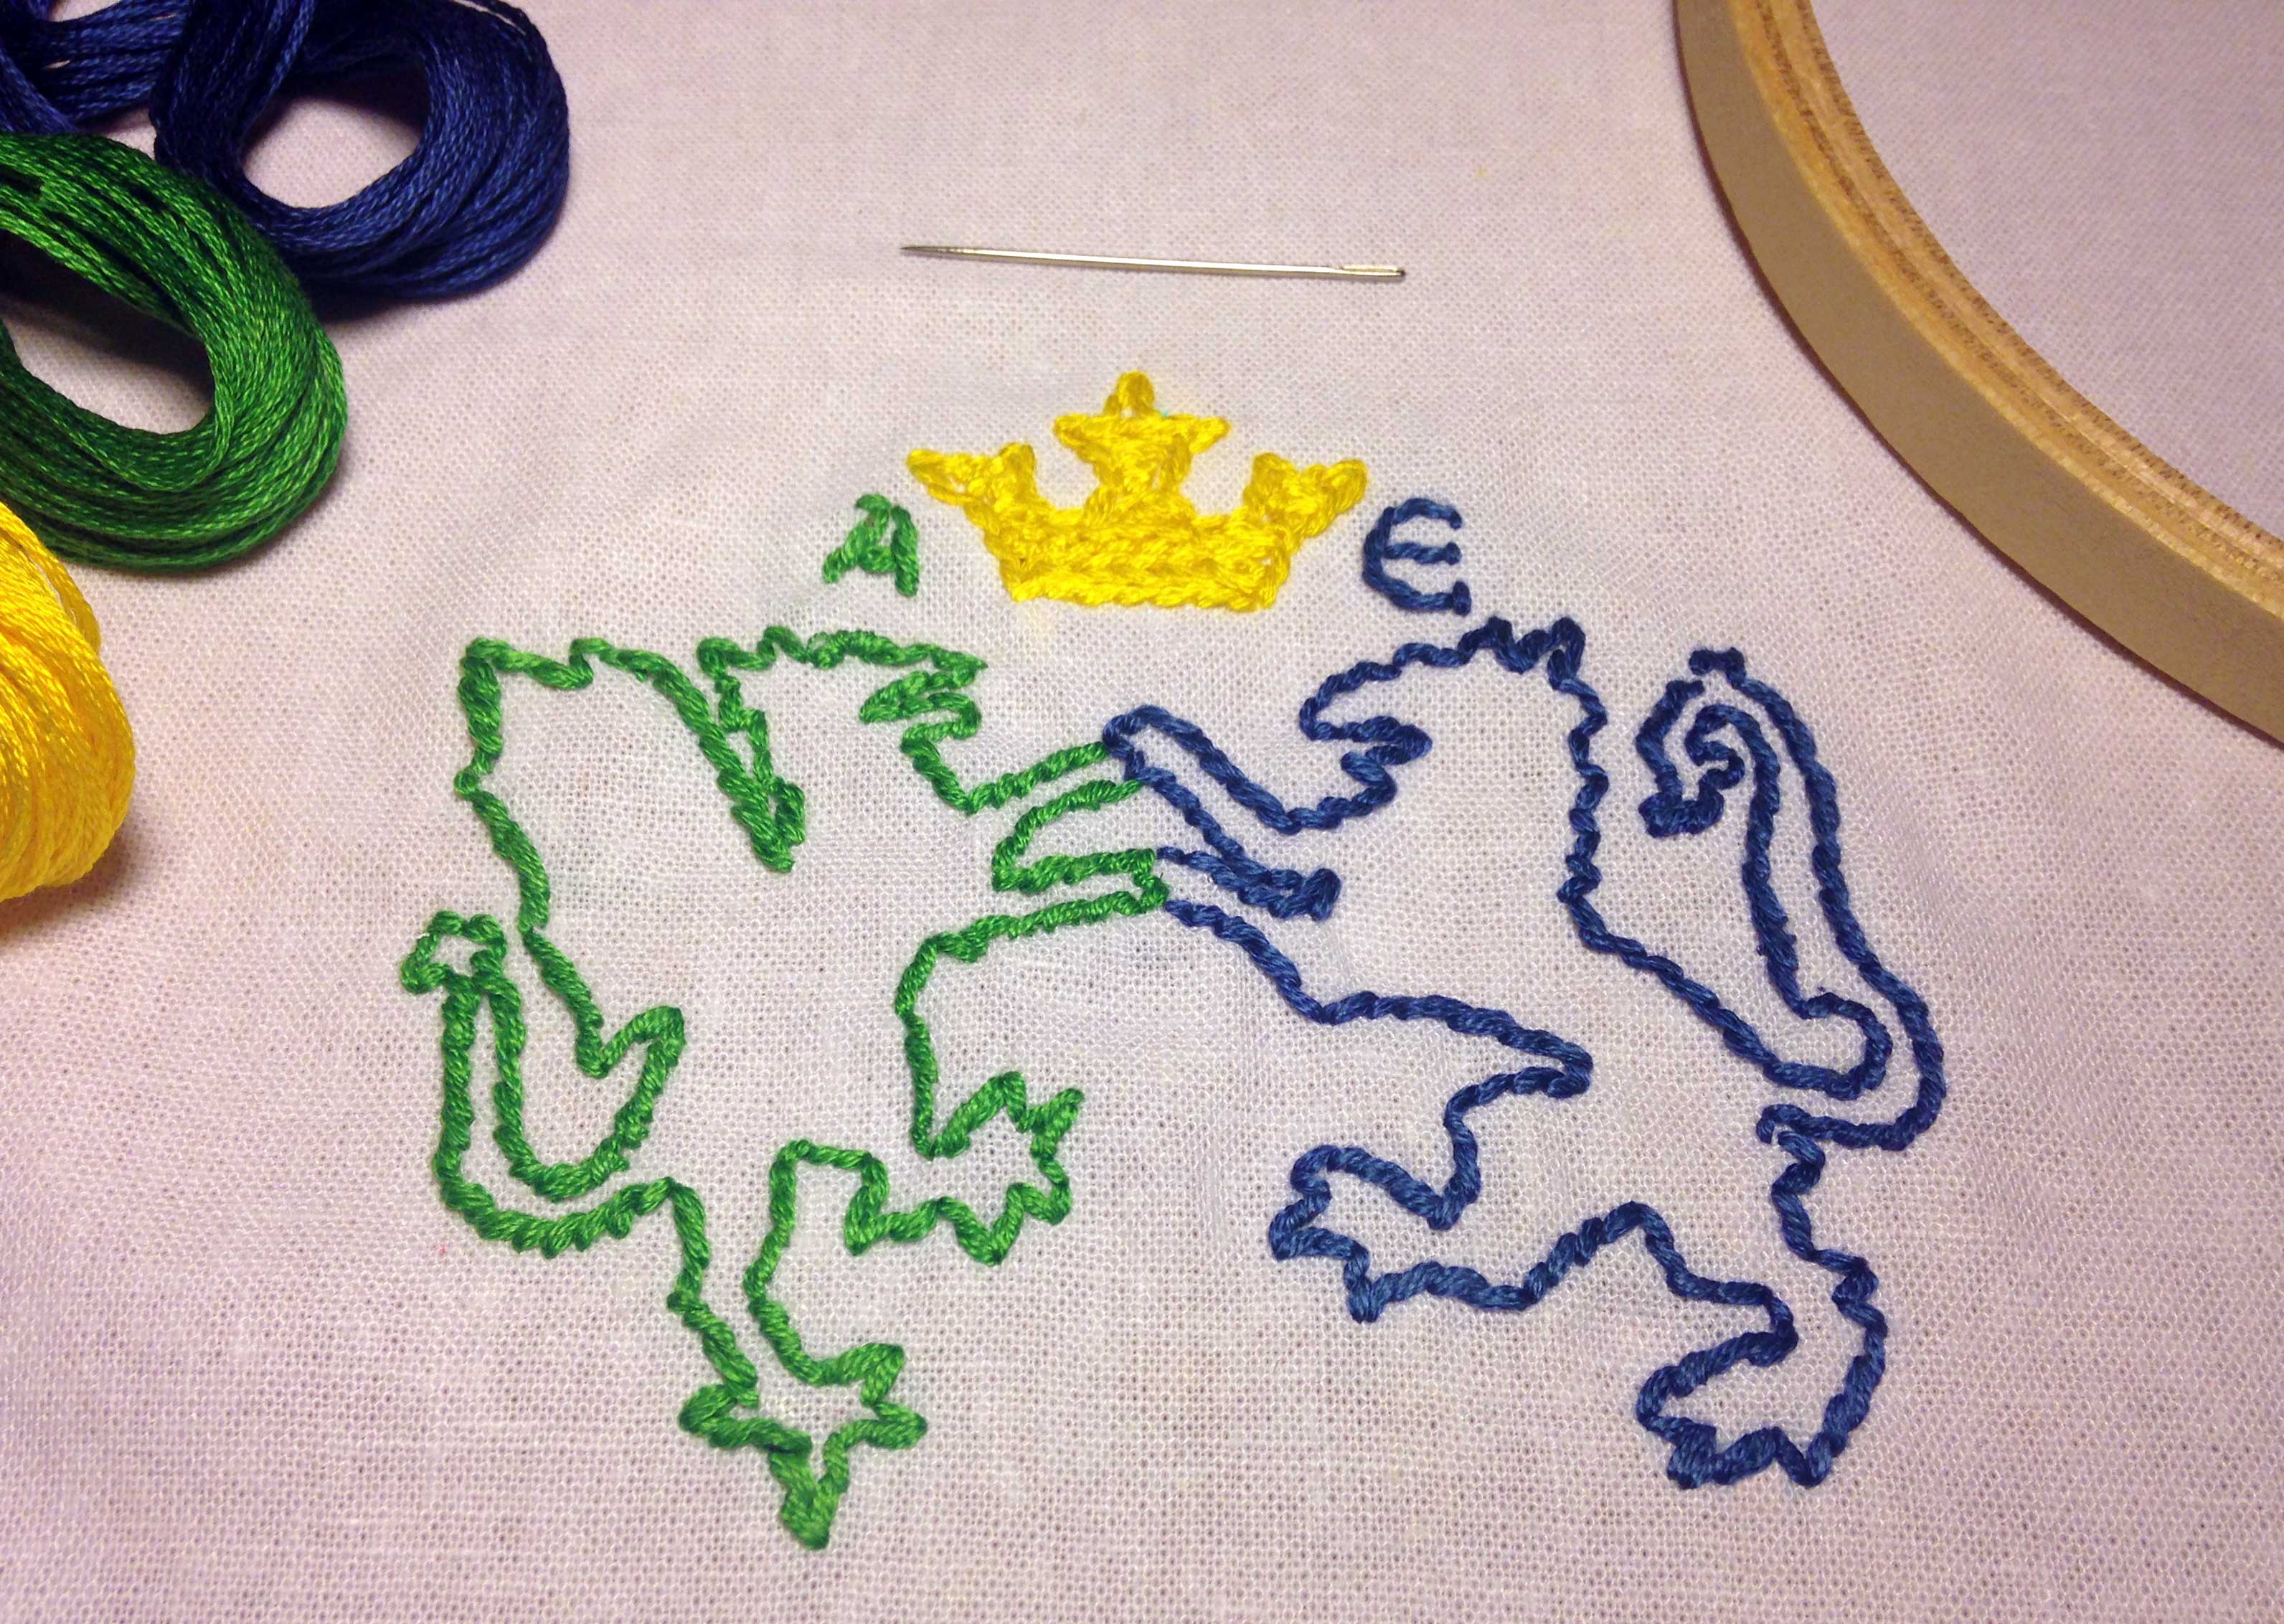
My pelican-in-a-laurel-wreath pattern
3. Put your marked fabric in a frame — pay attention to the tension of the fabric. Tight, but not too tight.
4. Outline your pattern using parallel running stitches set 1/8″ apart — I liked to sew along the inside edge of my markings and then along outside edge, and that usually put my two lines of stitching at about 1/8″ apart. Be careful not to pull these stitches tight, as that would pucker the fabric.
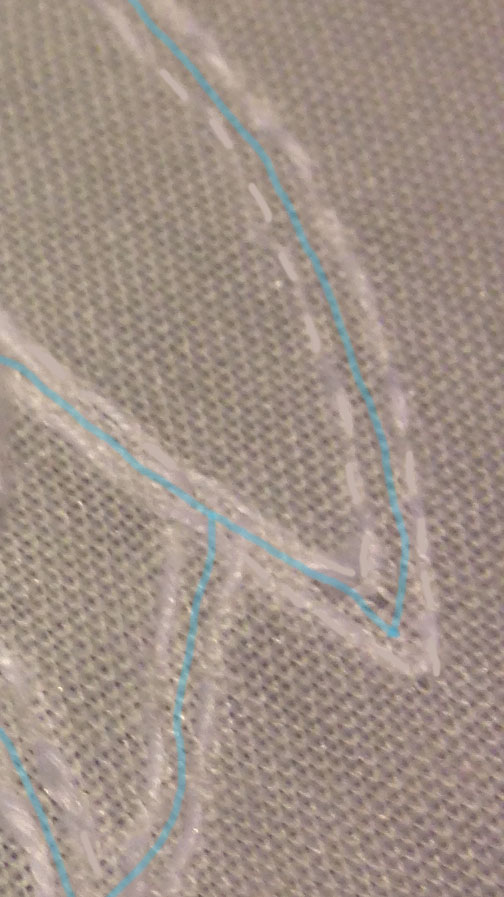
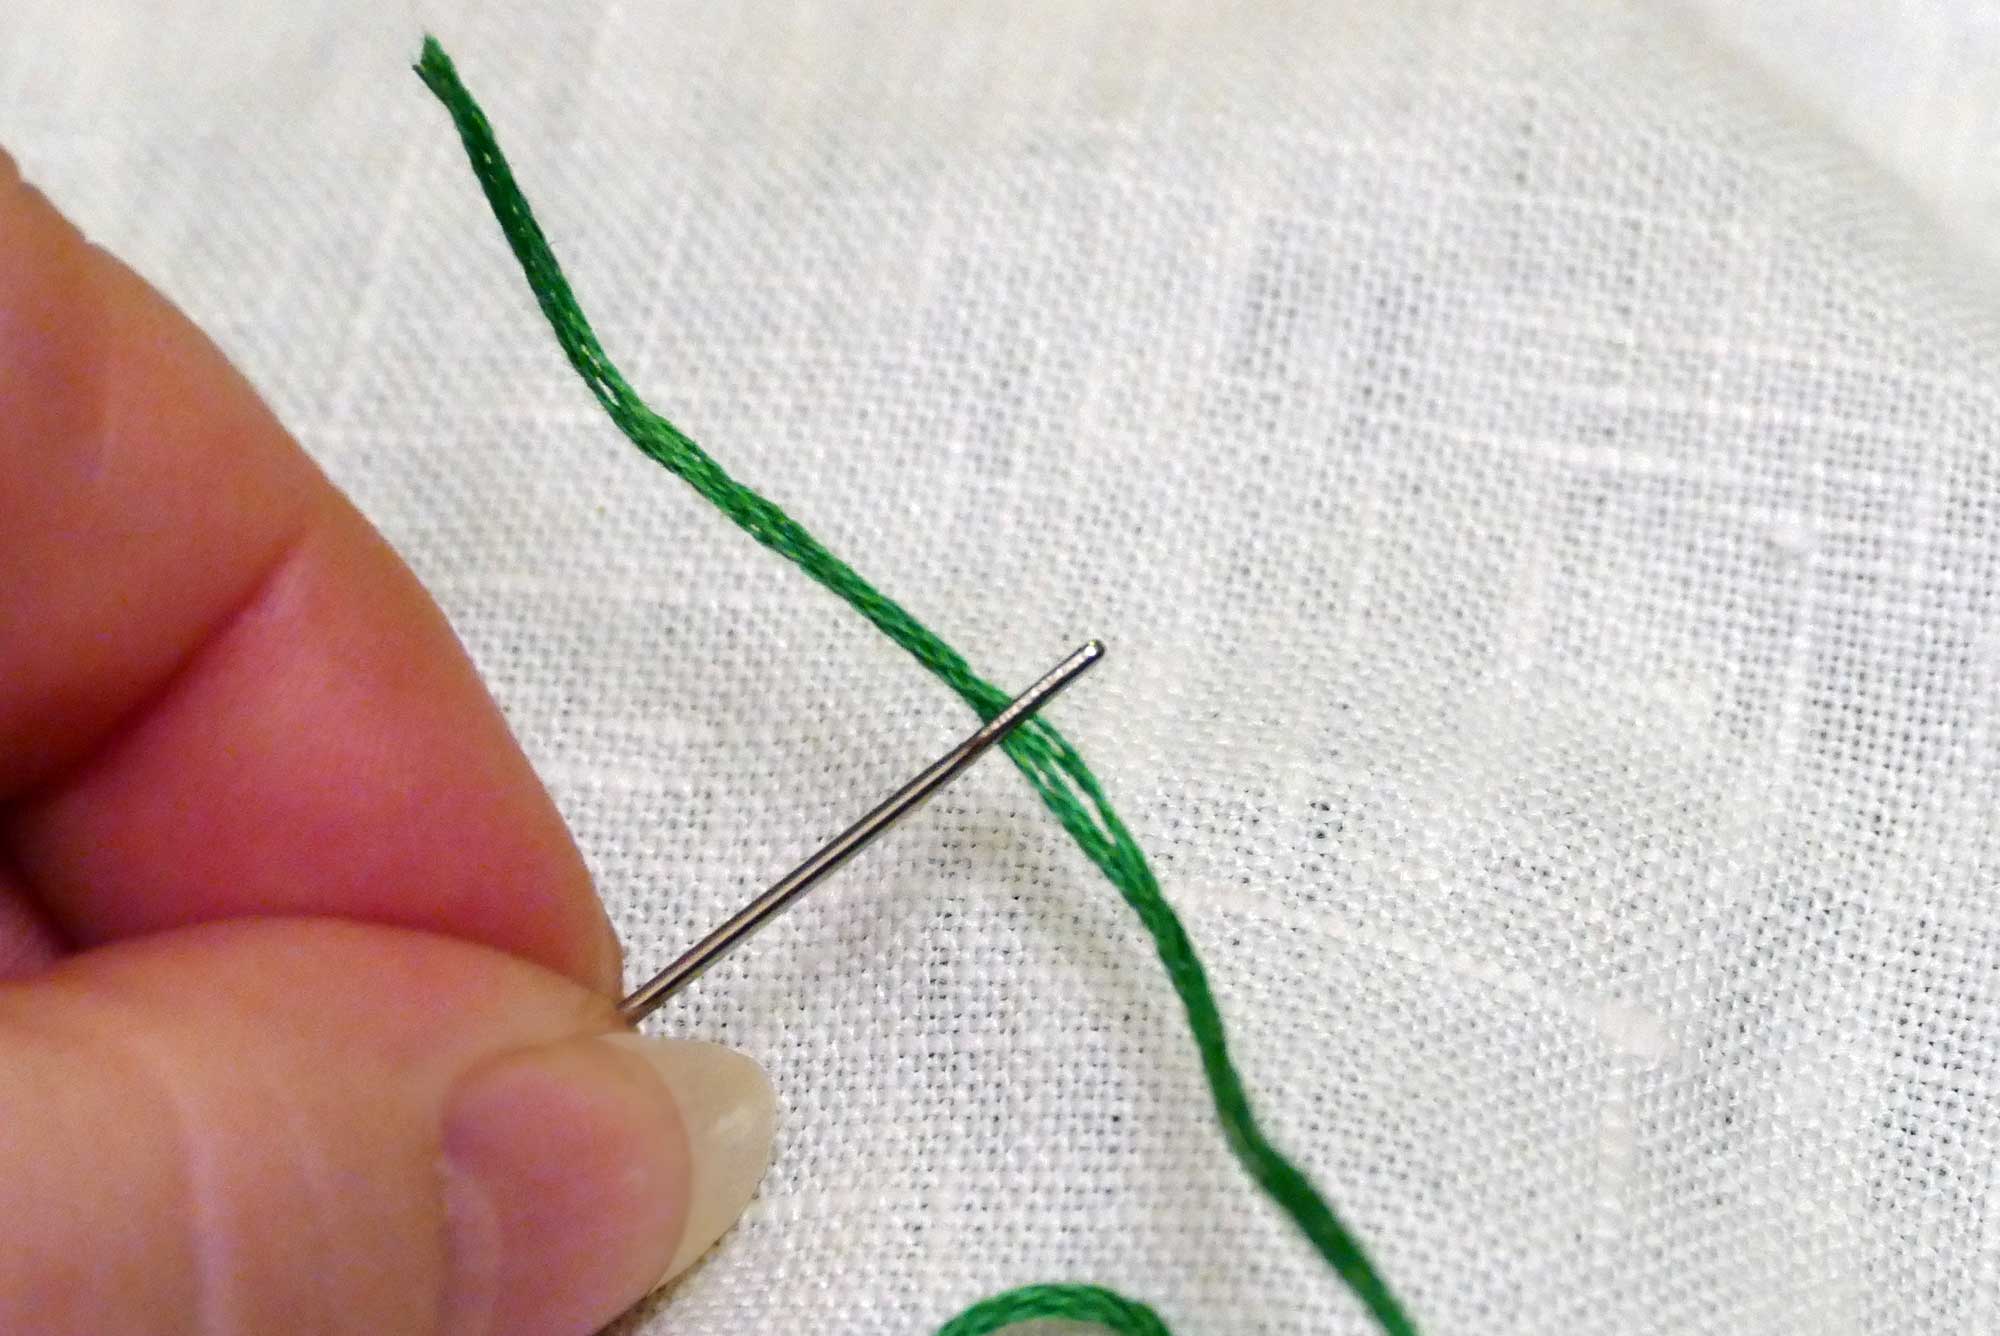
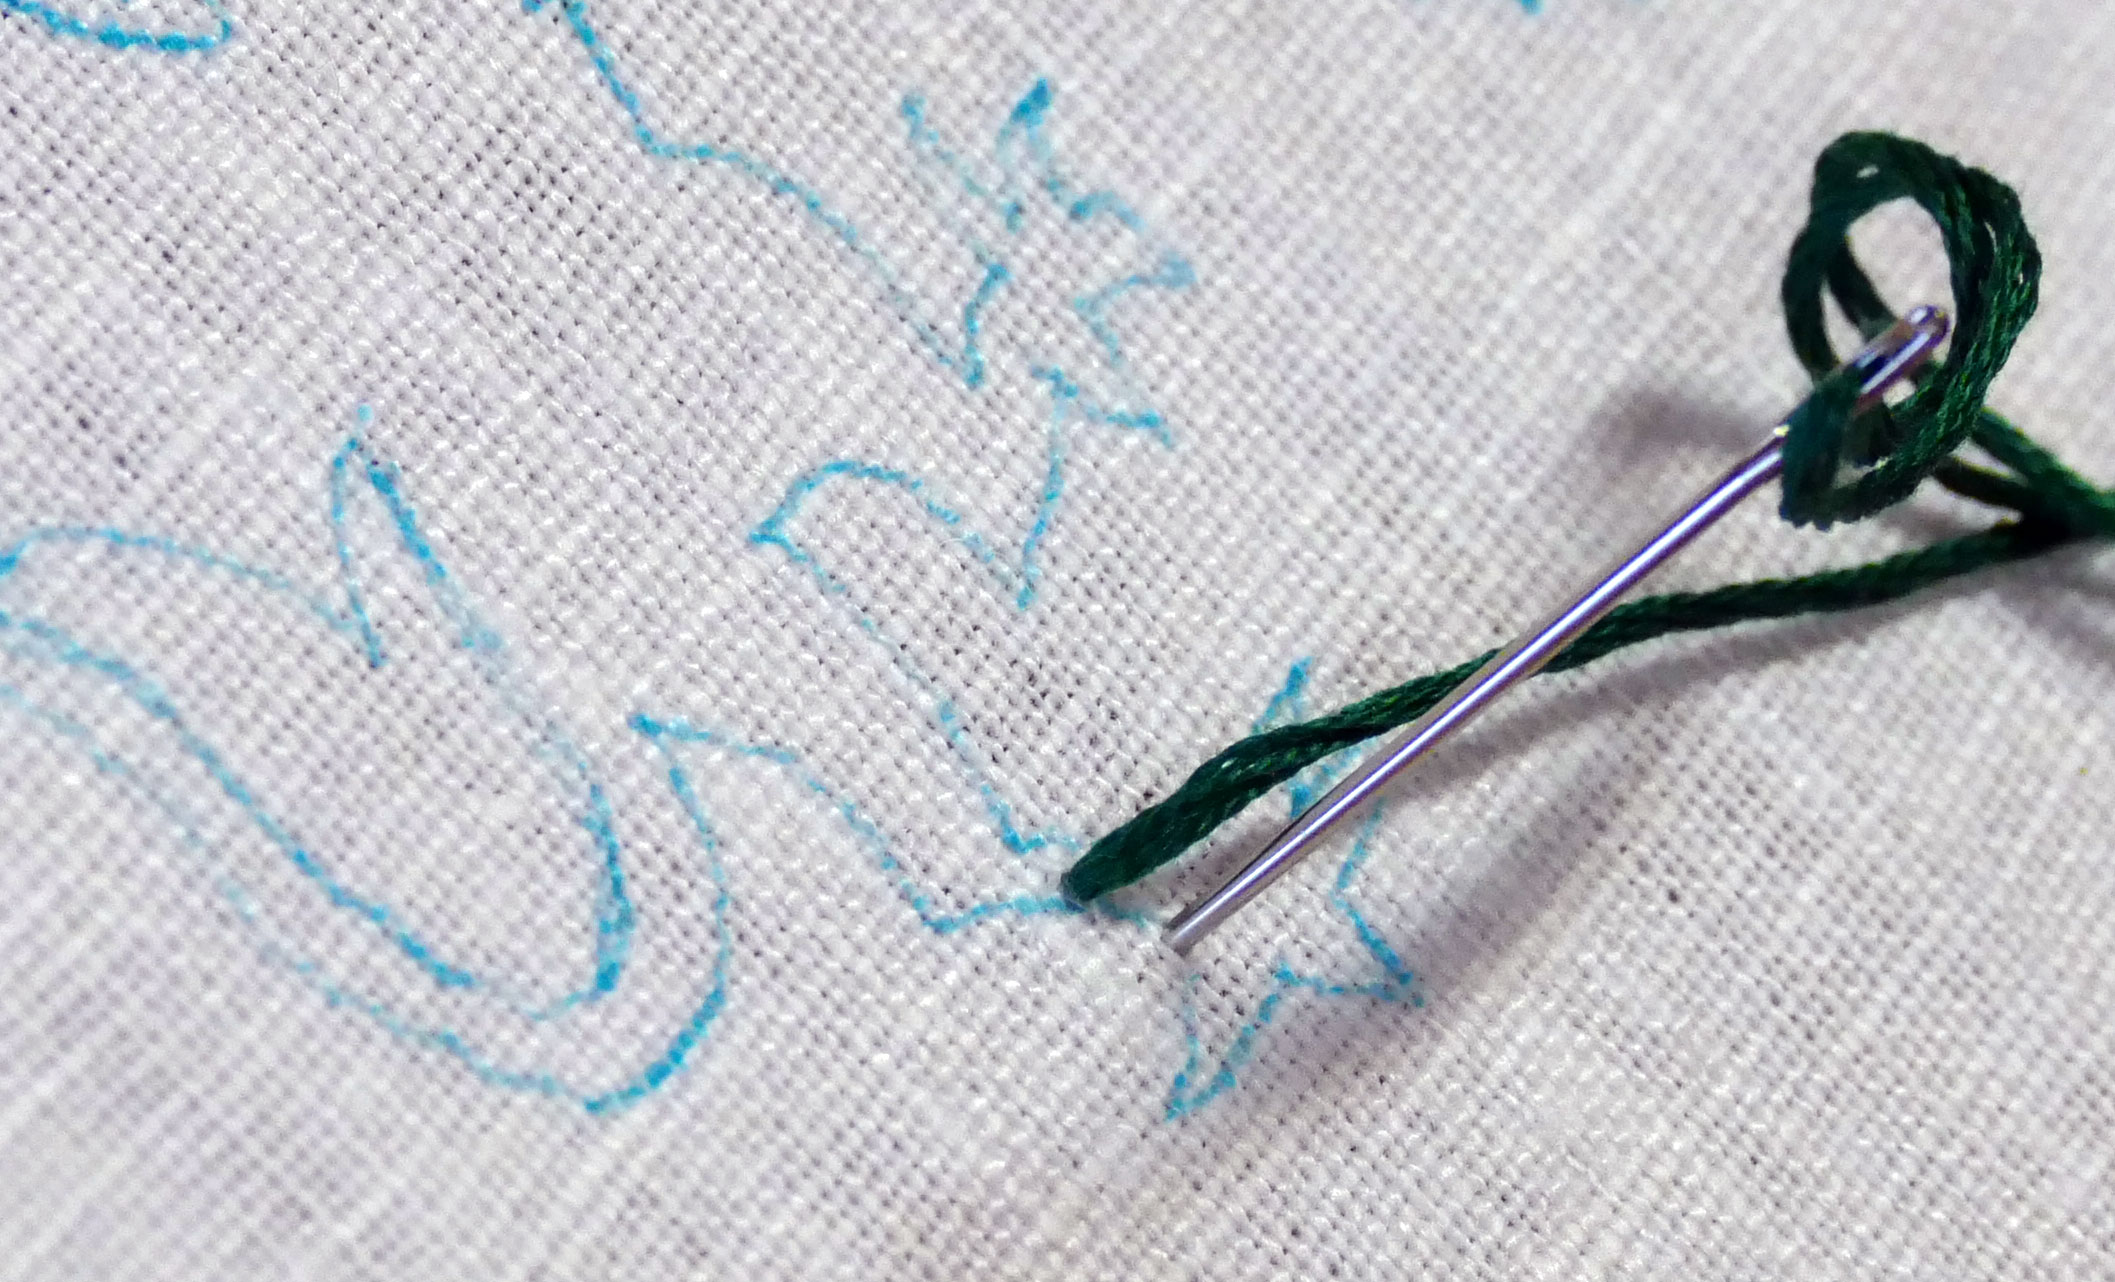
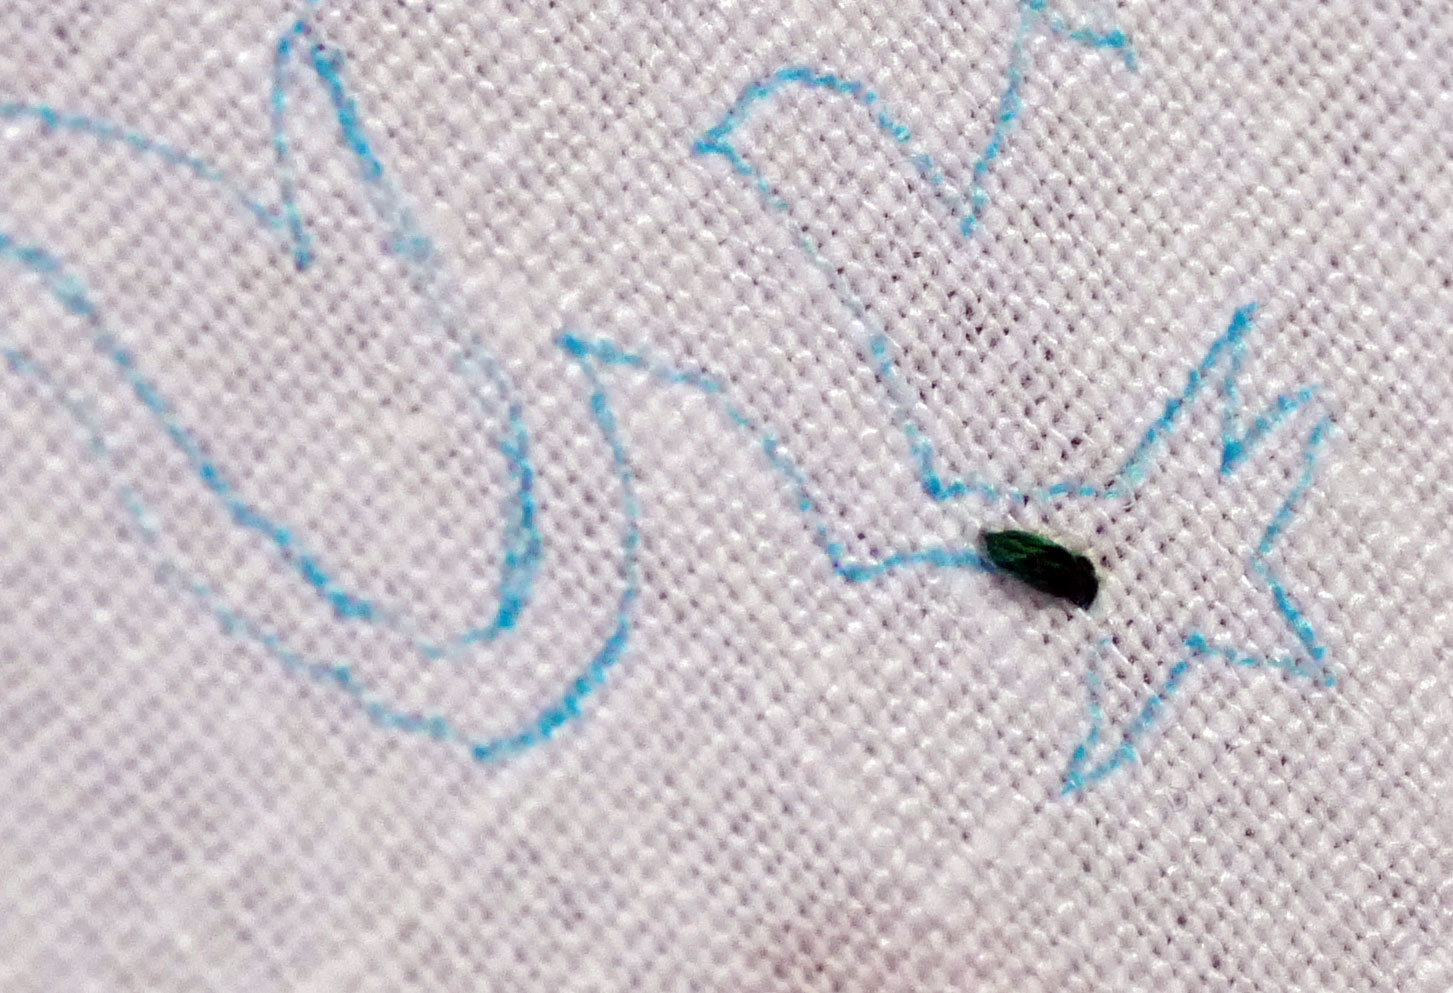
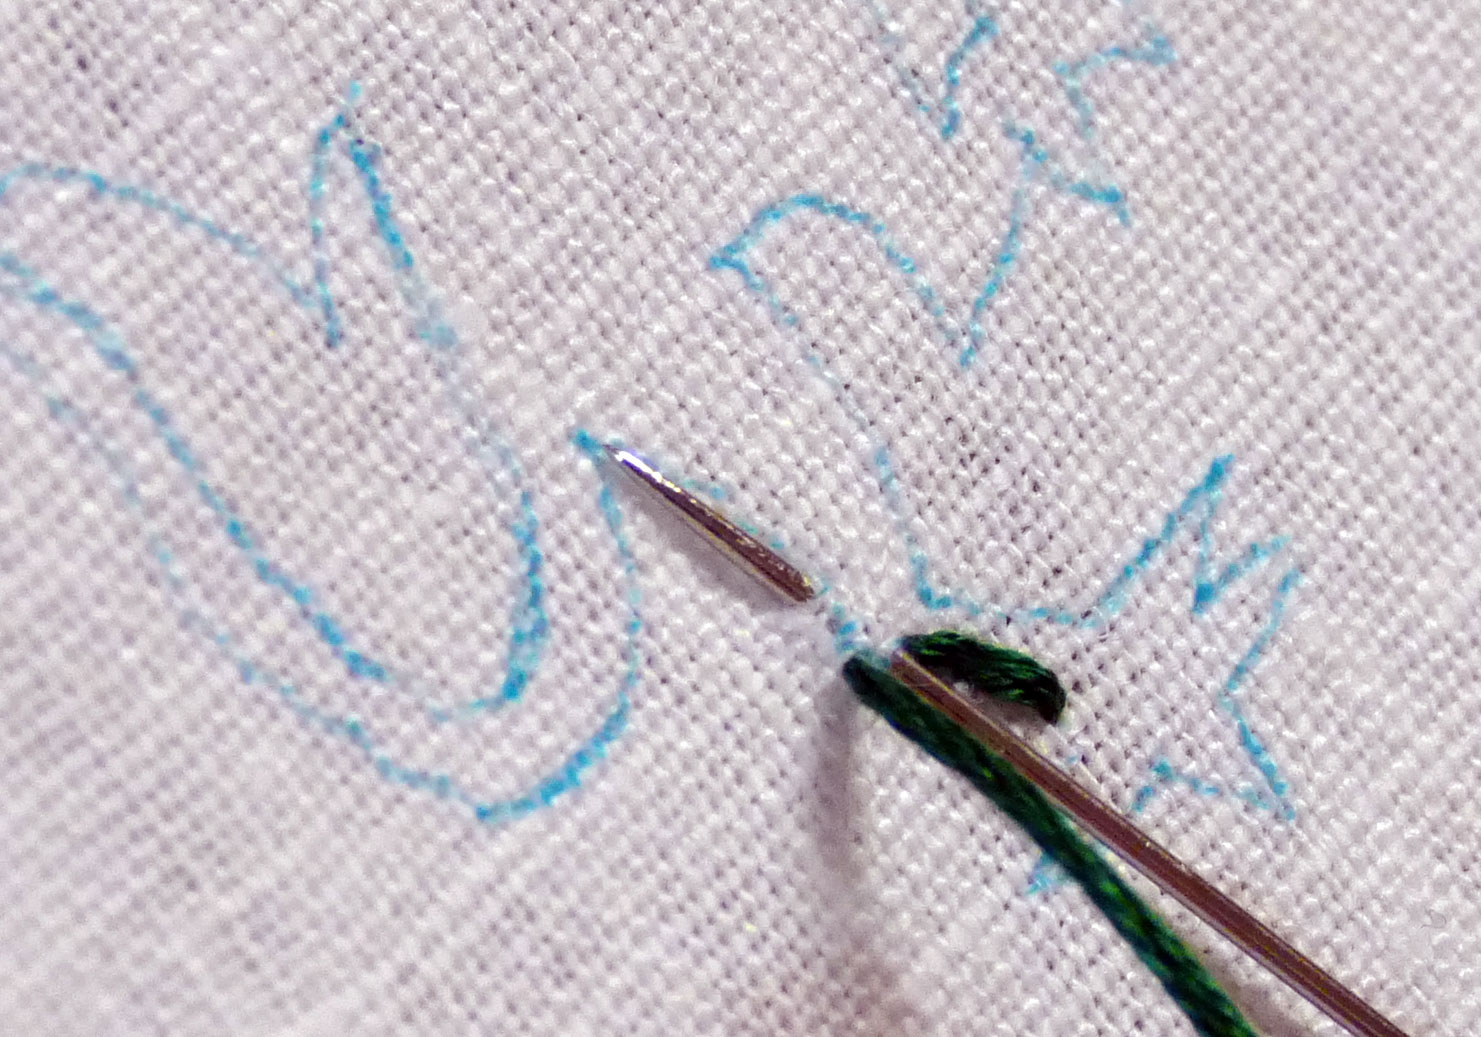
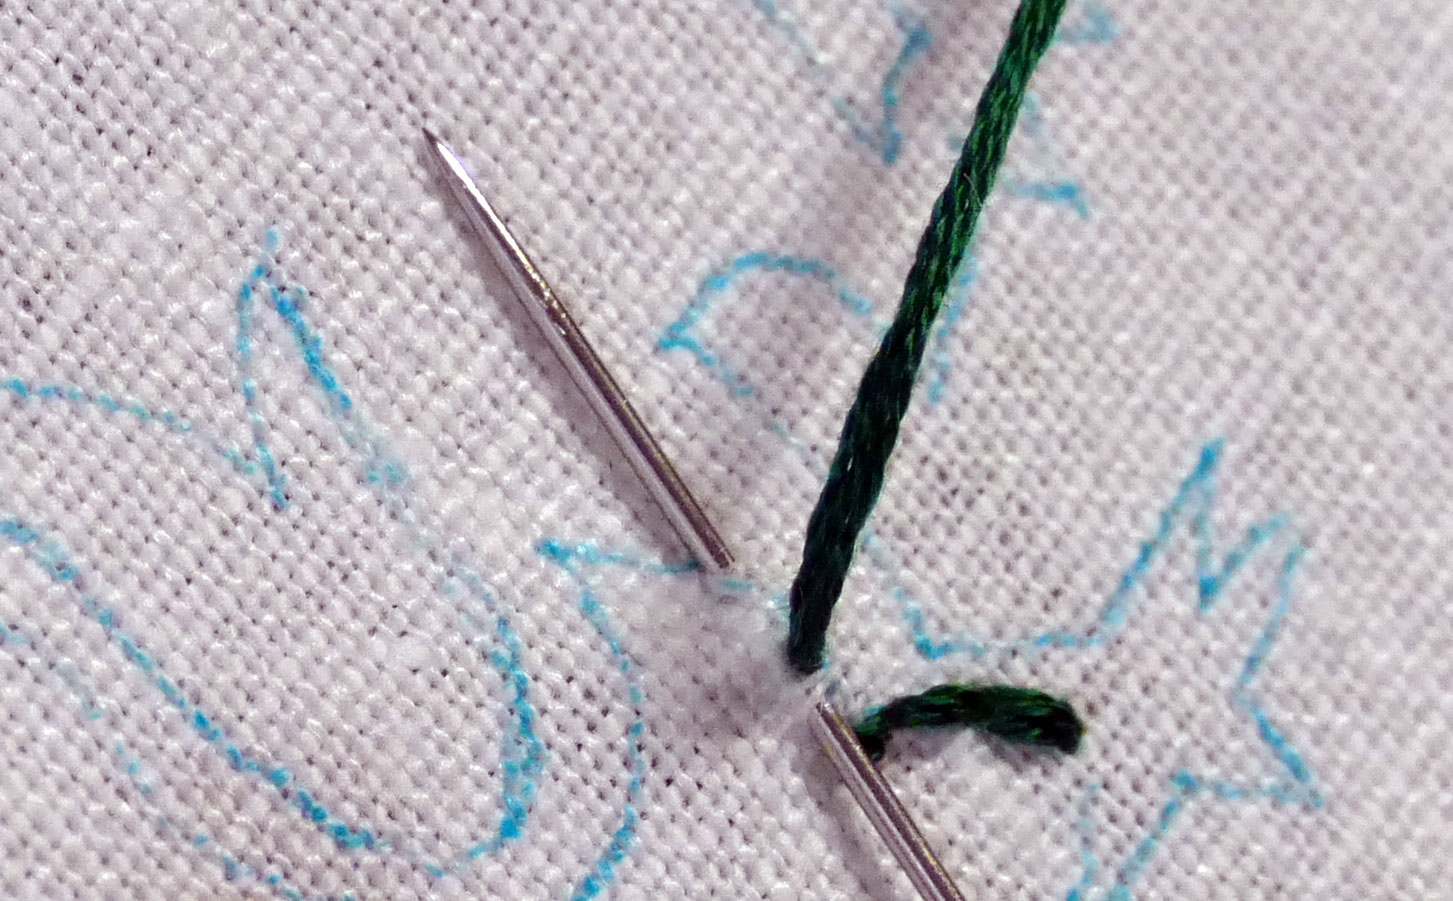
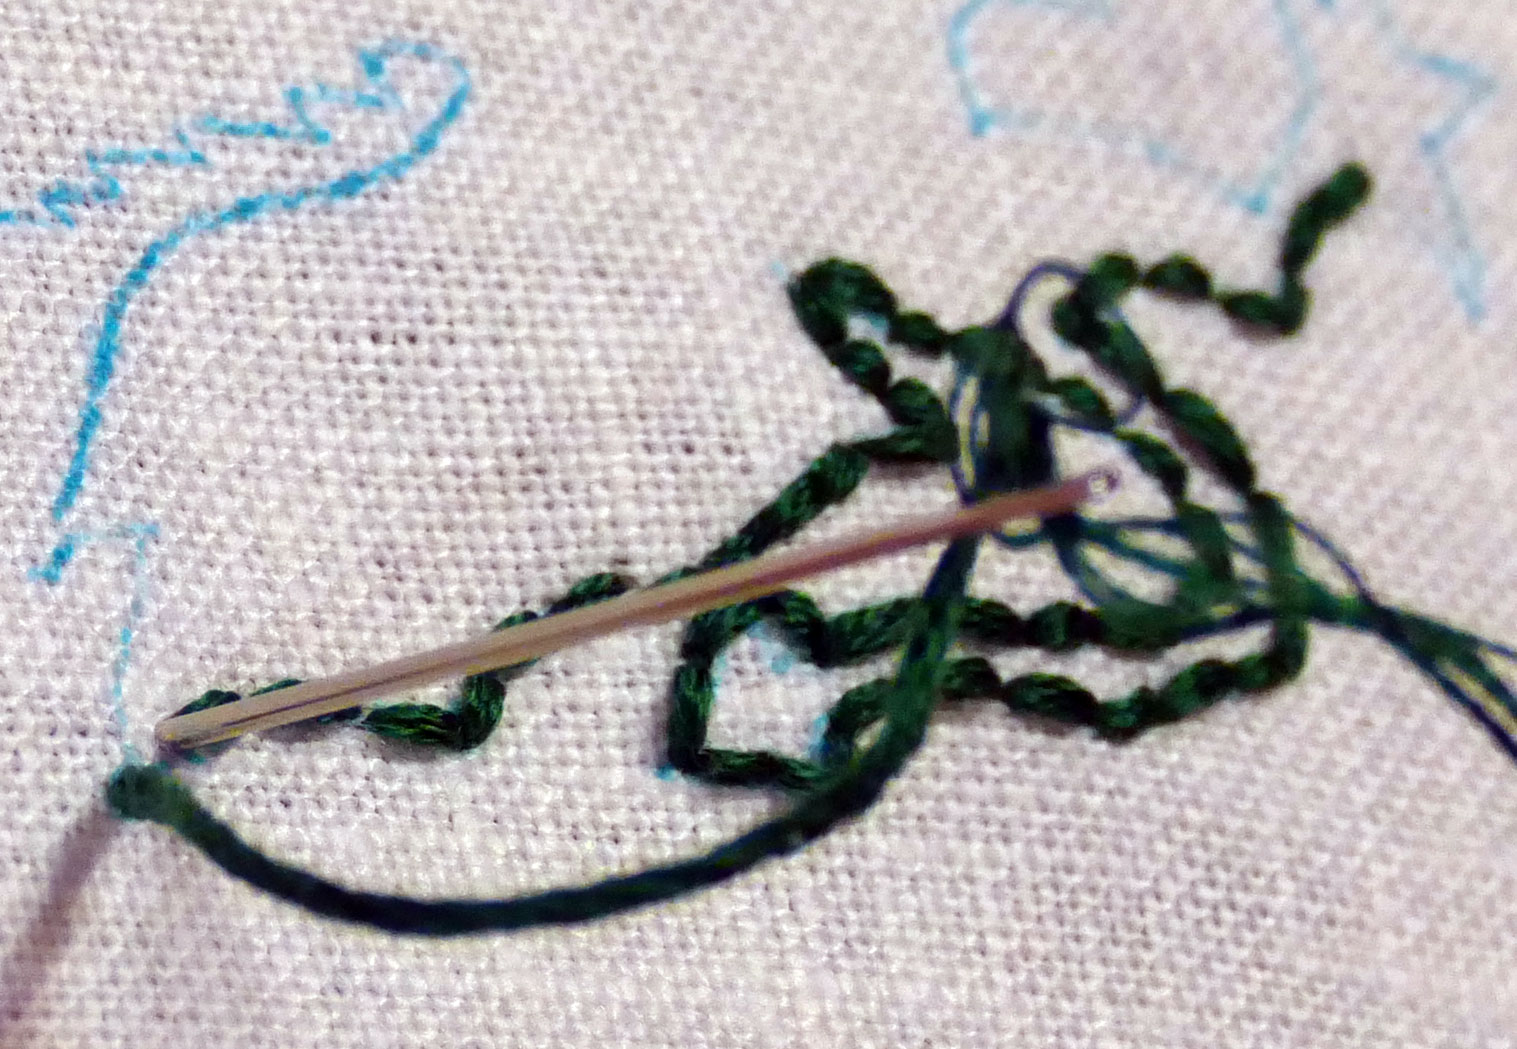
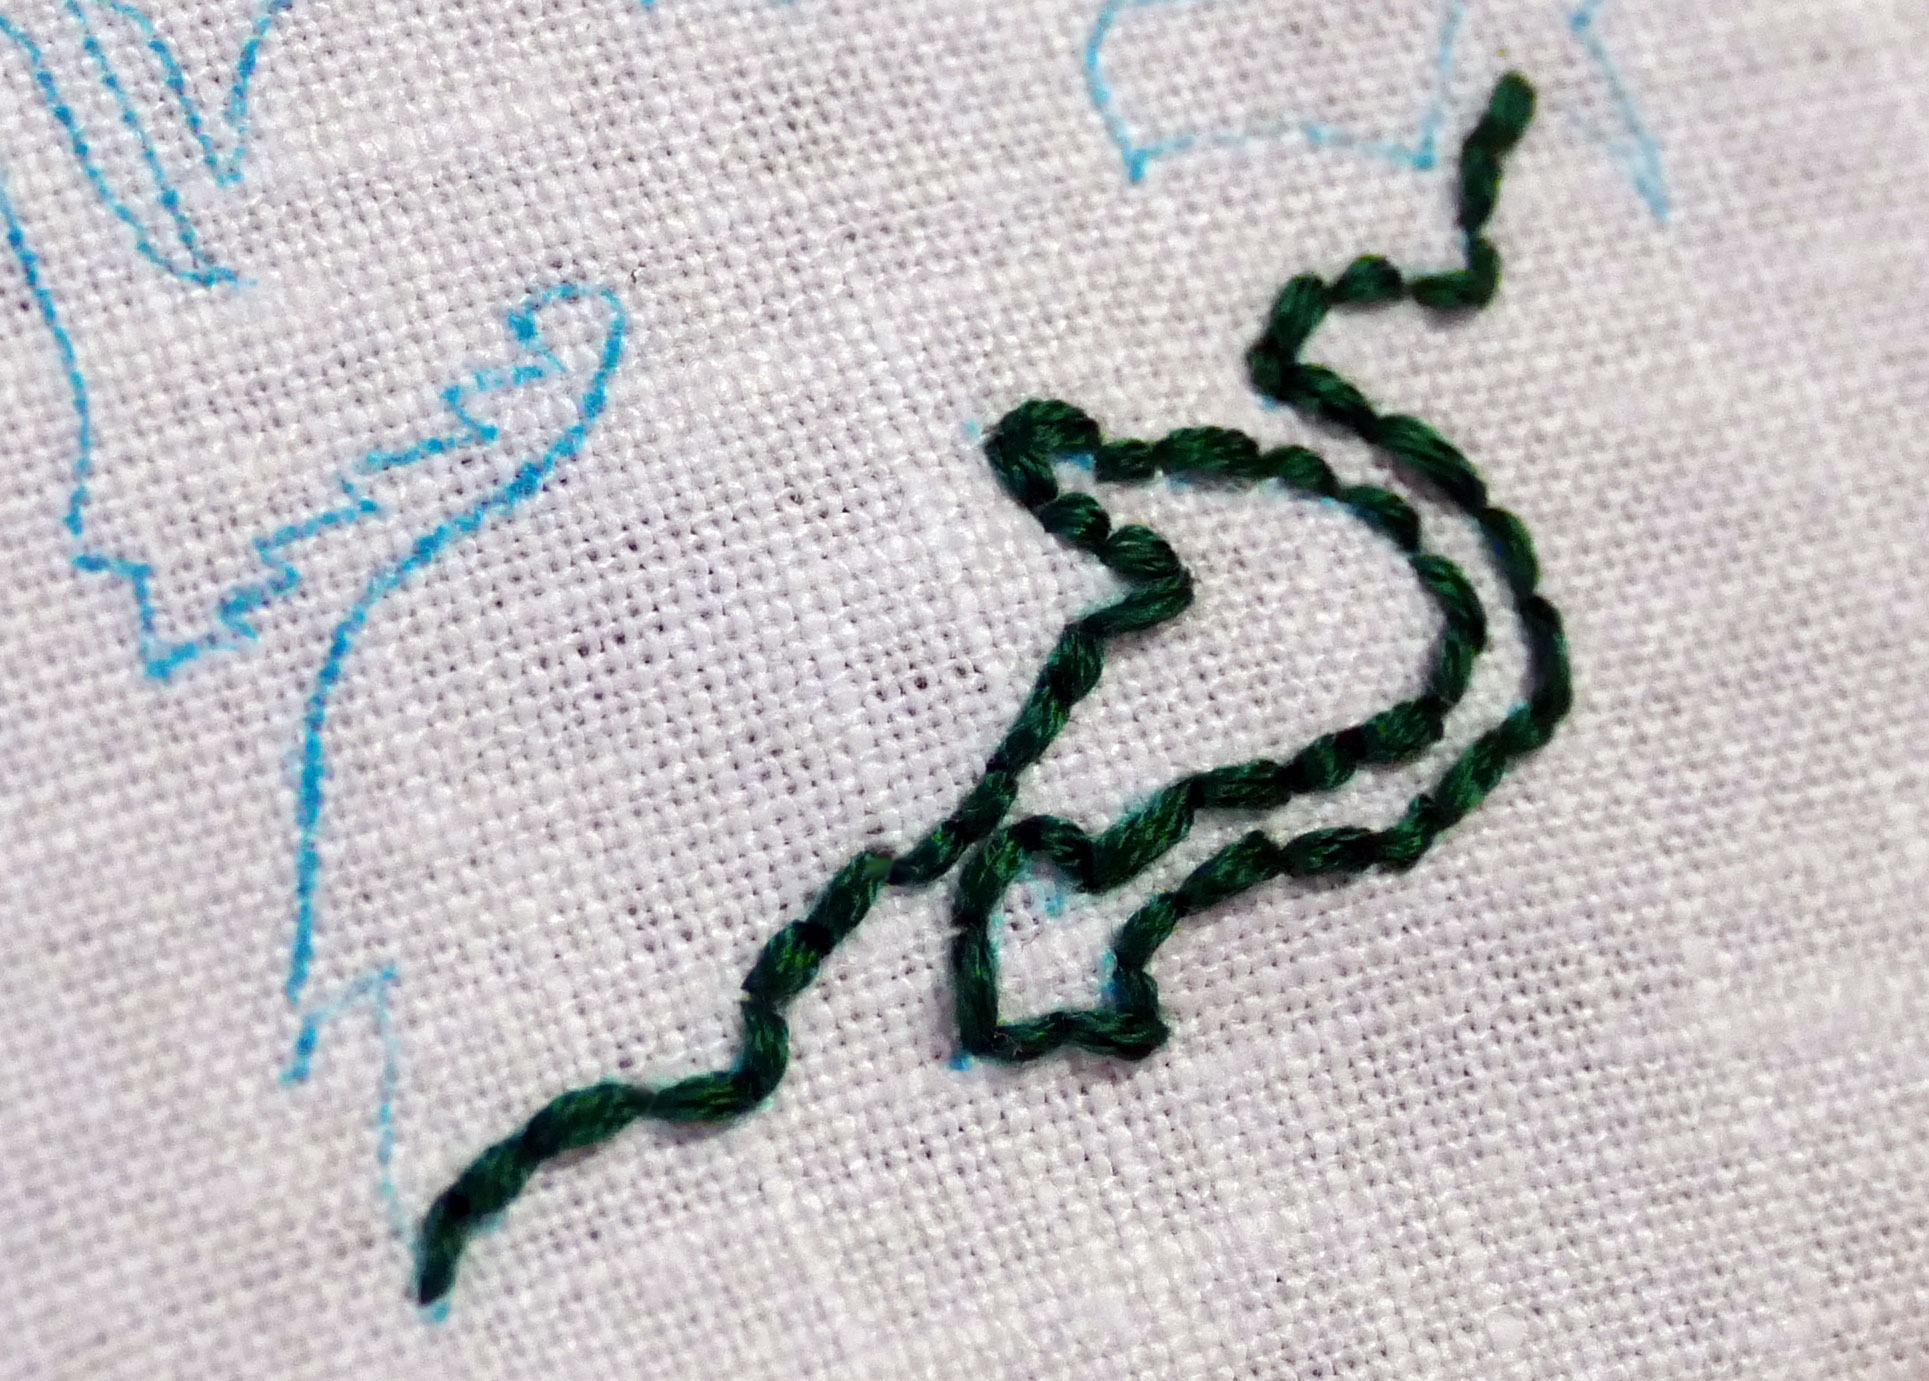
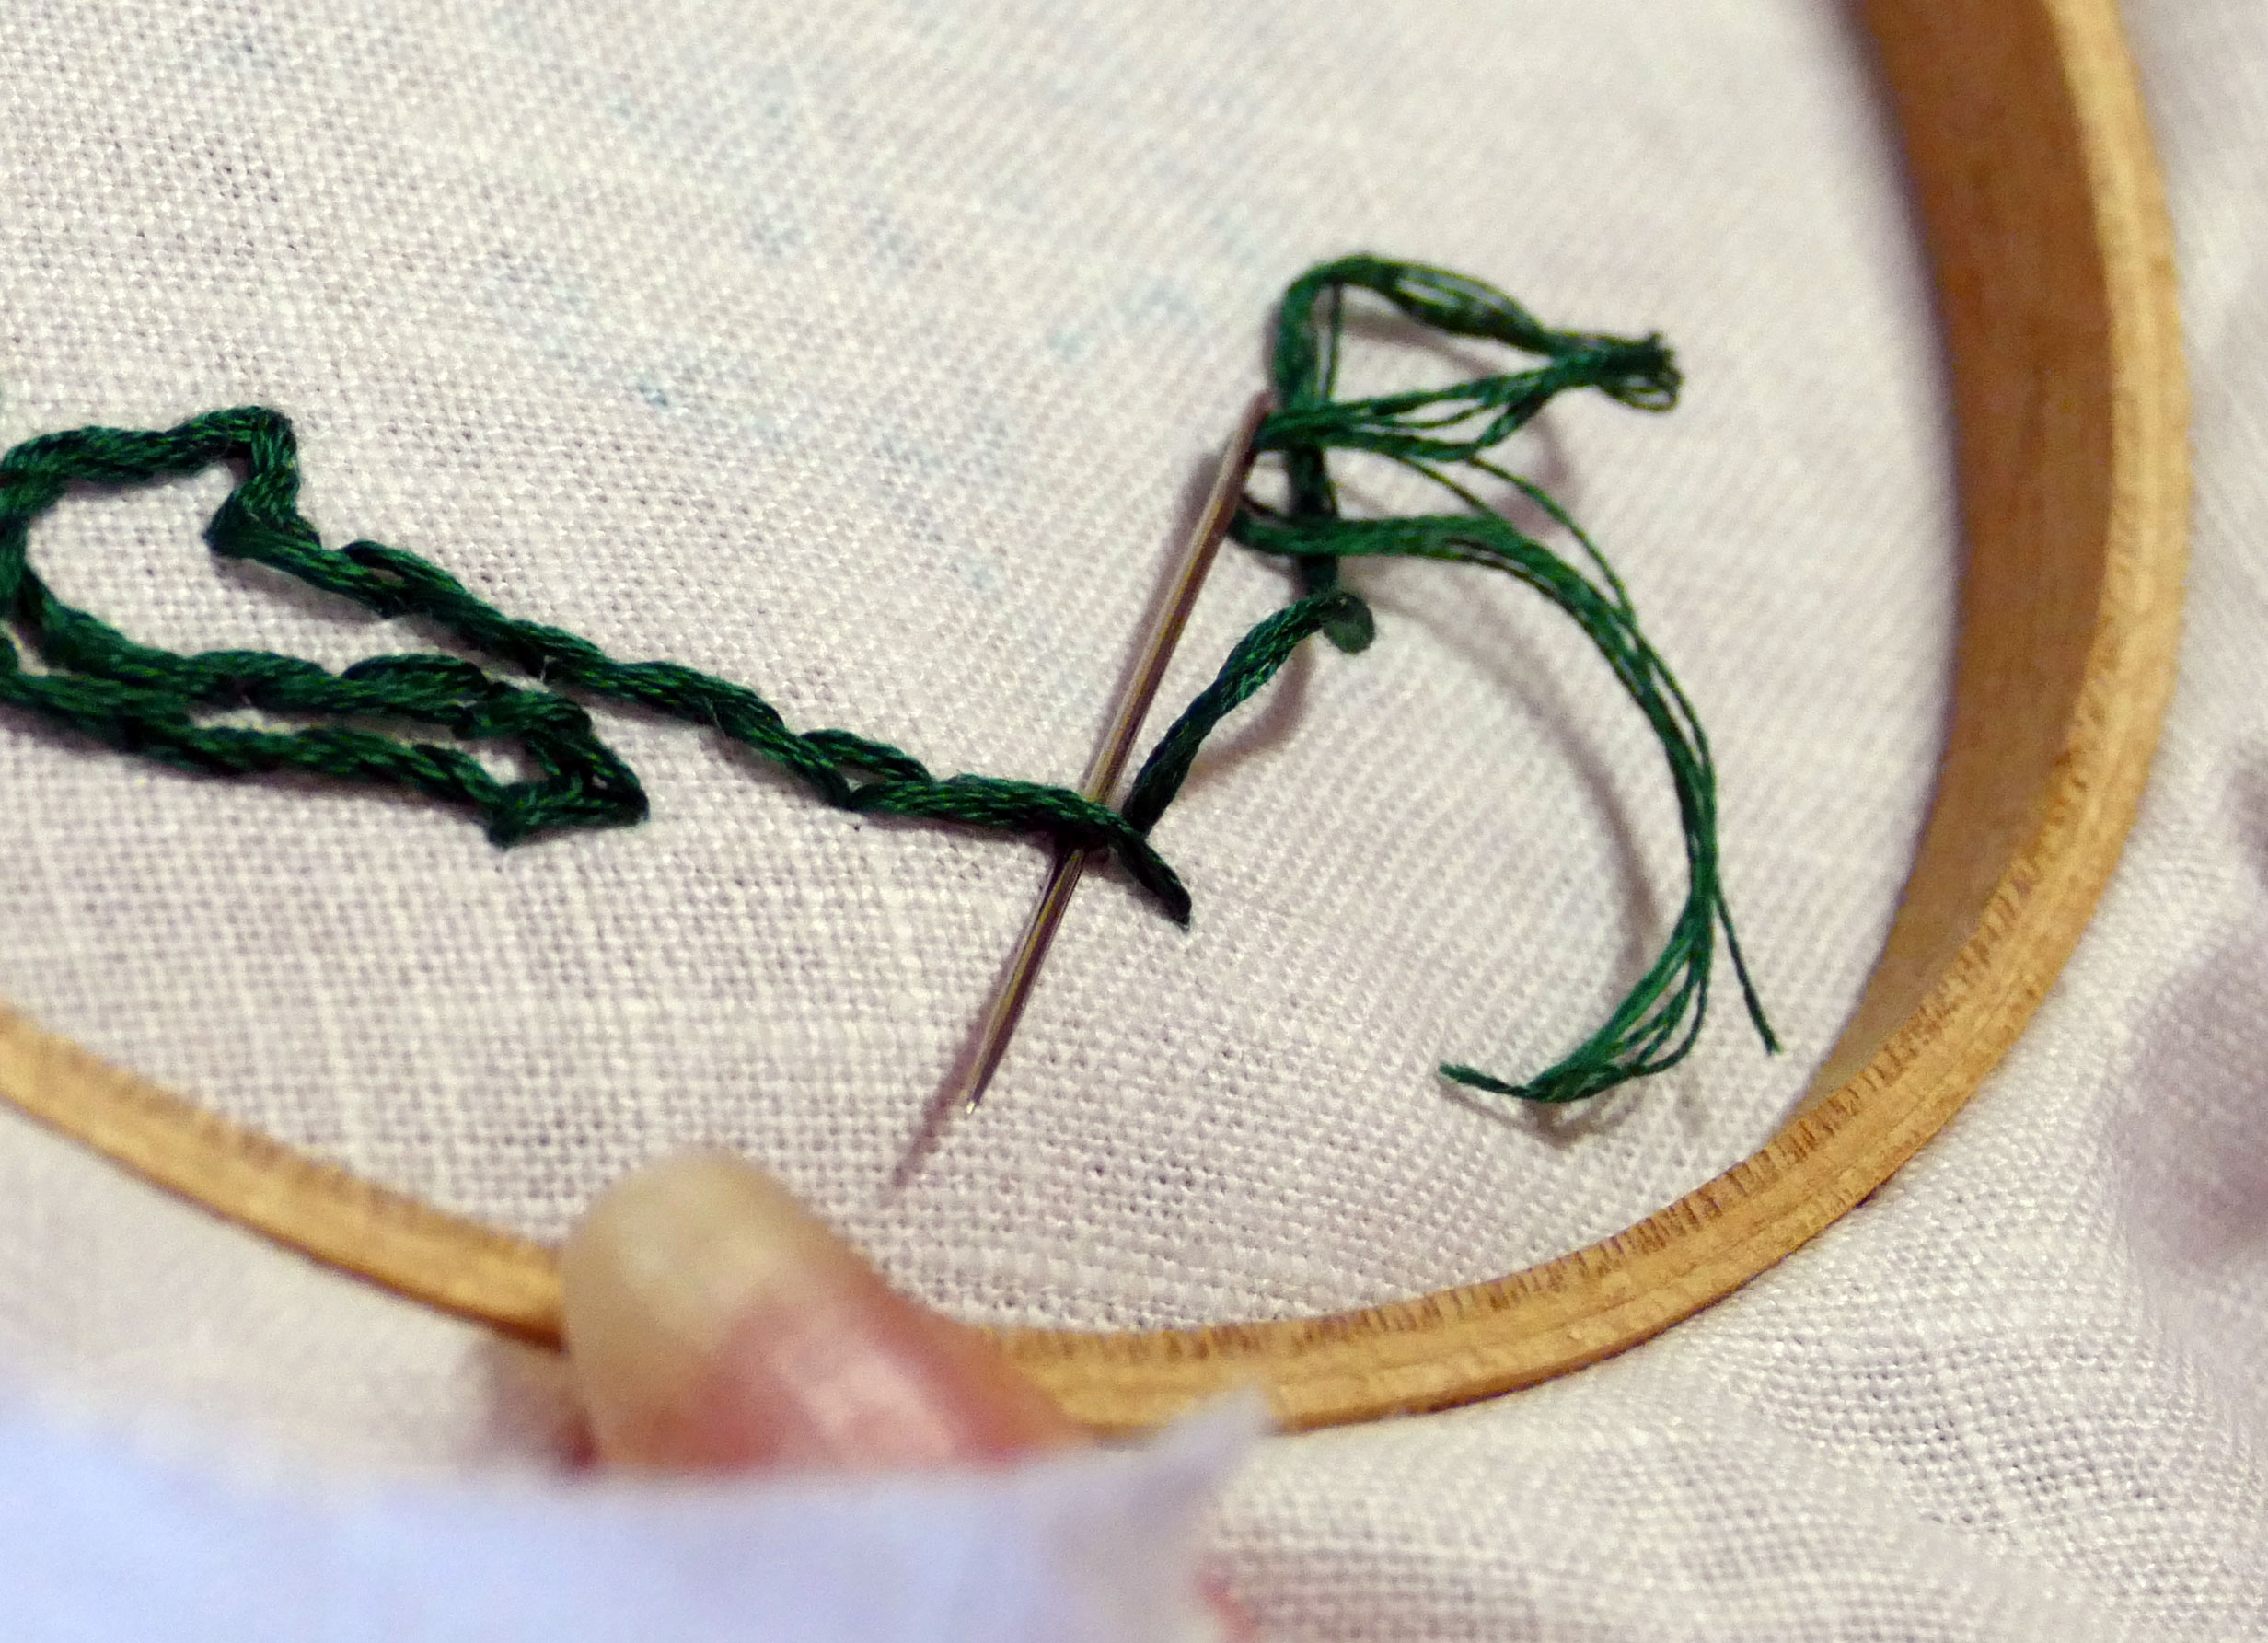
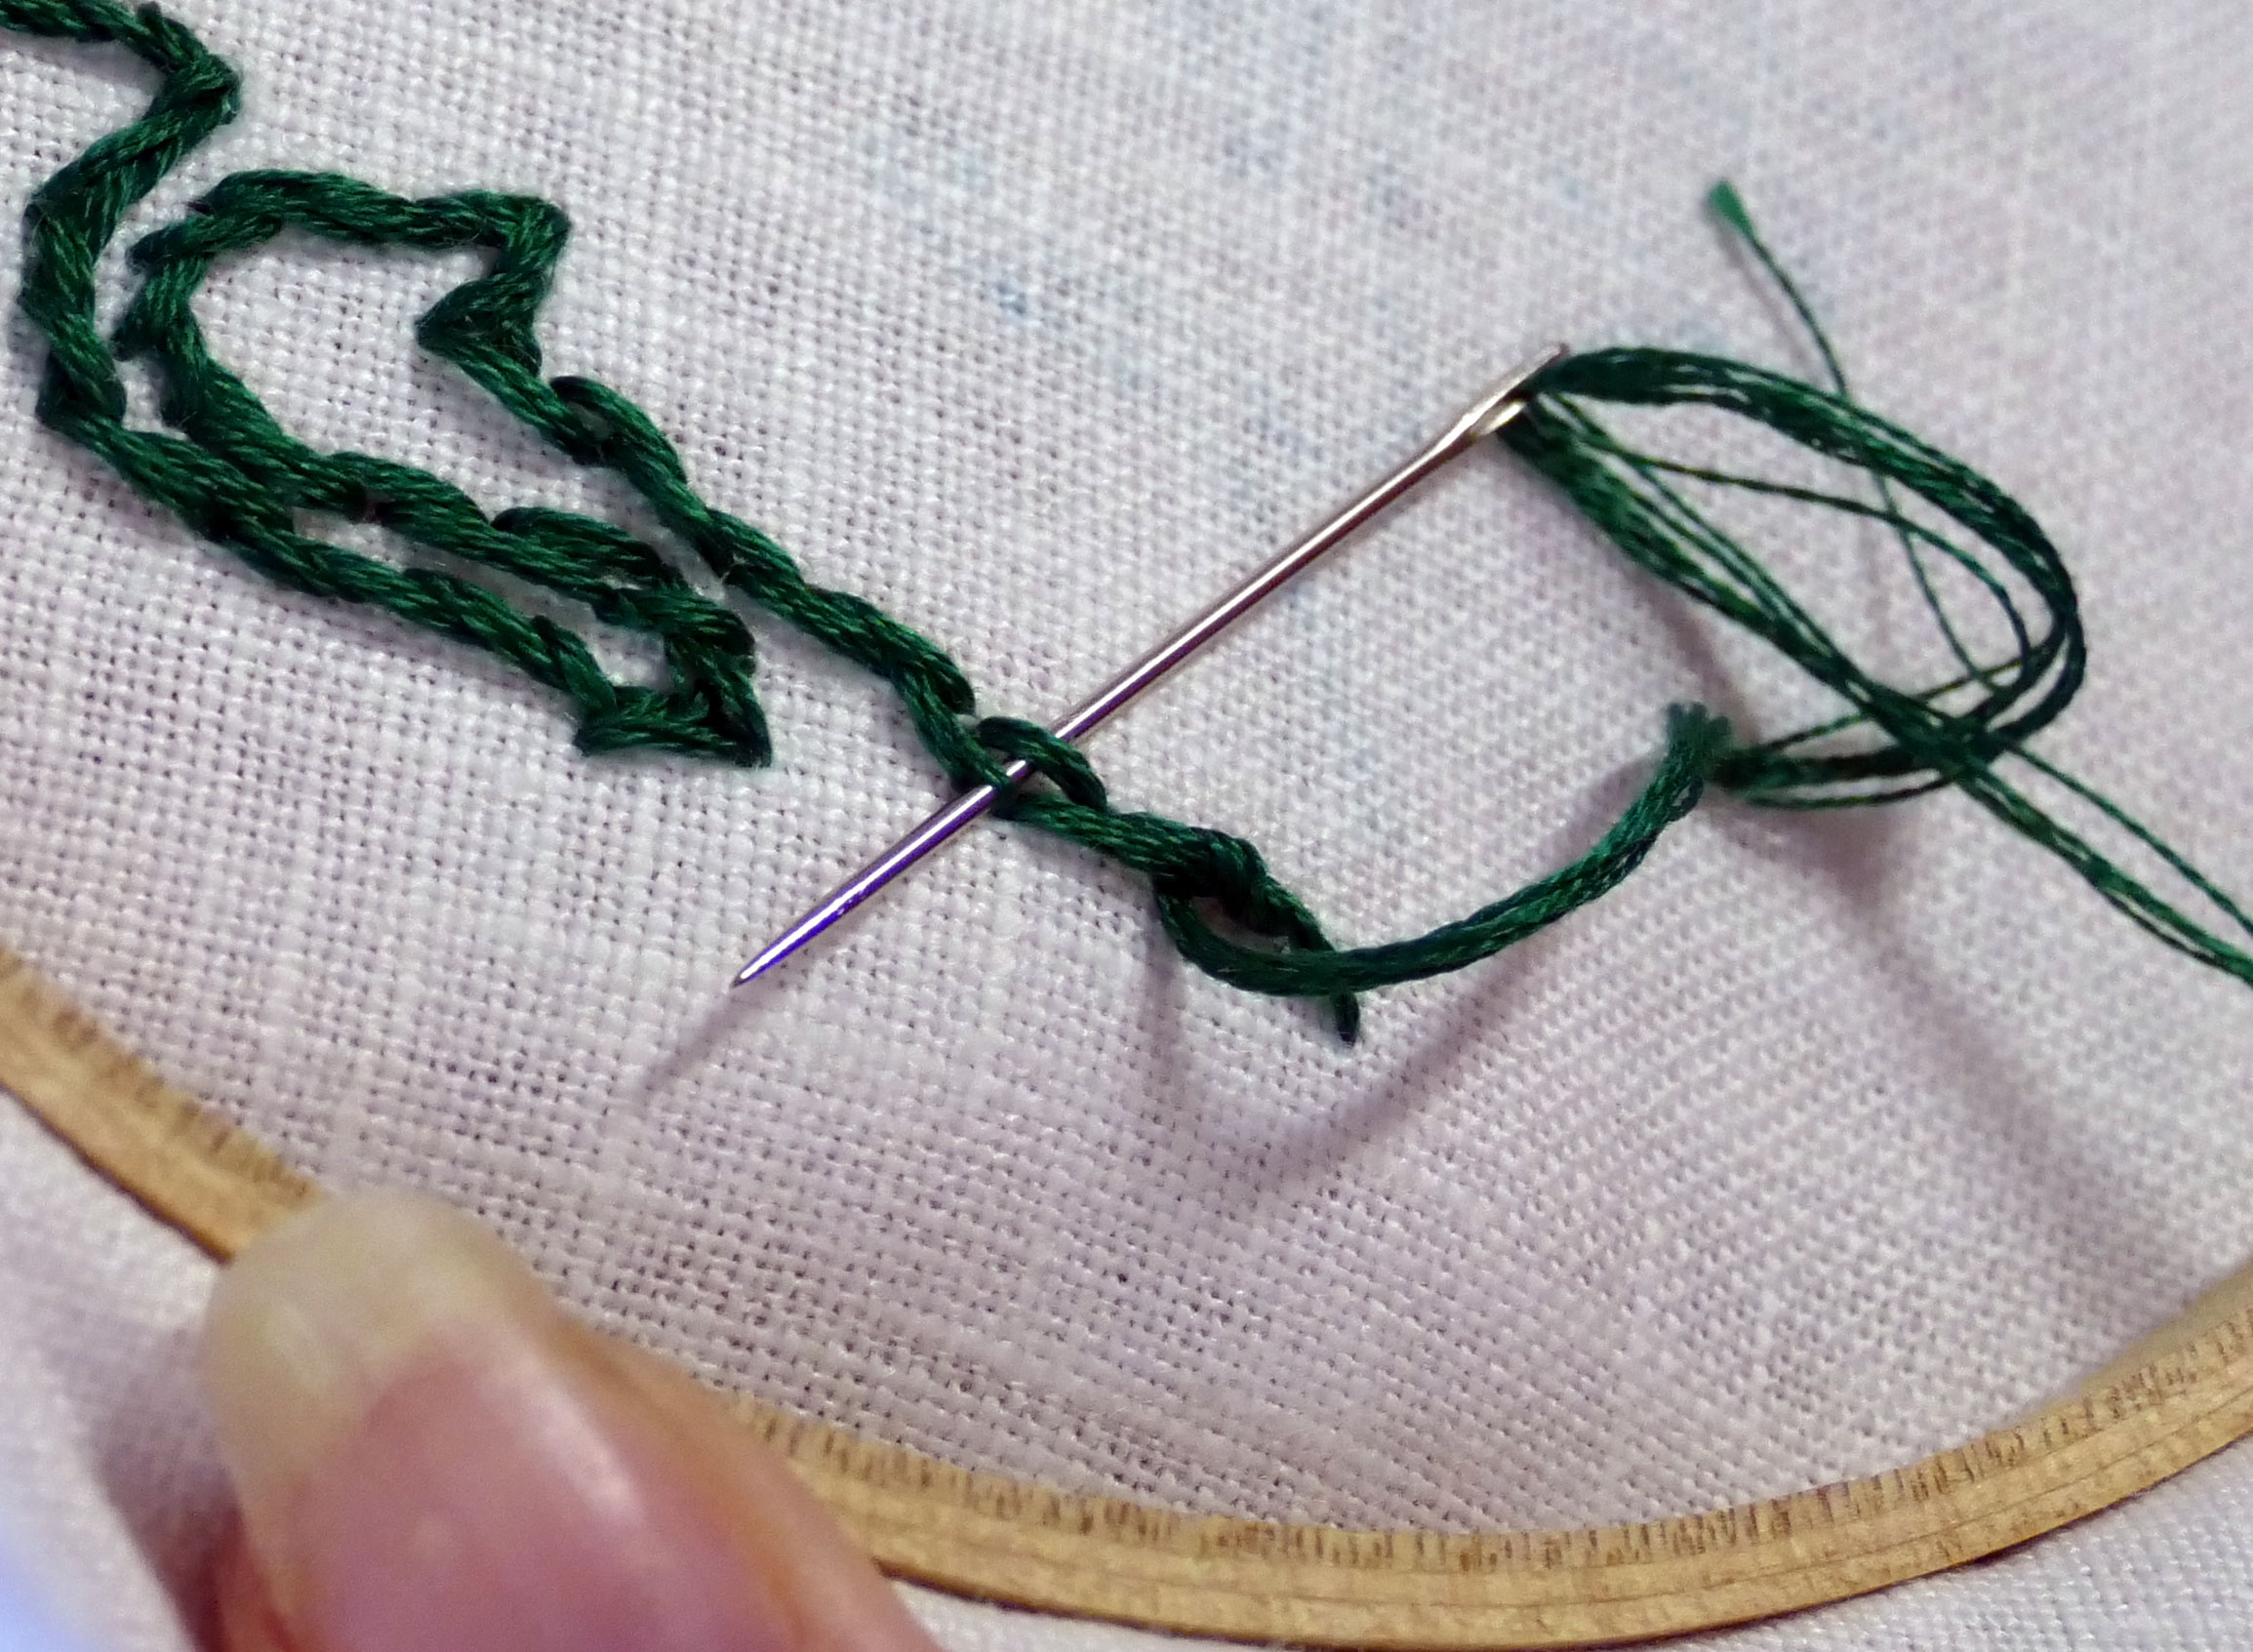
5. As you are outlining your pattern, whenever you reach a point where your pattern calls for a buttonhole bar, you should stitch the bar. To do this, bring your needle up between your parallel lines of running stitches and take it across to the parallel stitching on other side, over where the cutout area will be. Do this three times (so you have three threads going across) and then begin the detached buttonhole stitching over these three threads until you get back to your original side. It’s crucial to keep the buttonhole bar from twisting as you work it — I found the best way to do this was to work the buttonhole stitching toward me in a consistent manner, pulling the stitching tight as I went along. This video shows the stitch orientation/direction that I refer to: https://www.youtube.com/watch?v=9r637AfscS8
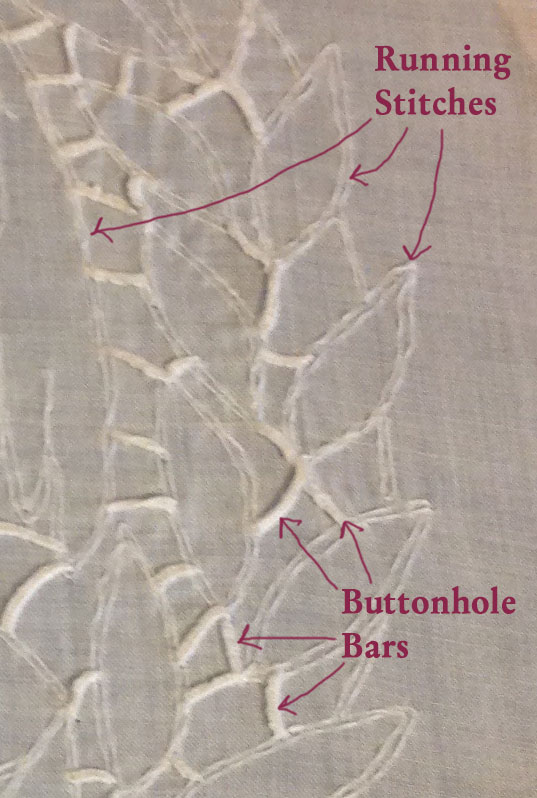
6. Once your pattern is outlined and all your buttonhole bars in in place, you need to stitch around each element that will NOT be cut out. Stitch over the two parallel lines, usually you can align the bottom of your stitch with the bottom running stitch and the top of your stitch with the top running stitch. You’ll use the buttonhole stitch again for this, but in this case it is not detached and it’s important that the flat, corded edge of the buttonhole stitch is against the edge that will be cut out. Do not yet cut out any material — that will be done after you complete the buttonhole stitching. Again, do not pull too tightly — just pull enough to get clean, neat stitching. Do not be tempted to cut out material first thinking that will make for a cleaner edge — while the edge will be cleaner, but your stitched edges will ruffle and pucker, rather than lay flat, and it won’t look as good.
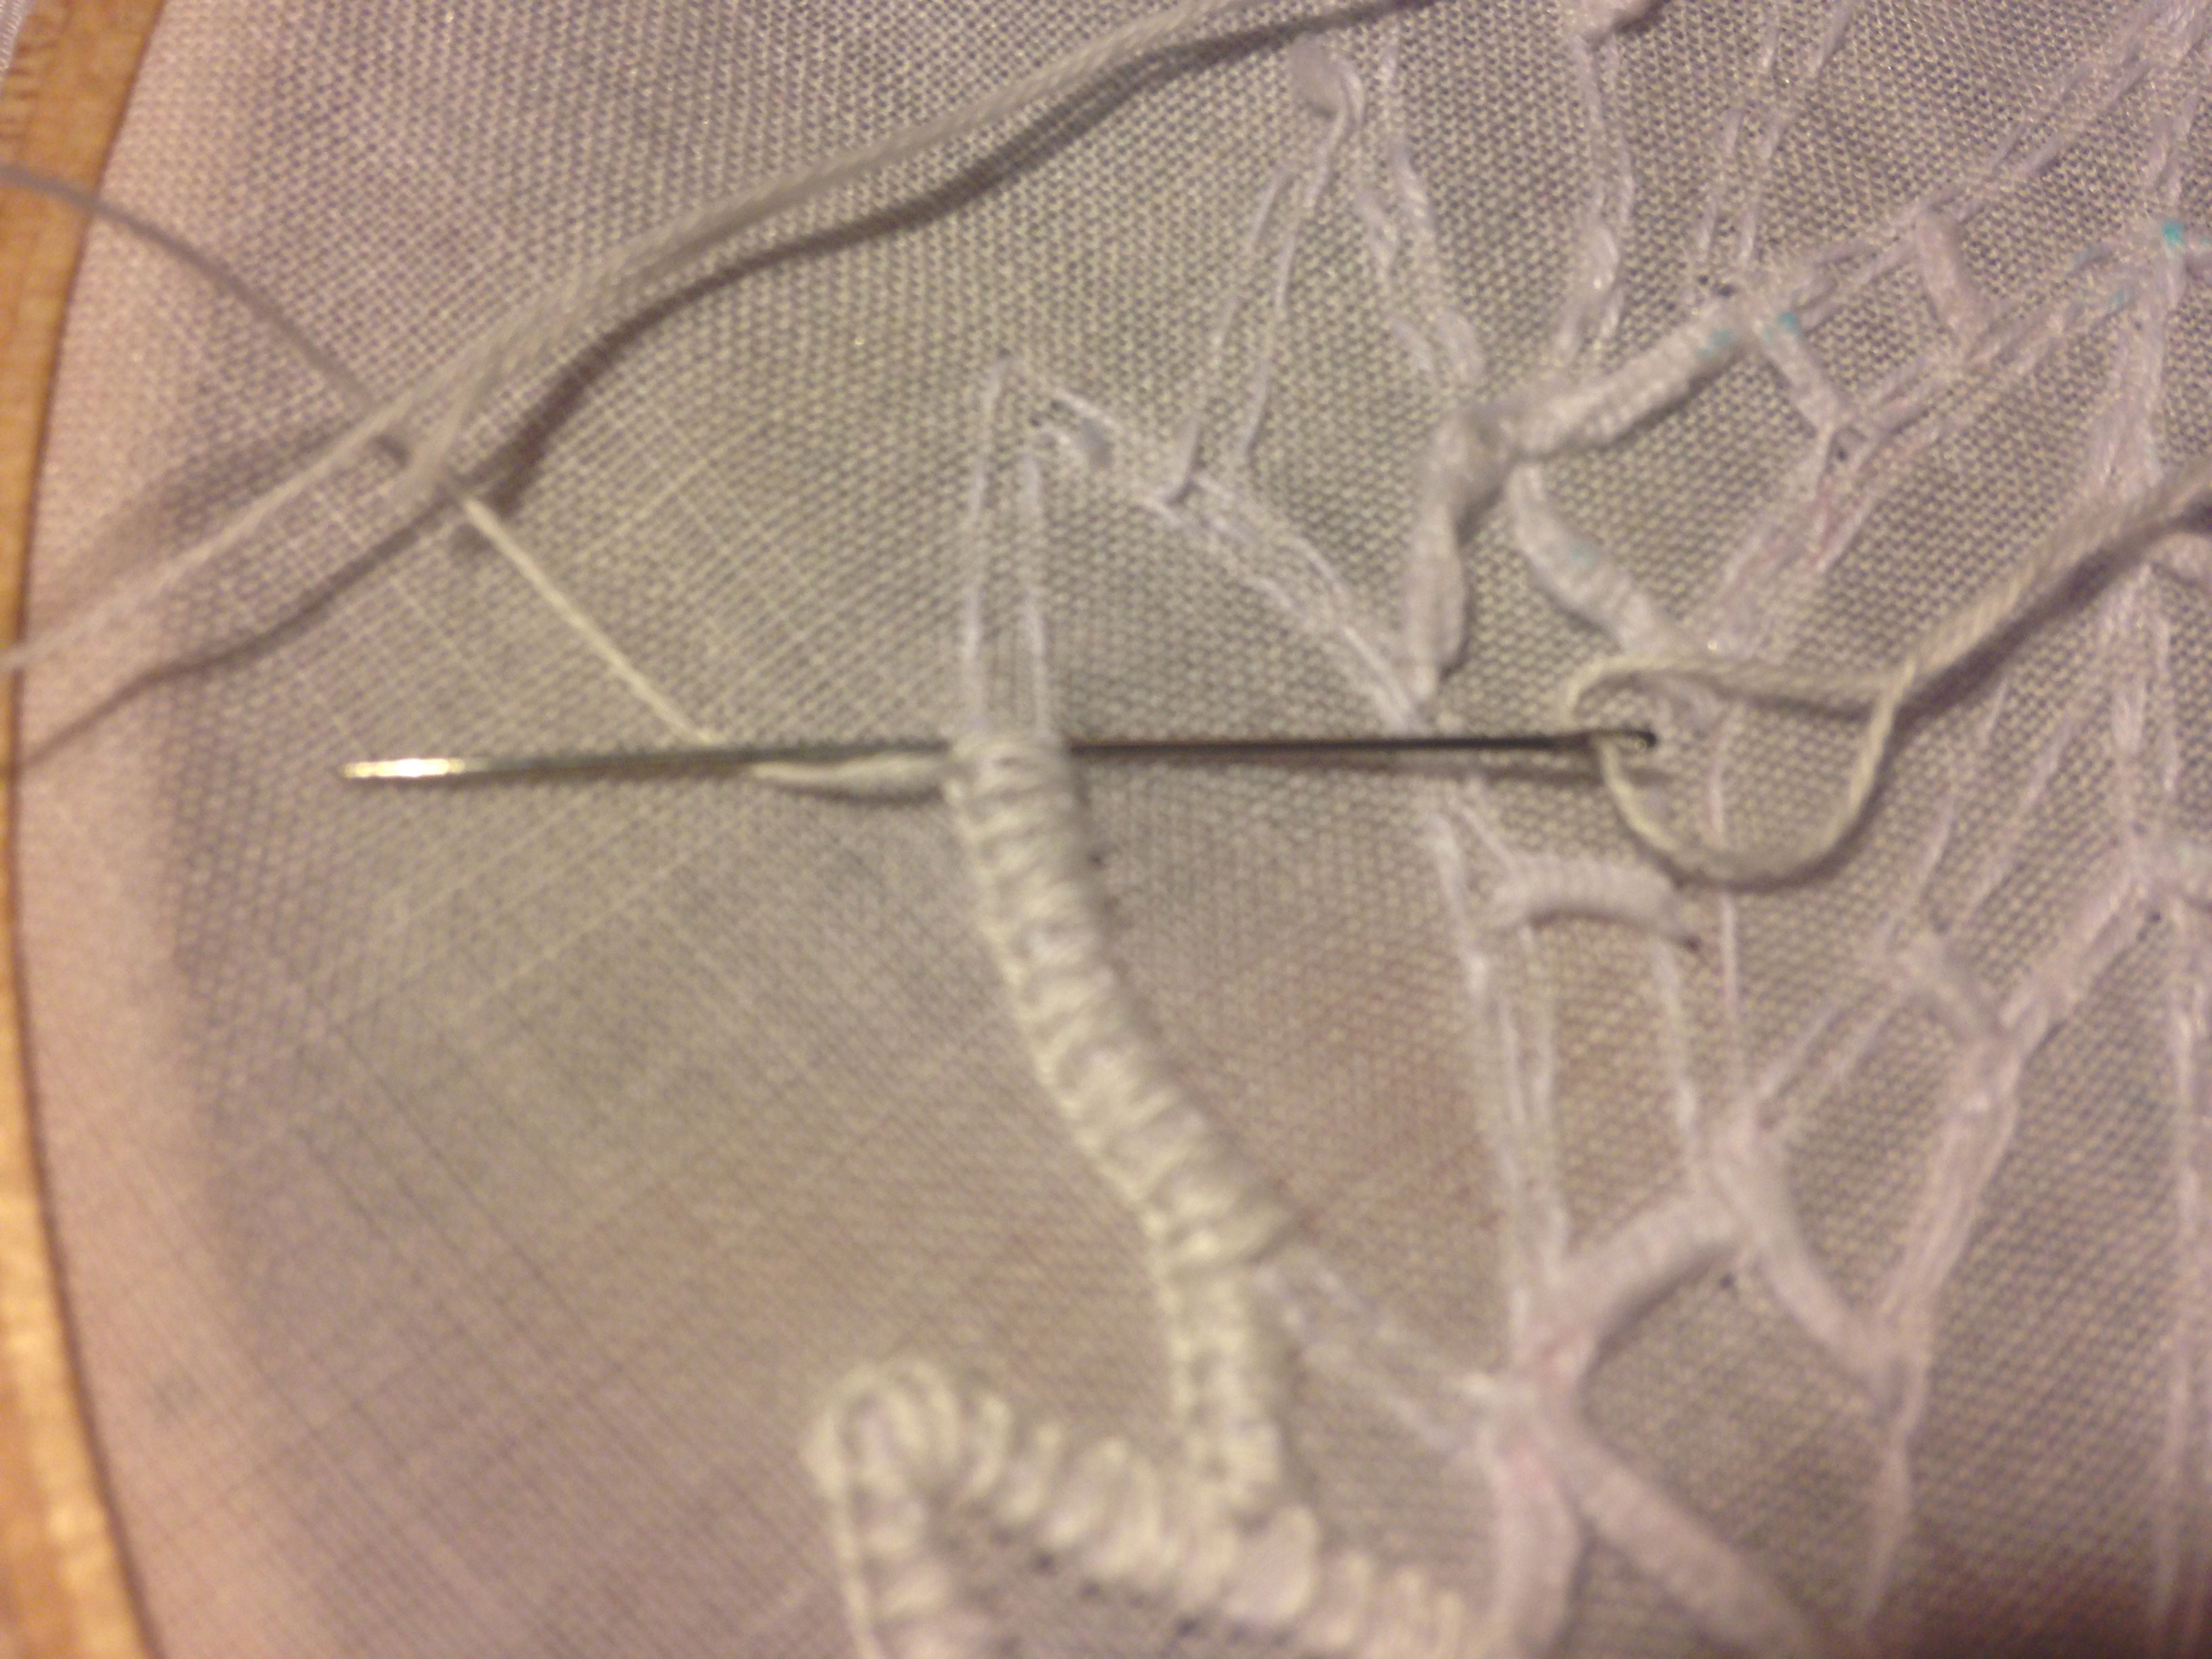
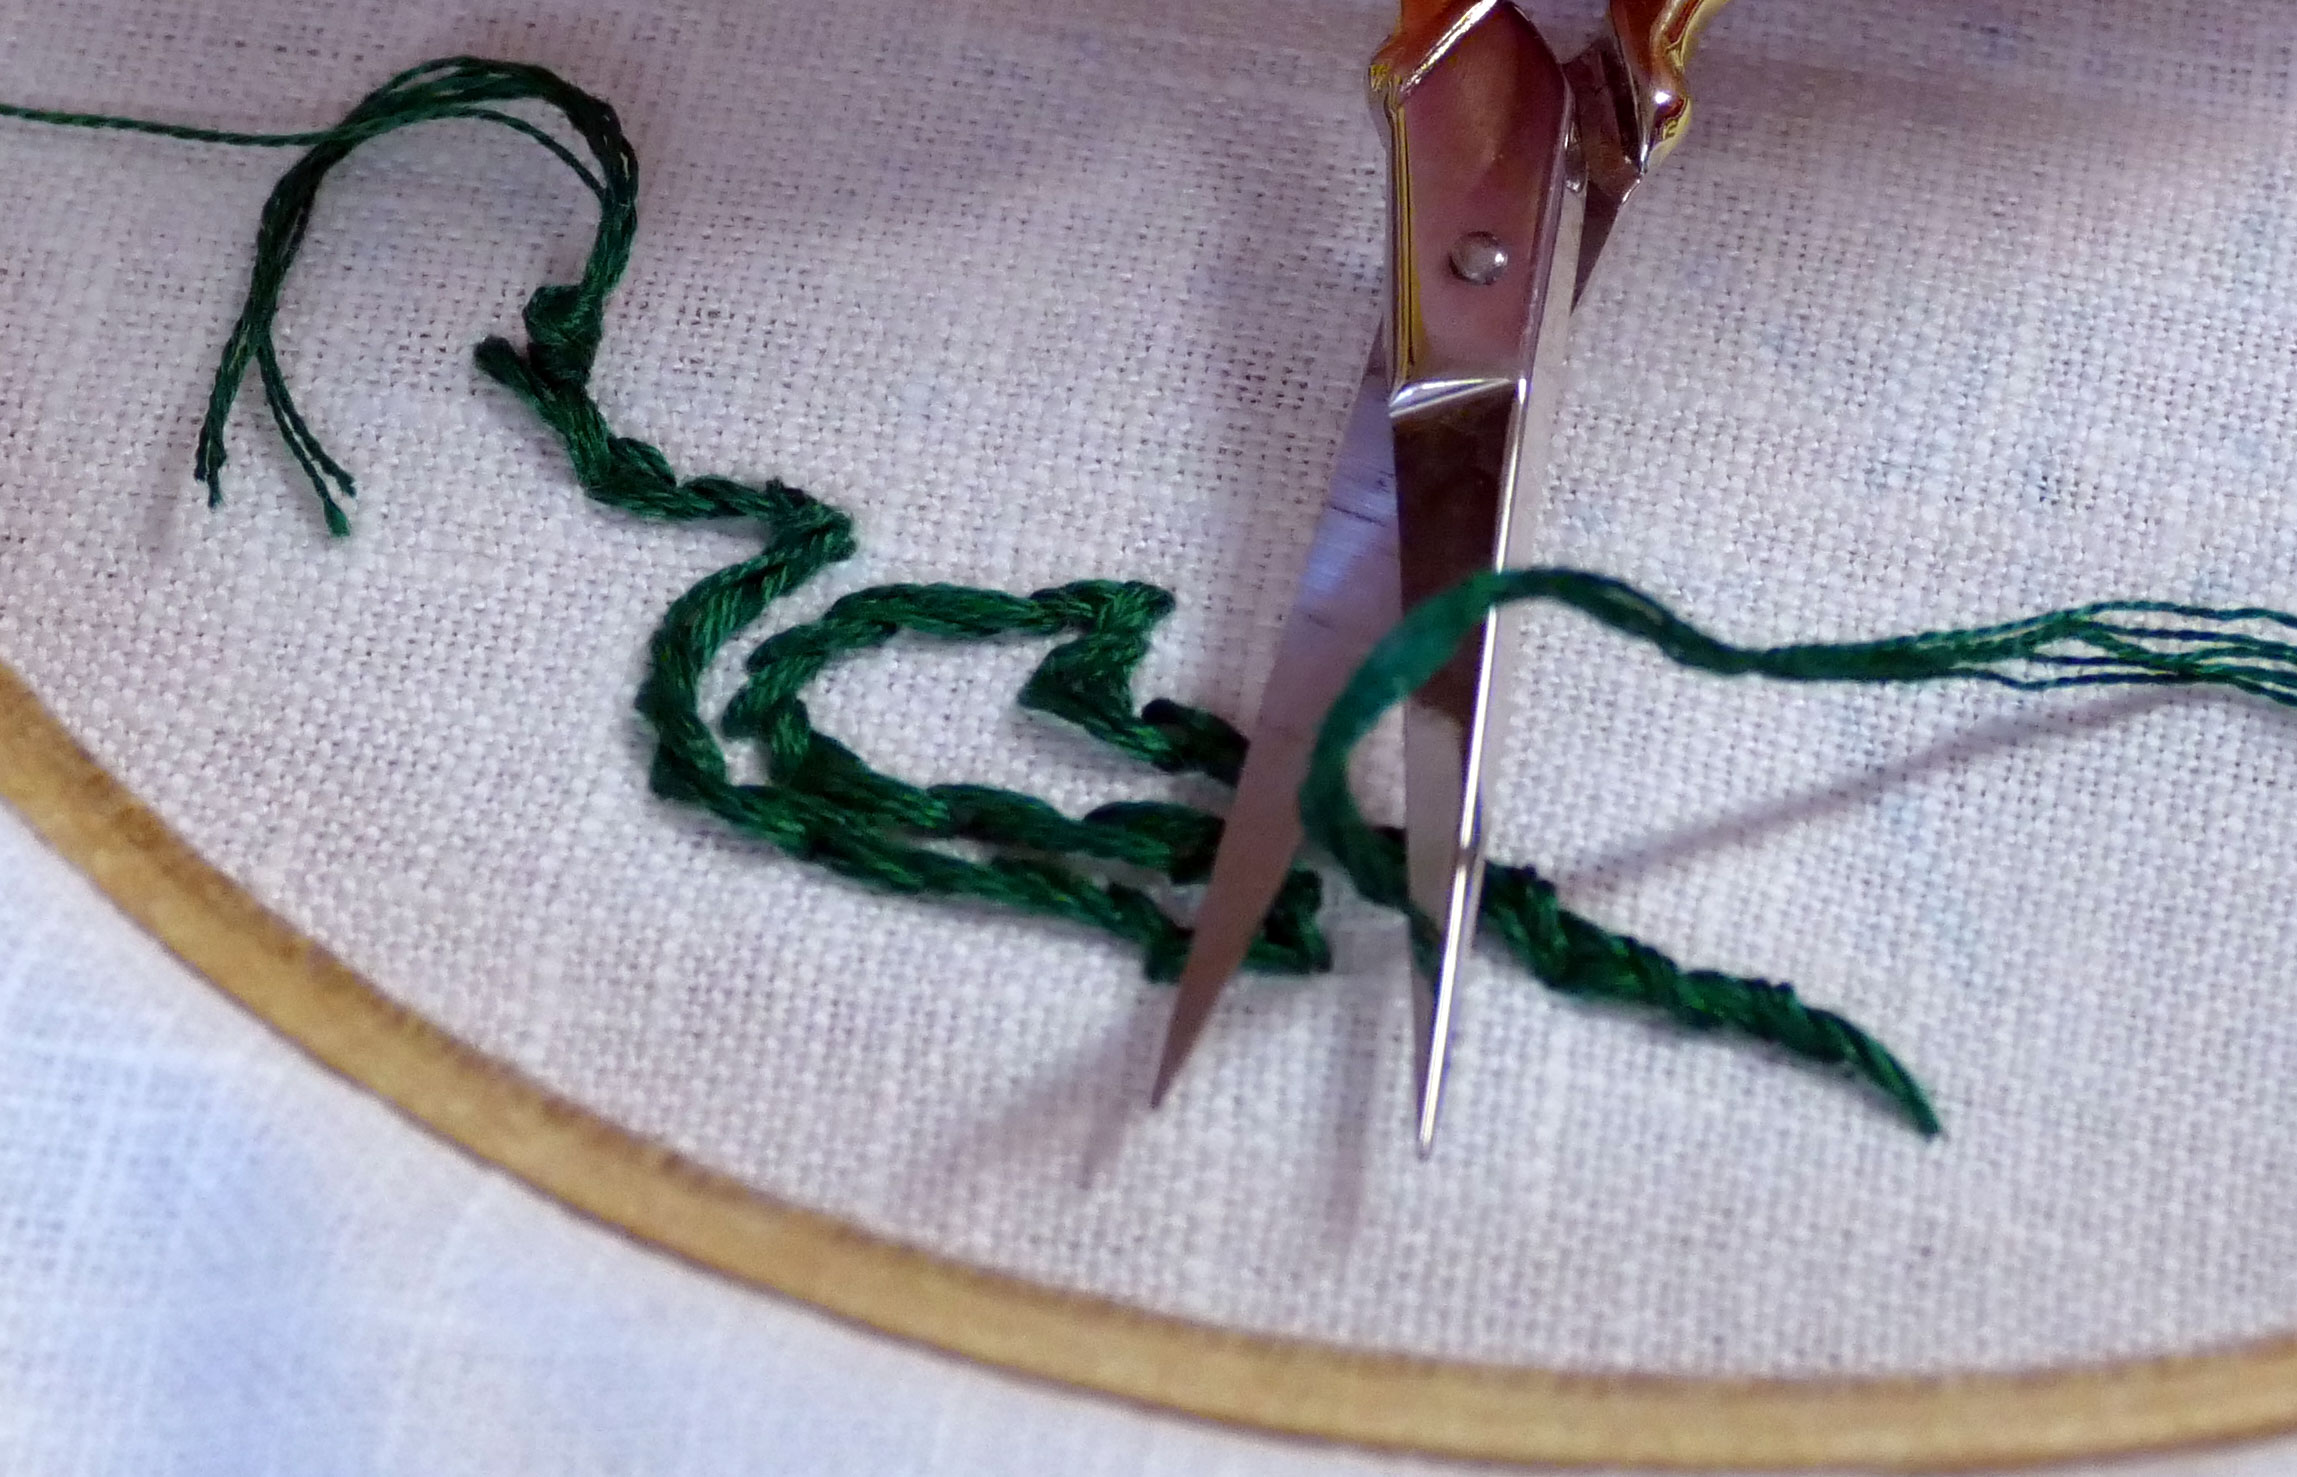
7. After your buttonhole stitching is complete, it’s time to cut out the areas of fabric that are stabilized by the buttonhole bars you placed in step 5. Using the sharp, straight blade scissors, carefully cut a line down the center of an area you want to cut out. Then turn the fabric over and use the curved blade scissors to VERY CAREFULLY cut the fabric away right up to the edge of the stitching. I recommend you keep your fabric in your frame as you cut to provide tension and a better view of what you’re doing. If you cut too close, you’ll snip the buttonhole threads and you’ll need to go back and mend them, so cut carefully. I did have to mend in a couple spots — it’s not easy to cut close, but not too close, with such dense threads and fabric. In the photo below, you can see areas where I haven’t managed to cut away all the threads of the fabric yet.

8. When done, dampen your fabric to remove any trace of the water soluble pen, then wash your piece by hand. Allow it to air dry. Inspect your piece for any stray bits of threads at the cut edges and snip them off carefully. Iron flat.
Tips
When creating your pattern, you want to place buttonhole bars every 1/2″ or so, as well as at the tips of pointy bits (or they’ll just flap about). Avoid bars across too large of a cutout area; instead, keep a small bit of fabric there or even an eyelet to stabilize things and give your bars a midpoint to anchor in.
Your buttonhole stitching (step 6) does not need to be really close together, and in fact, if you get it too close it tends to look sloppy. Try leaving just a thread’s width of space in between each stitch and from 10″ away it looks neater and just as smooth.
Pay attention to the thread as you pull it off the spool or skein, and thread your needle with it the same each time. Remember, thread has a twist and you want consistent results.
In the same vein, be sure to do all your buttonhole stitching in the same direction for a consistent look. It really does make a difference.
Apron Construction Notes
I chose to create a flat rectangle style apron (rather than one gathered into the waistband) so that the cutwork would be displayed to its best advantage. I attached the top 2/3 of it to a simple band that served as the belt.
I hemmed the top and bottom edges with the drawn thread work hemstitch (see my tutorial here).
The right and left edges had threads drawn from them as well, but I did not do the same drawnwork hemstitch — I just kept it as drawn threads because I liked the look.
Creation Notes
I did not embroider the blood droplet on the pelican, but I bled on the apron while stitching — so I think that still counts. -grin-
The heart at the top of the motif is from my device (a winged heart).
My soundtrack while working on this was the radio station on Fallout 4 (Gregor got it for Christmas and I sat on the couch while he played each evening) and the entire audiobook of The Martian.
I estimate this project took 110 hours. (I ![]() Mistress Crespine.)
Mistress Crespine.)
I would love to see anything you make — please share! I’m always happy to answer questions. Feel free to e-mail me at genoveva.von.lubeck (at) gmail [dot] com


