
SCA Artisan Love: Lady Amie Sparrow (+ German Cape Tutorial)
[This is the seventh in a series of articles on SCA artisans who inspire, teach, encourage, and/or make the Society a better place for us all! I learned so much through other artisans while preparing for the A&S Pentathlon, and now it is my turn to shine the love on them, learn more about their craft, and introduce them to you.]
Those of us who study a particular topic or era, as I do, come to identify certain individuals as role models. Amie Sparrow is one of my role models in 16th century German costuming. Several years ago I found Amie online through her blog, where she posts dress diaries, research notes, and period images that inspire her. I find her information valuable and have tried to follow her example through my own blogs. And I believe I have shown considerable restraint in waiting until my seventh article in this series to focus on her and her wonderful adventures in 16th century Germany. But I digress … let me tell you about Amie!
Lady Amie Sparrow is a costumer and embroiderer from the Kingdom of Atlantia. Amie has been sewing nearly all of her life—at the tender age of 5 she made herself a skirt for Kindergarten—and began researching and making costumes in the SCA about 11 years ago. Her favorite thing to do is make clothing no one else — to her knowledge –has tried to reproduce before, which is an impressive feat in this day of blogs and digital photos. “It’s an intellectual challenge and a technical challenge at the same time,” Amie tells me. “The whole ‘experimental archaeology’ thing is really, really fun for me. When I make an outfit using period materials in a period way and discover that I am comfortable and warm enough when wearing the outfit, I’ve met my goal. And of course, when someone remarks that I look like I’ve walked out of a painting, it makes my day!”
Many of Amie’s images do indeed look like she’s walked out of painting. So it should come as no surprise that the Smithsonian Museum of Natural History itself asked Amie to create two early 17th century blackwork coifs for an archaeological exhibit. Now that is an arts and sciences project! Amie’s coifs were fully documented and the exhibit opened in May 2013. As far as I am concerned, being asked by a museum to reproduce an artifact is a penultimate achievement for a costumer! Amie tells me making these coifs was the most fun she’s had working on a project to date, and she notes that the Smithsonian found her because she posted a photo of one of her embroidered coifs online (if this isn’t a good reason for everyone to share their projects online, I don’t know what is).

Amie has made a lot more than coifs, though. Her favorite projects to date have been her German leather and velvet purses, a 1527 Gotha peasant dress, and her first sweet bag. My personal favorites are her 1577 Nuerenberg Gown and her array of German Woman’s Gollers, which you can learn to make yourself in the goller tutorial (see below).

Amie teaches often. Of late, she’s been teaching German Peasant Garb classes, which is a topic in sore need of attention! She says, “I was asked to teach that topic a couple of months ago for The Shire of Isenfir so they could learn about German peasant clothing for their Gemütlichplatz event. I found that I could talk for two hours without a break on German peasant clothing.” For Pennsic next year, she’d like to teach a make-and-take class on German purses. Amie’s next project will be to make a new dress based on artwork by Freydal for Crown Tournament. And as the former Mistress of St. Anne’s Guild of Clothiers, she is running a Garb Triathlon at Atlantian Crown Tournament in November. Other items in the works are a research paper on German clothing, a woodcut with accompanying documentation, and possibly a pair of leather shoes. Sounds deliciously ambitious!
So what inspires Amie? She has many friends in the SCA who inspire her with their quest for knowledge and authenticity. When pressed for names, Amie says, “Chiefest among the German researchers/costumers are Mistress Sophia Kress, Mistress Katrine De Saint Brieuc, Baroness Emma West, Herrin Genefe Wolflien and you. Truly, I get inspired by a lot of people. If someone is making cool stuff, I want to know that person.” It will come as to surprise, Dear Reader, that Amie inspires me. I asked her for her words of wisdom, so I could pass them on, and this is what she told me, “Have No Fear! To paraphrase Frank Herbert: Fear is the A&S killer. Many people psych themselves out of participation because they think that their work is not good enough. Well, I’m here to tell you, there’s always somebody who is going to be better than you, so don’t worry about how good you are. It’s a waste of time. Enjoy what you do. Base your A&S in some kind of research and show off your efforts. If you don’t try, you don’t learn. Want to know what I do with my A&S failures? I keep them. I wear them. I use them as examples in classes.” Well said, Amie! Her favorite quote about artists is attributed to both Ray Bradbury and Kurt Vonnegut. “We have to continually be jumping off cliffs and developing our wings on the way down.” If you see something you want to make, then make it. You will succeed. All you have to do is try.
Amie lives far away from me within the Barony of Stierbach in the Kingdom of Atlantia, though I had the good fortune to meet her in person at Pennsic 42. She is apprenticed to Master Tristan Alexander and a protege of Mesterinde Karen Larsdatter. She is the recipient of many awards, including the Atlantian Order of the Pearl which honors and recognizes those subjects who have distinguished themselves by their efforts and their excellence in the arts and sciences of the period and/or their willingness to teach those same arts and sciences (this is a grant-level award, roughly equivalent to the Midrealm Order of the Evergreen). I’ve always been surprised that Amie is not a member of the Order of the Laurel yet, and I hope to see her so honored in the near future. Amie has a high standard of excellence and she frequently applies her knowledge for the instruction of the Society at large through her classes, guild, and writings.
German Woman’s Goller (Capelet) Tutorial
 As I mentioned, Amie’s gollers are one of my favorite things she’s made. A goller is the German word for “yoke,” and as a clothing element it refers to a variety of styles, such as very short capes worn on top of clothing, vests worn both in and out of the clothing (i.e. partlets). For this tutorial, we’re using goller to mean a short cape worn by women in 16th c. German images. If you’d like to learn more about gollers, please read my more in-depth article on German Gollers at GermanRenaissance.net which I’ll be posting in a few days (along with a cross-post of this tutorial).
What You Need to Make a Woman’s Goller:
- 30″ x 30″ muslin or other inexpensive fabric to make a test goller
- 30″ x 30″ outer fabric (more if you need to match patterns), such as wool, damask, velvet, or linen
- 30″ x 30″ lining, such as a wool, linen, or fur (fur goes on the inside to retain warmth)
- 30″ x 30″ contrast fabric for trim, such as a wool or velvet (optional)
- scissors, needle, thread, pins, ruler, chalk
- clasp or ties to keep your goller closed
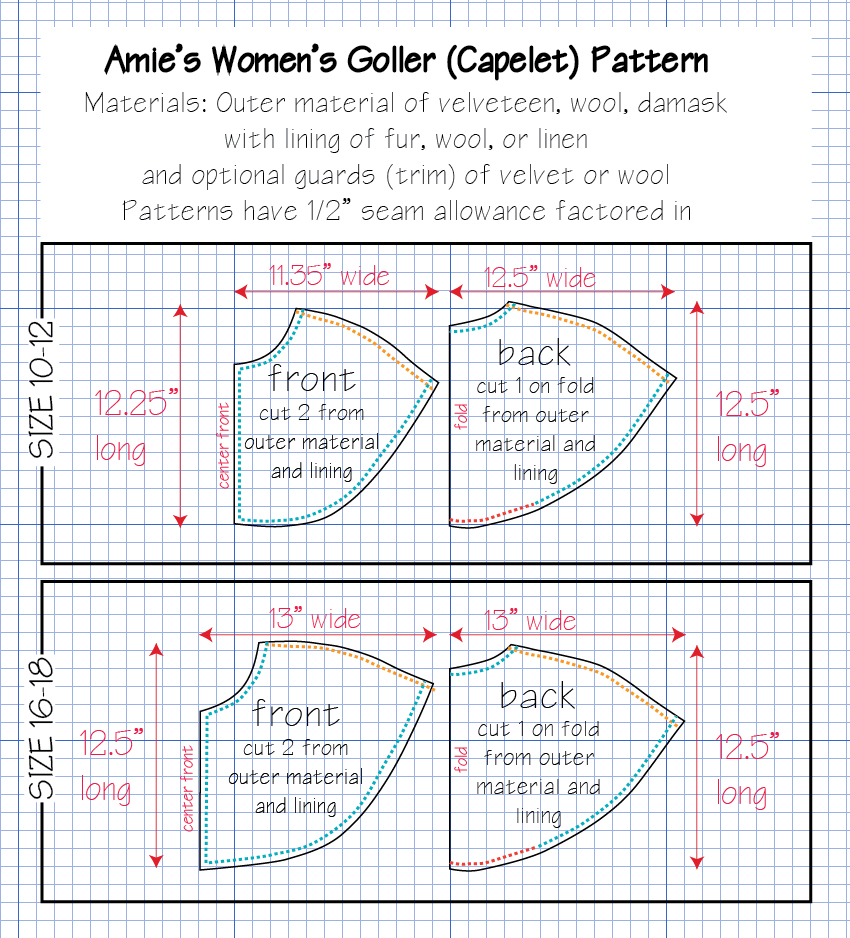
- pattern (here’s two — one at size 10/12 and another at size 16/18): goller-pattern.pdf
How to Make a Woman’s Goller:
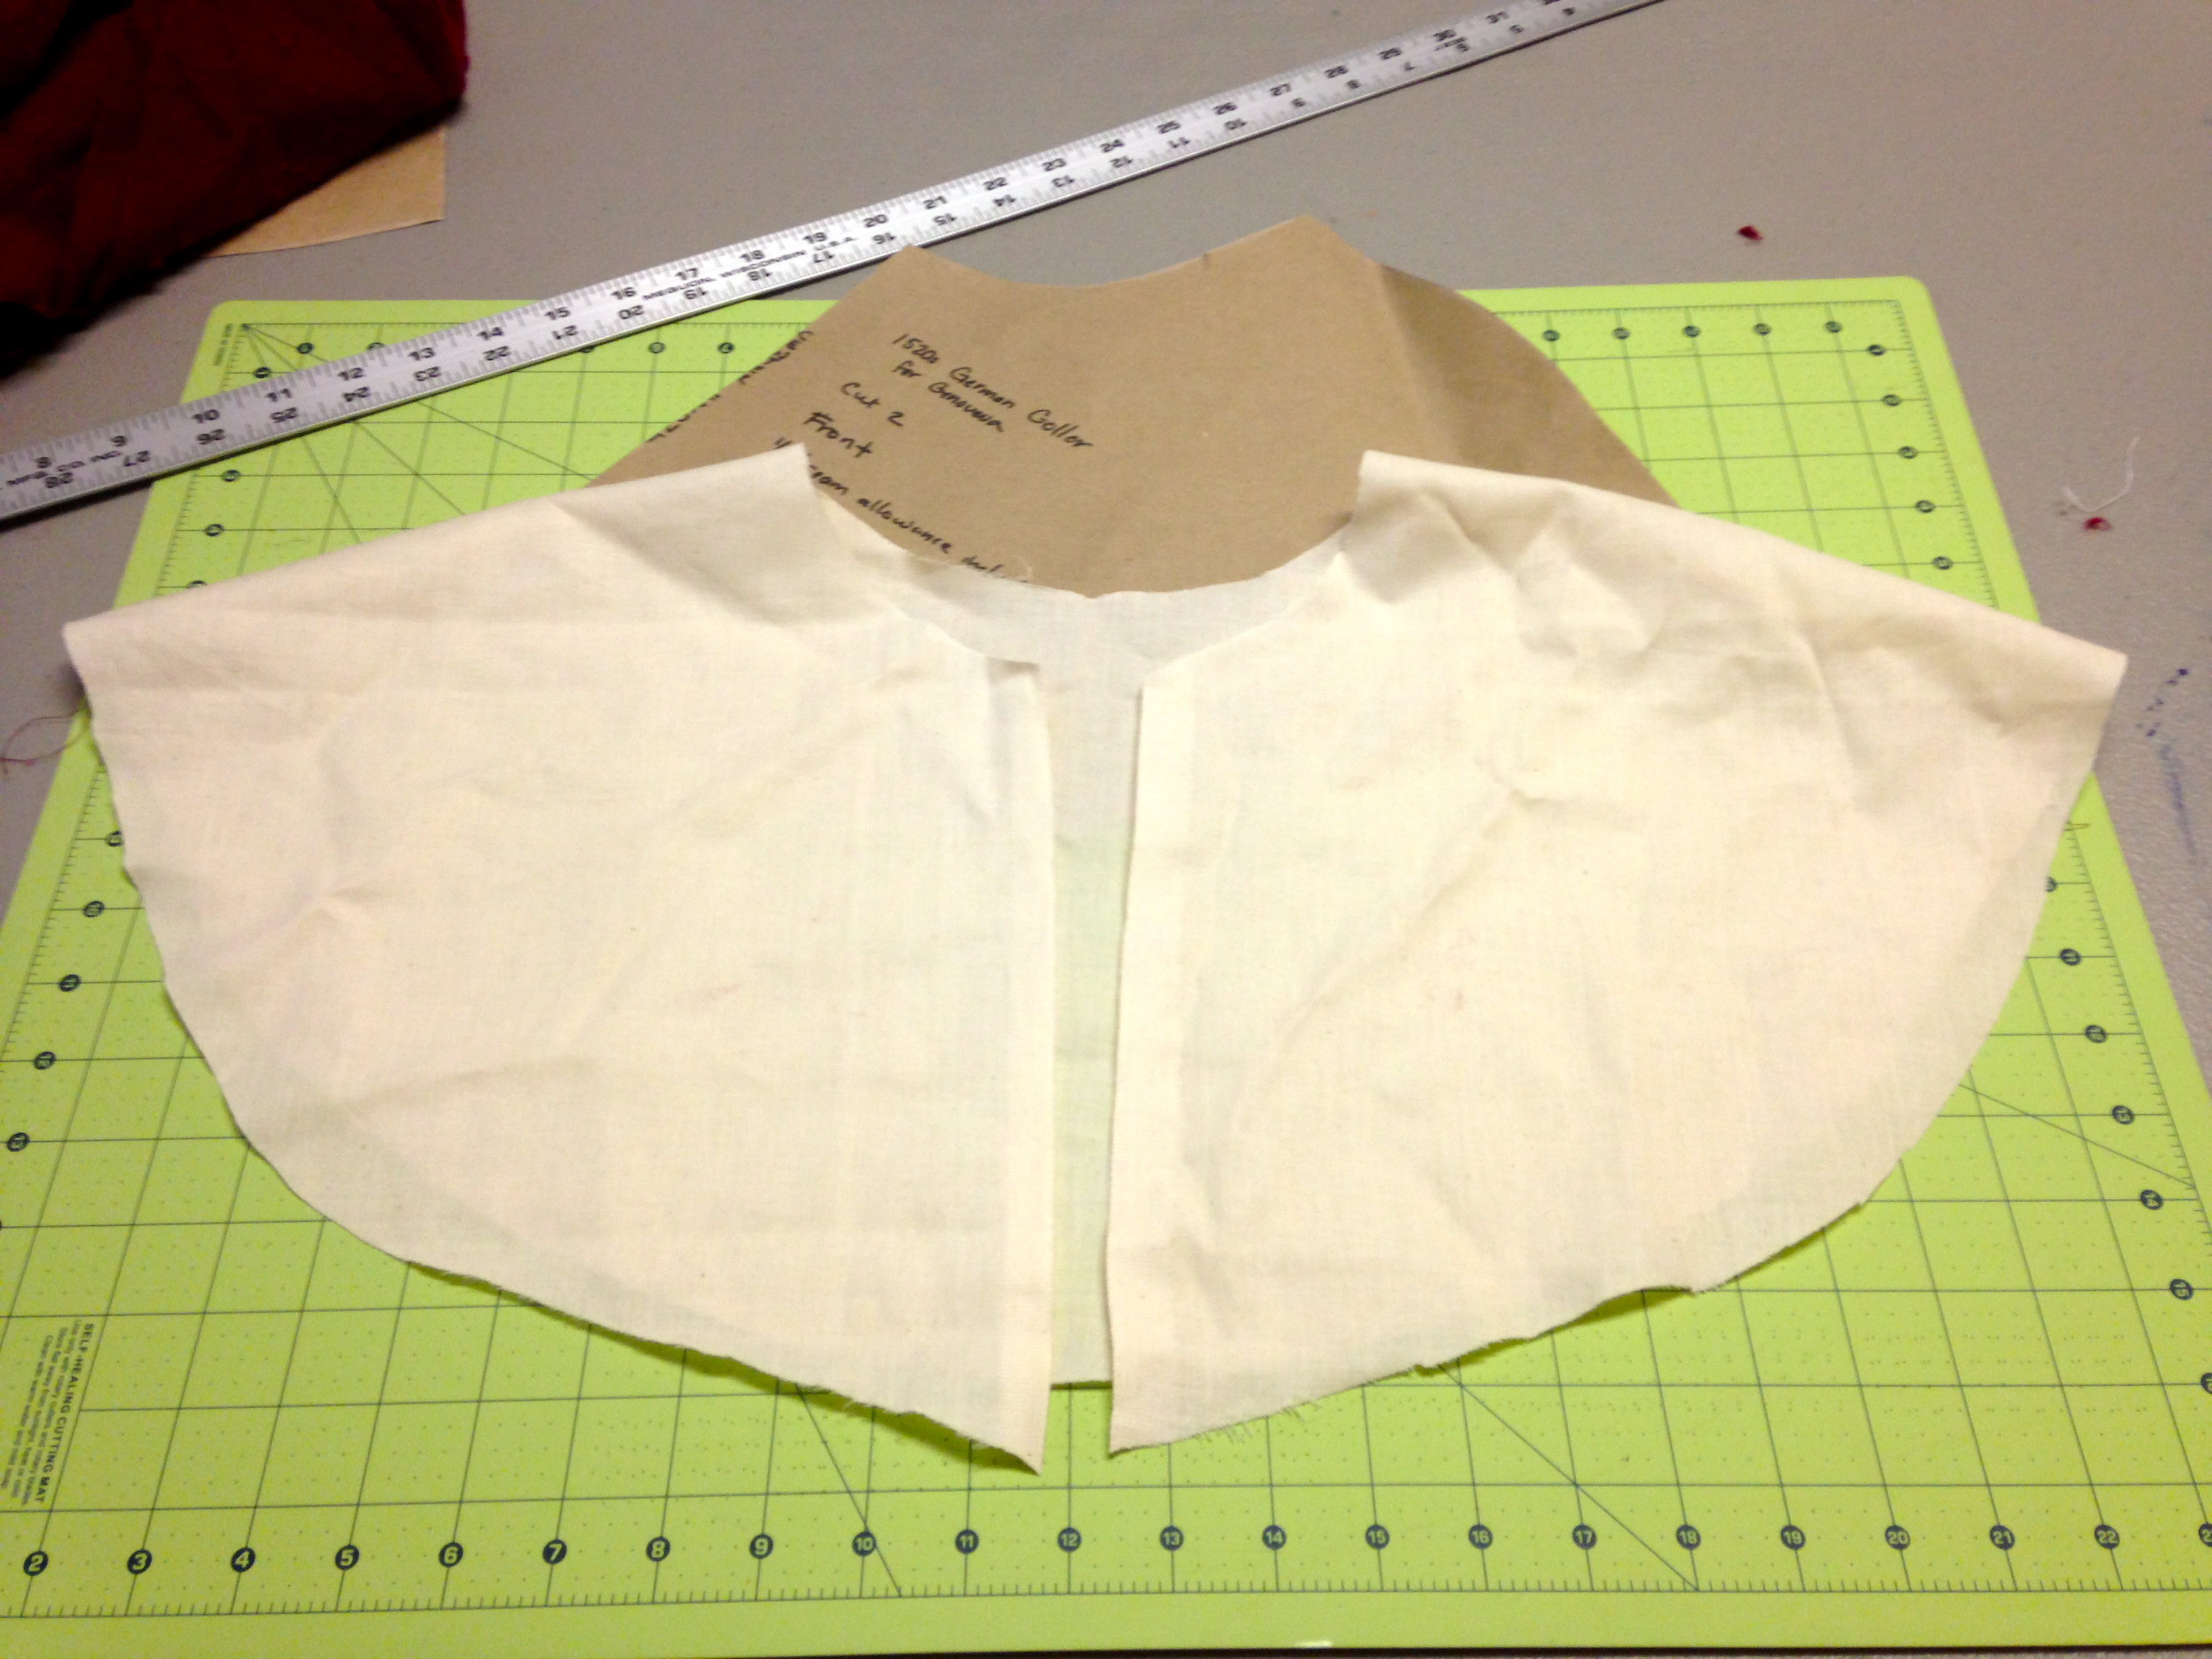
1. (Optional) Using the pattern, cut out two fronts and one back from your muslin. Stitch together along the indicated areas on the pattern and try it on. Adjust as necessary. Also pay attention to the line of the shoulder, as you may need to adjust the curve there so that your shoulders fit inside. Modify your pattern as necessary.
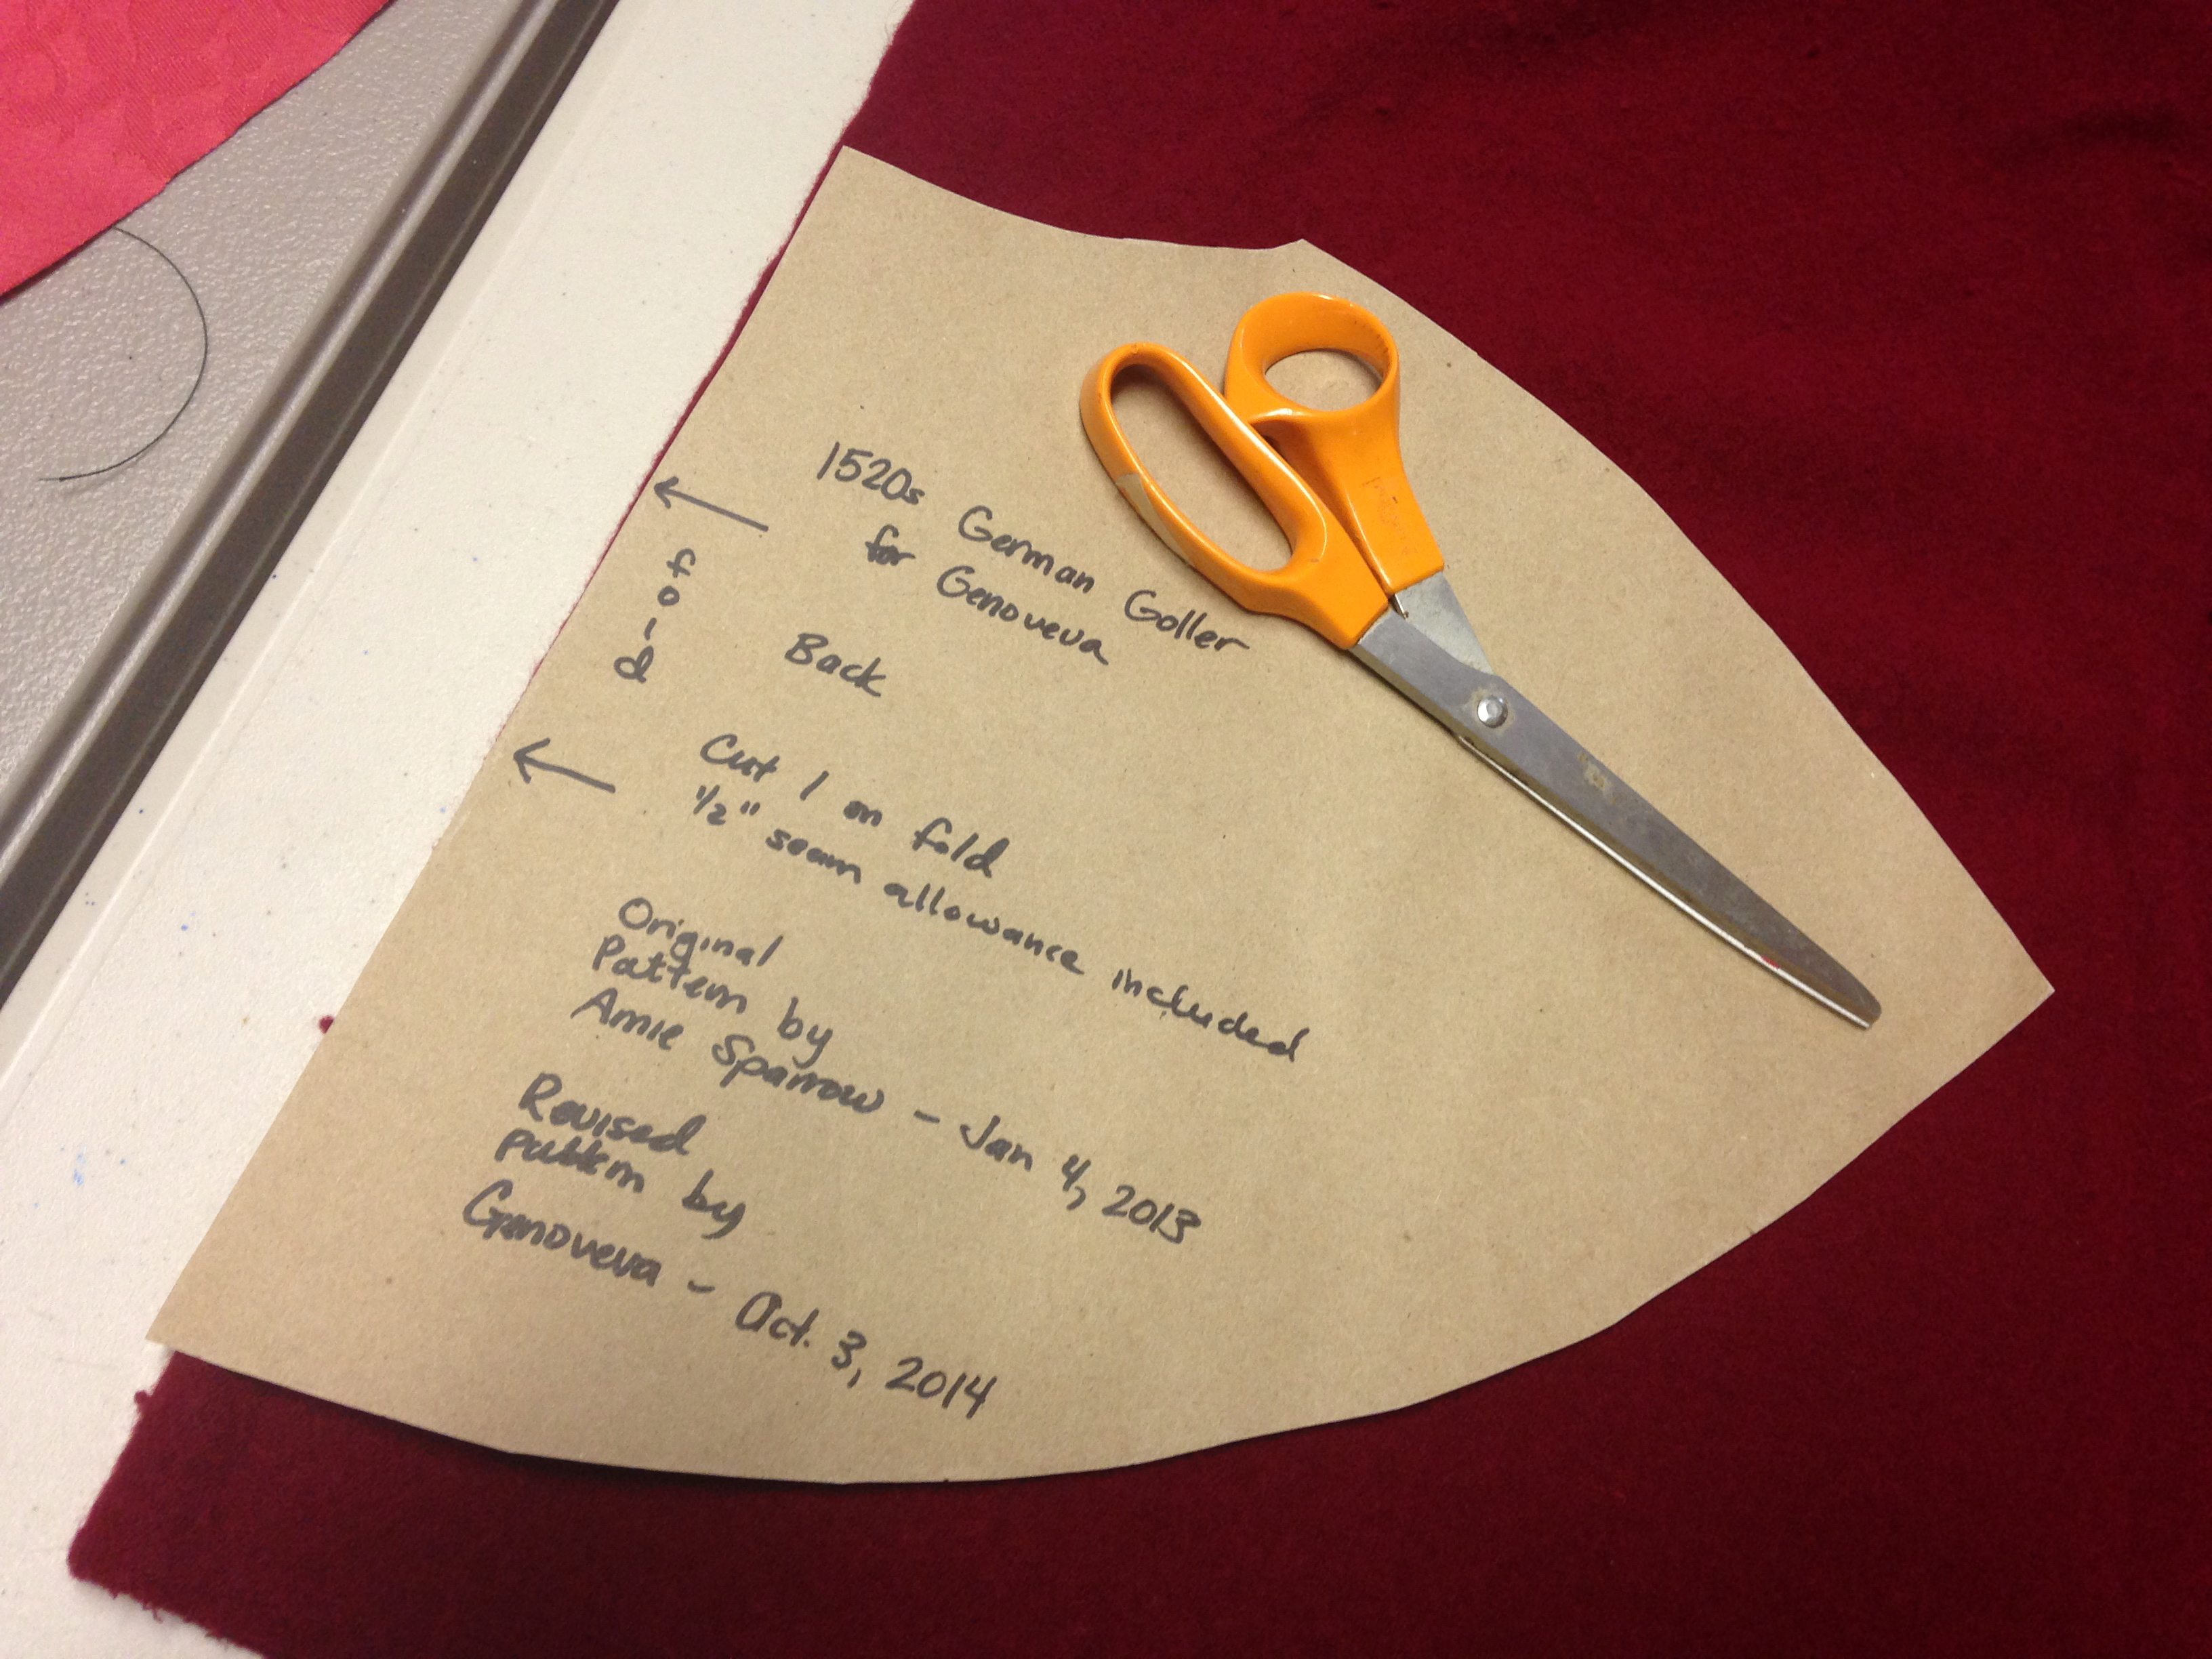
2. Using your customized pattern, cut out two fronts and one back from both your outer fabric and your lining. I used a rose damask for my outer fabric, and thus needed extra fabric to match the patterns nicely. My inside fabric is a slightly fulled dark red wool.
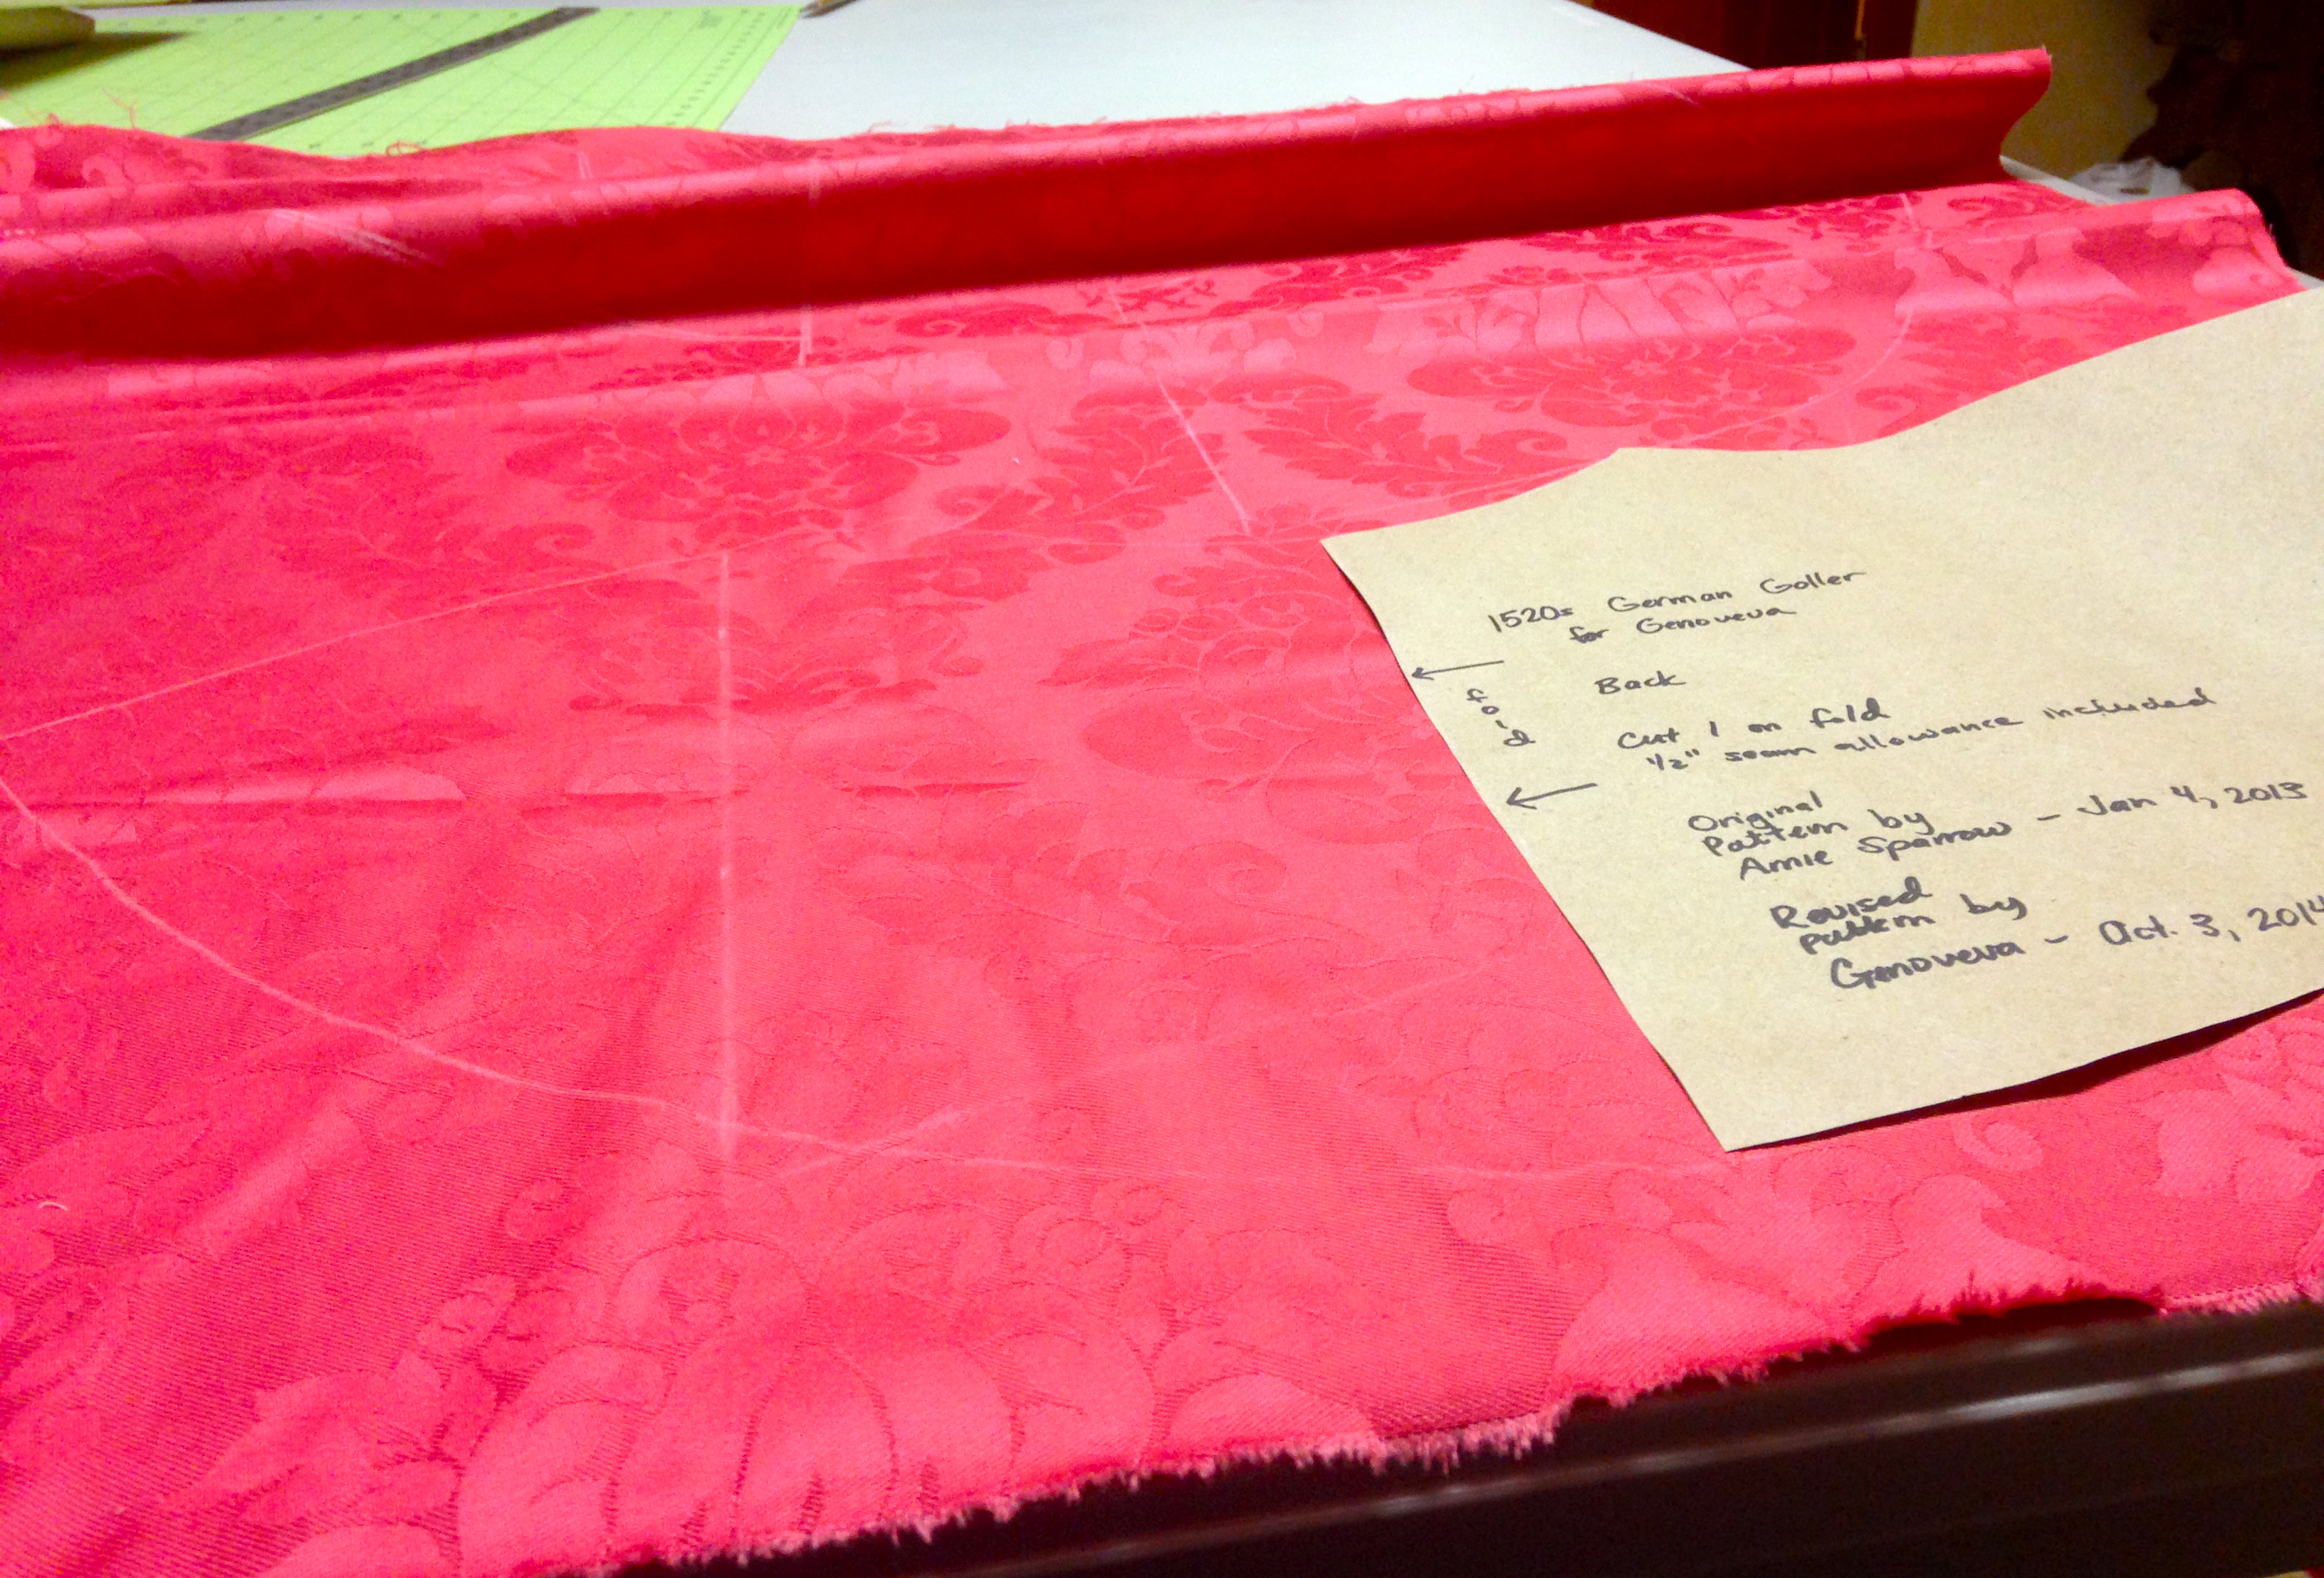
Cutting out the outer fabric
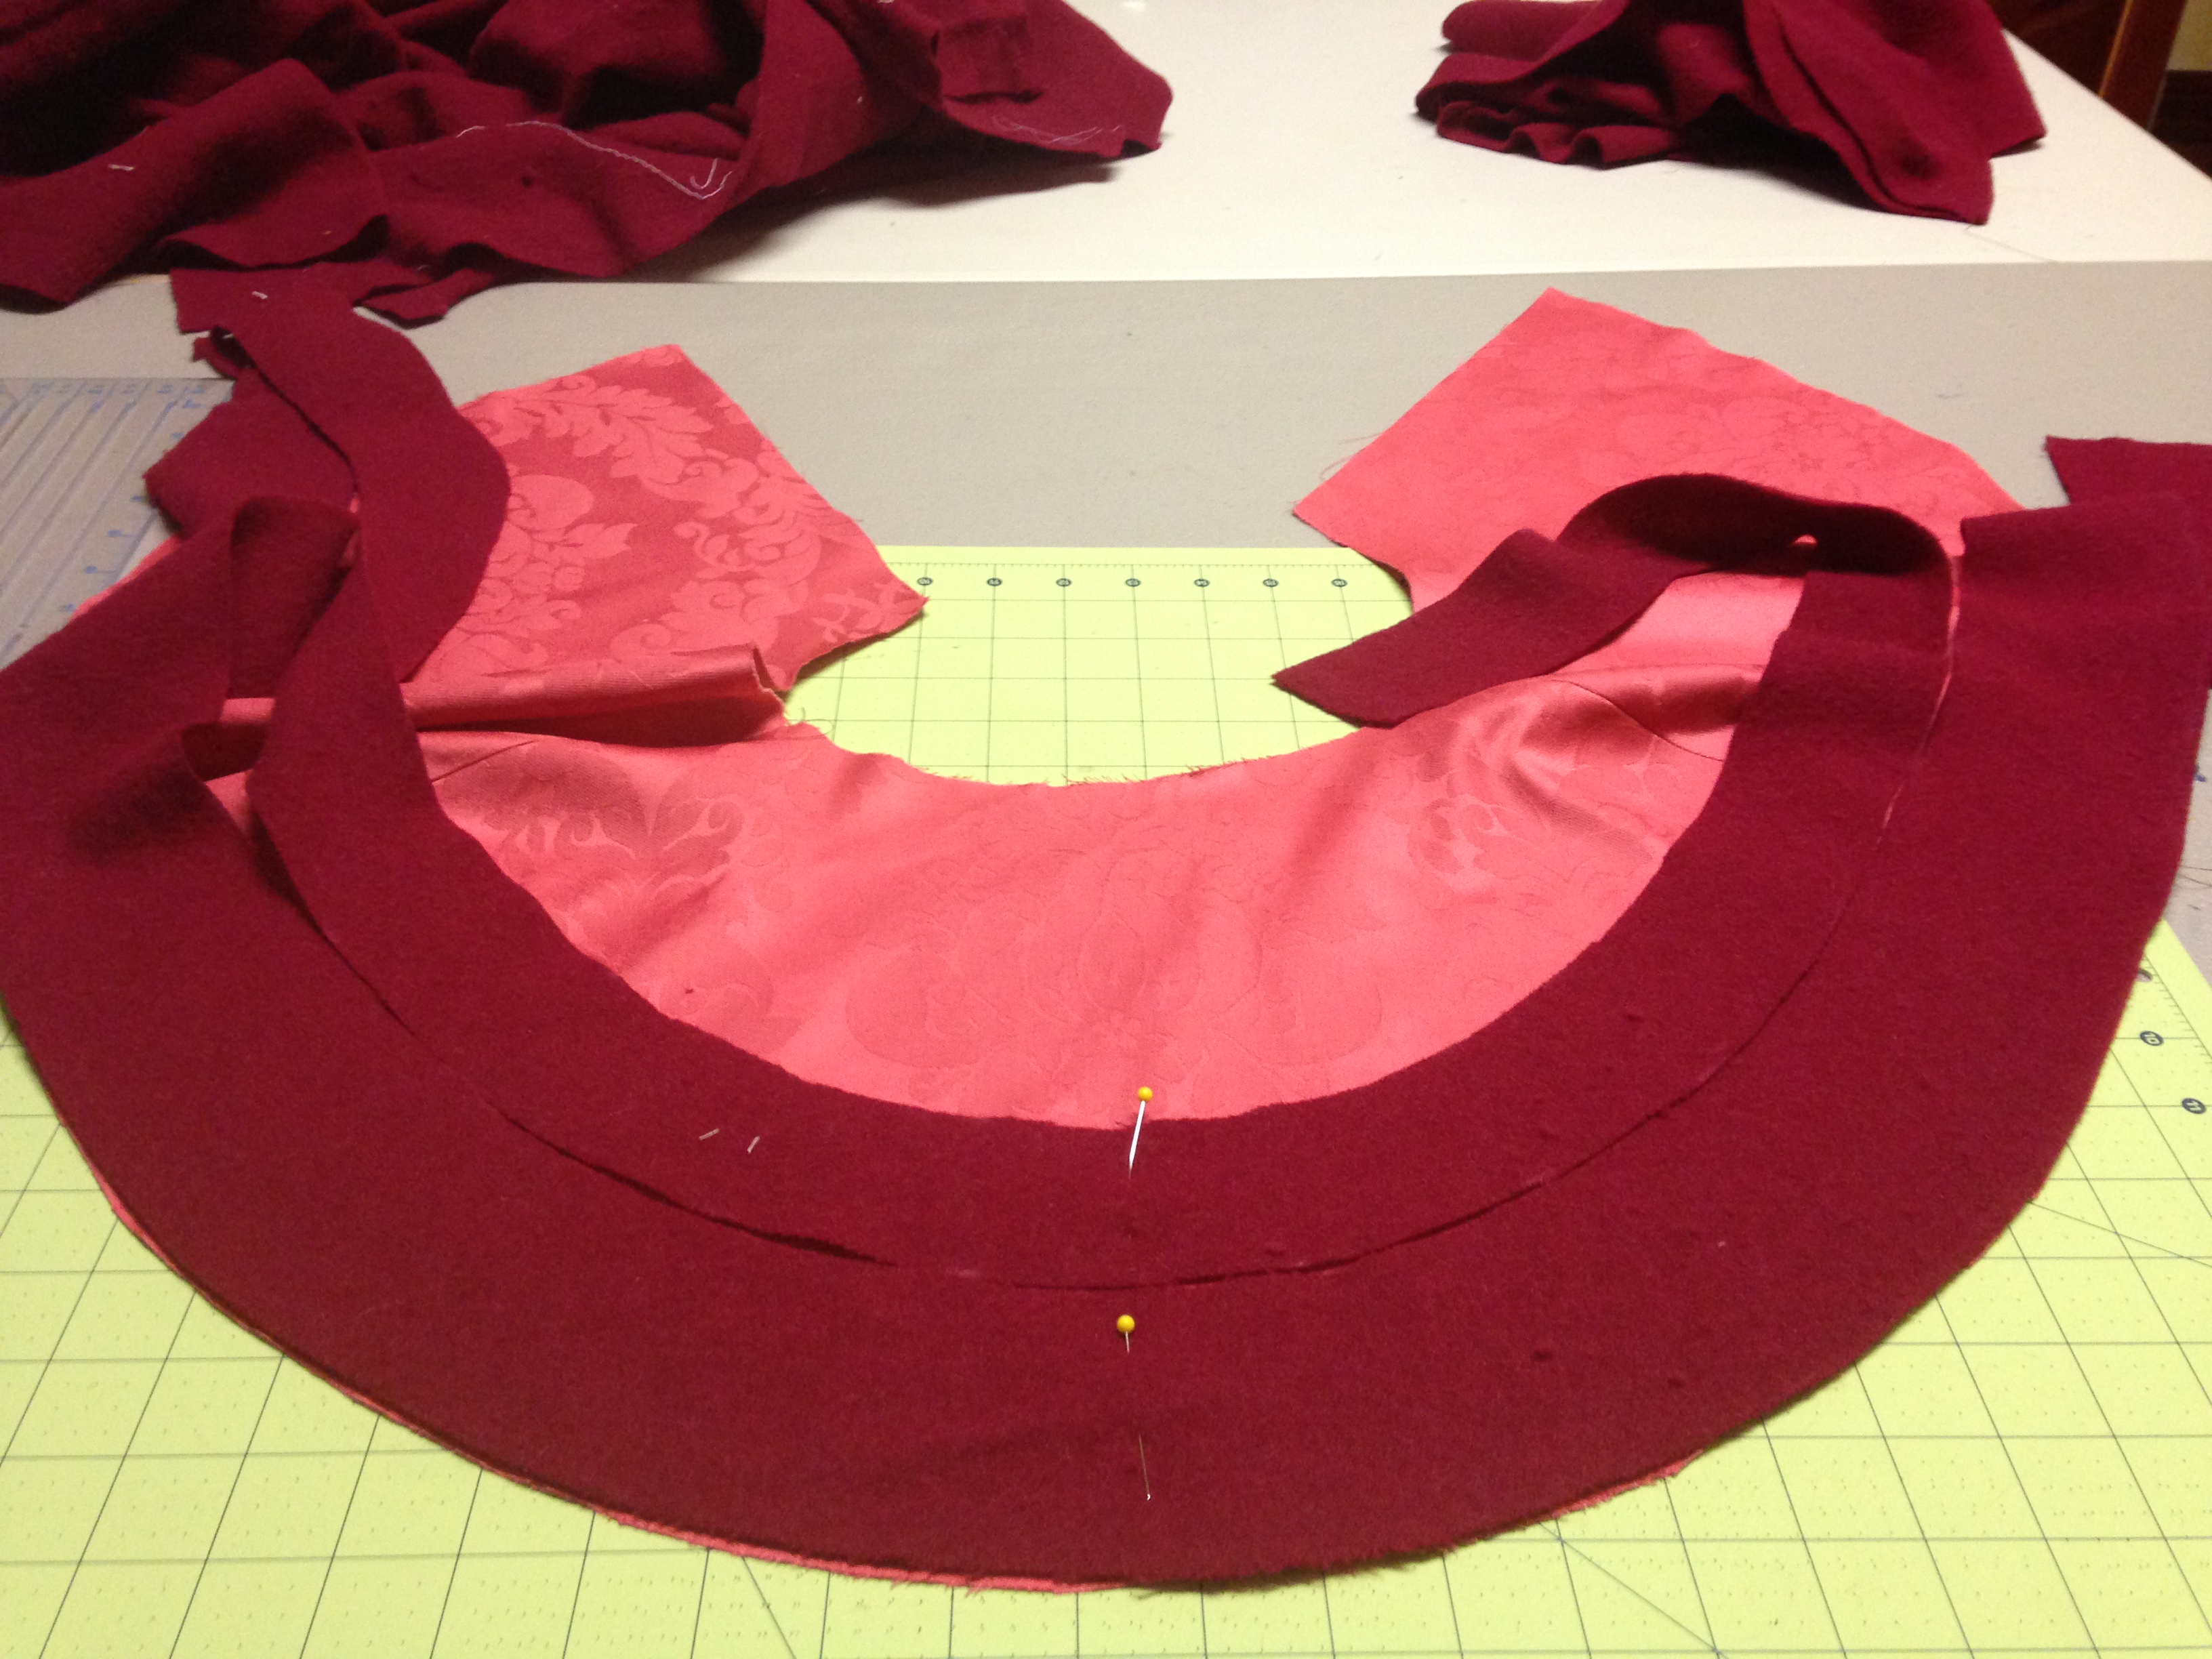
Cutting out the inside fabric (wool)
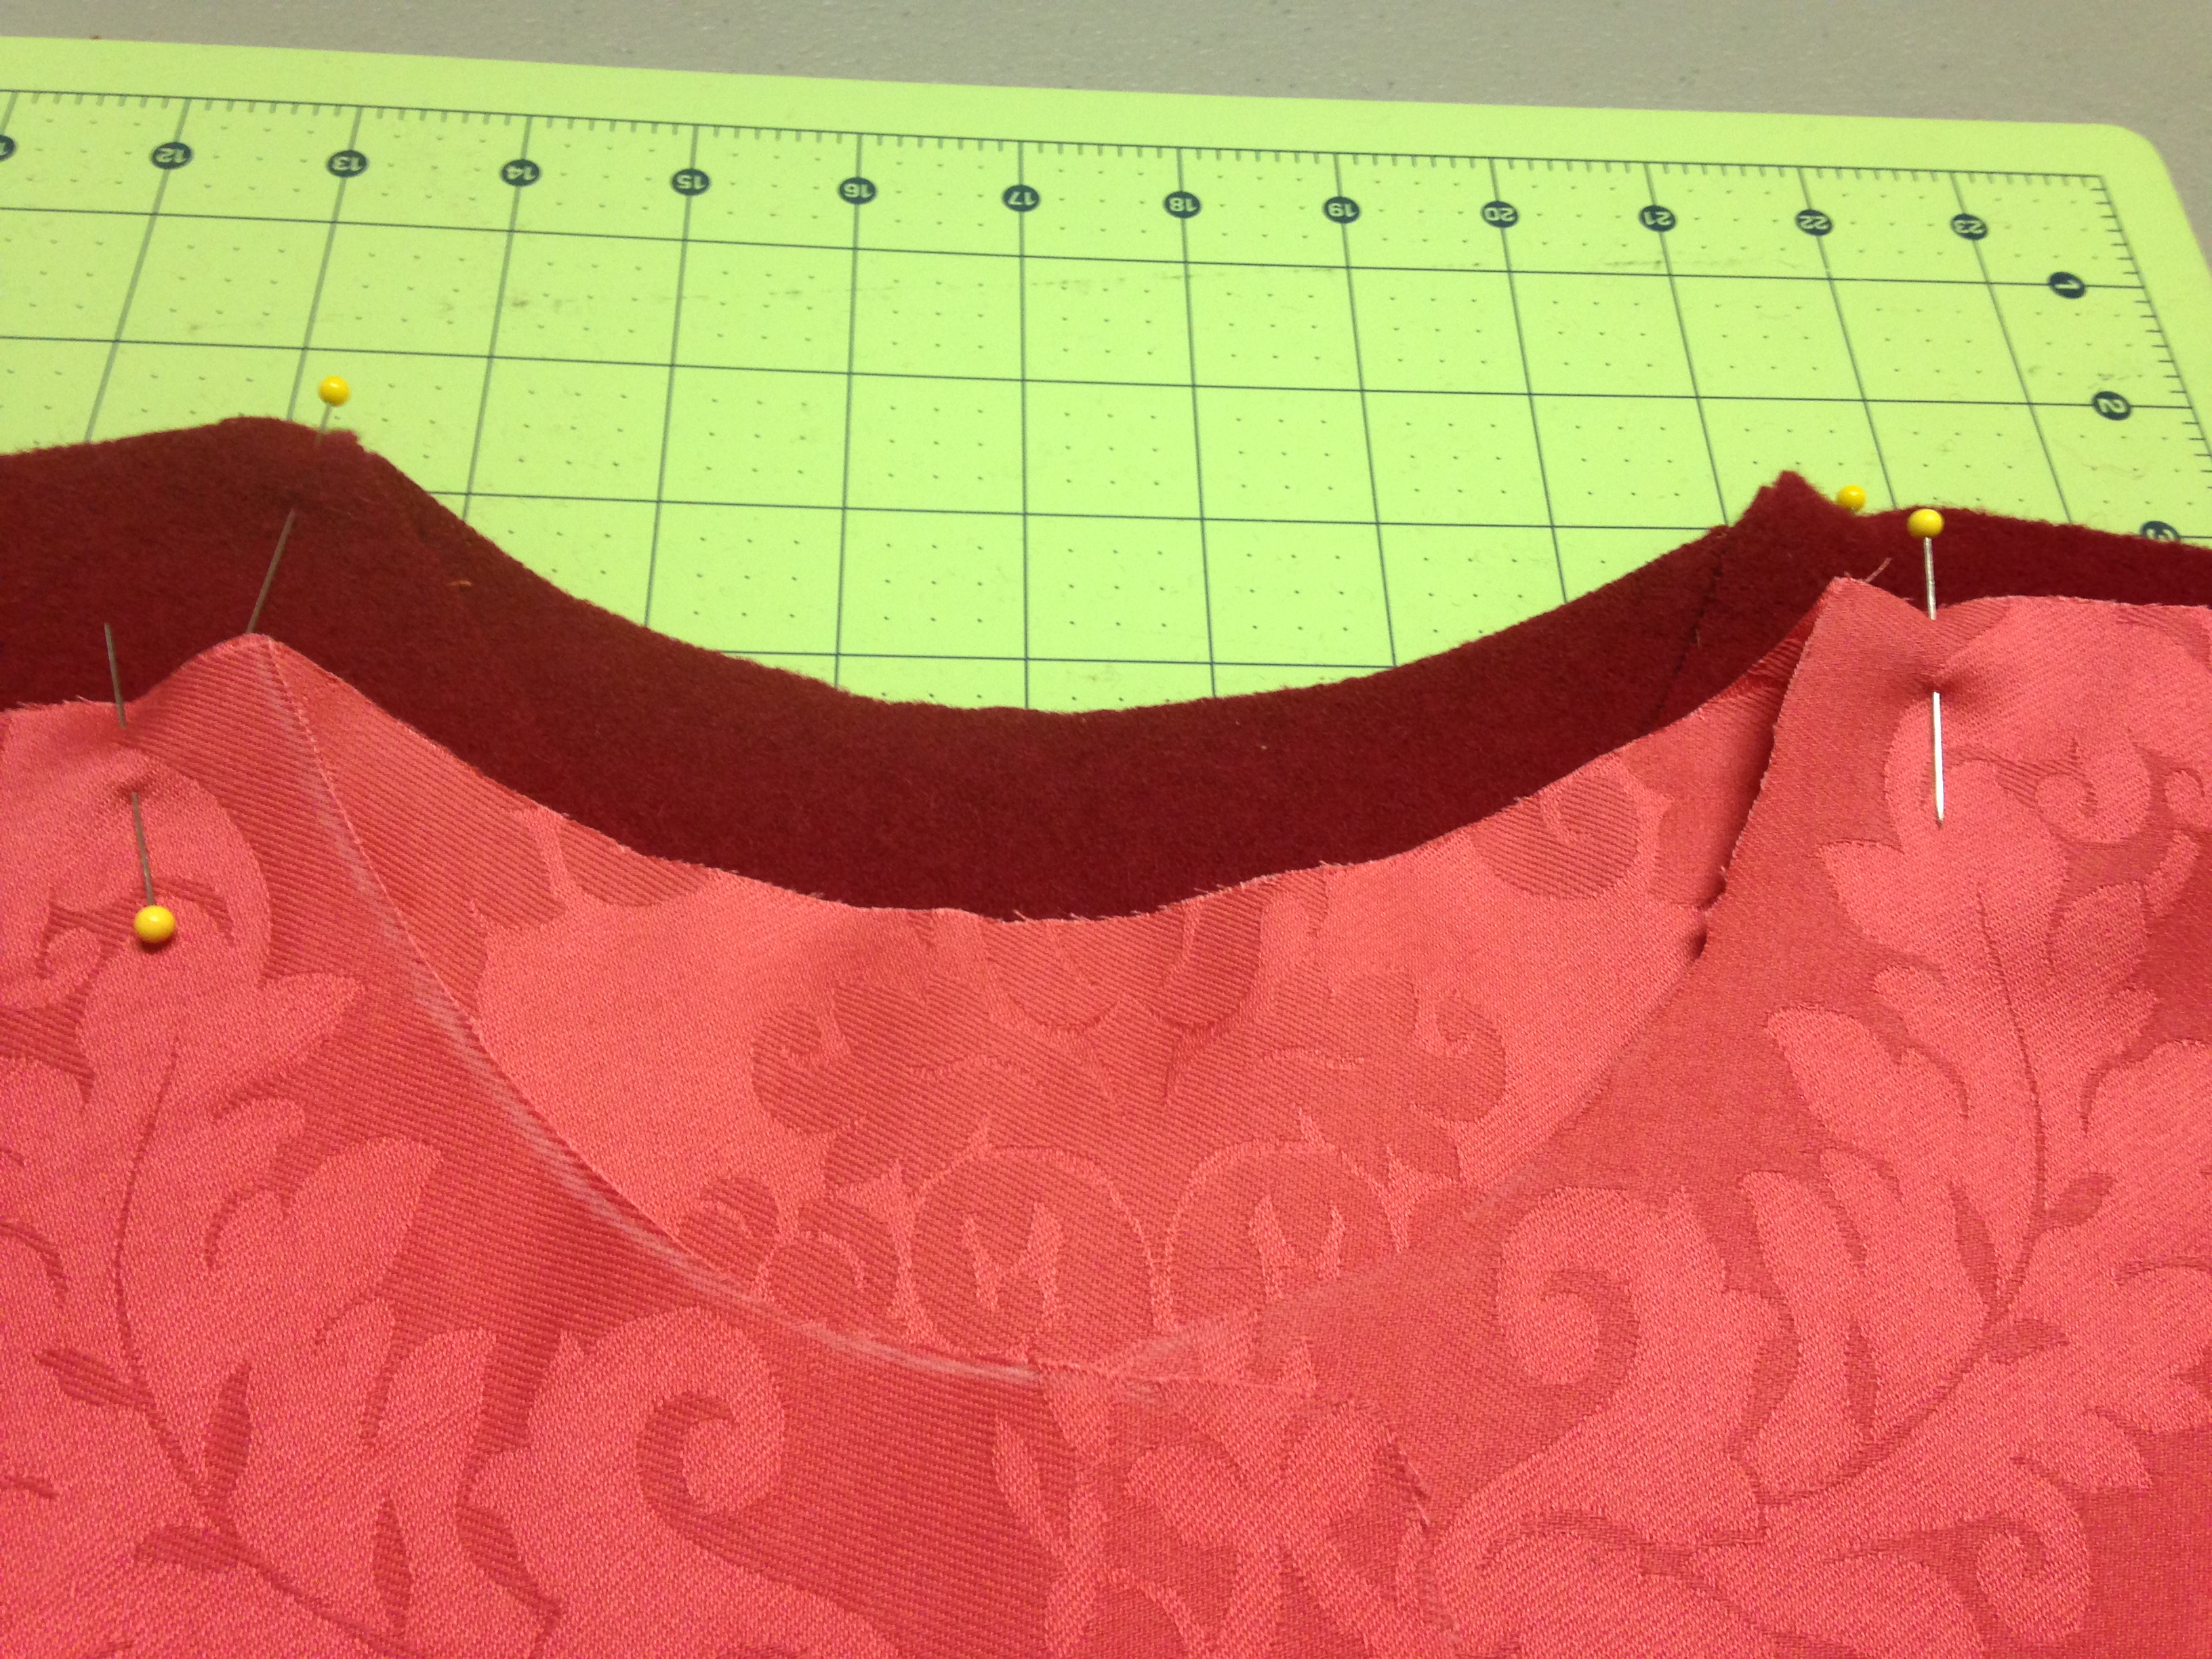
My outer and inner fabrics, pinned and ready for sewing.
3. Sew your outer fabric pieces together along the orange dotted lines on the pattern. You could do a simple seam and press open, or a flat-felled seam (which is likely to be more period). I would avoid a French seam, however, as I think it would produce too much bulk at the shoulder. Repeat with the lining fabric. Do not yet sew the outer fabric to the lining.
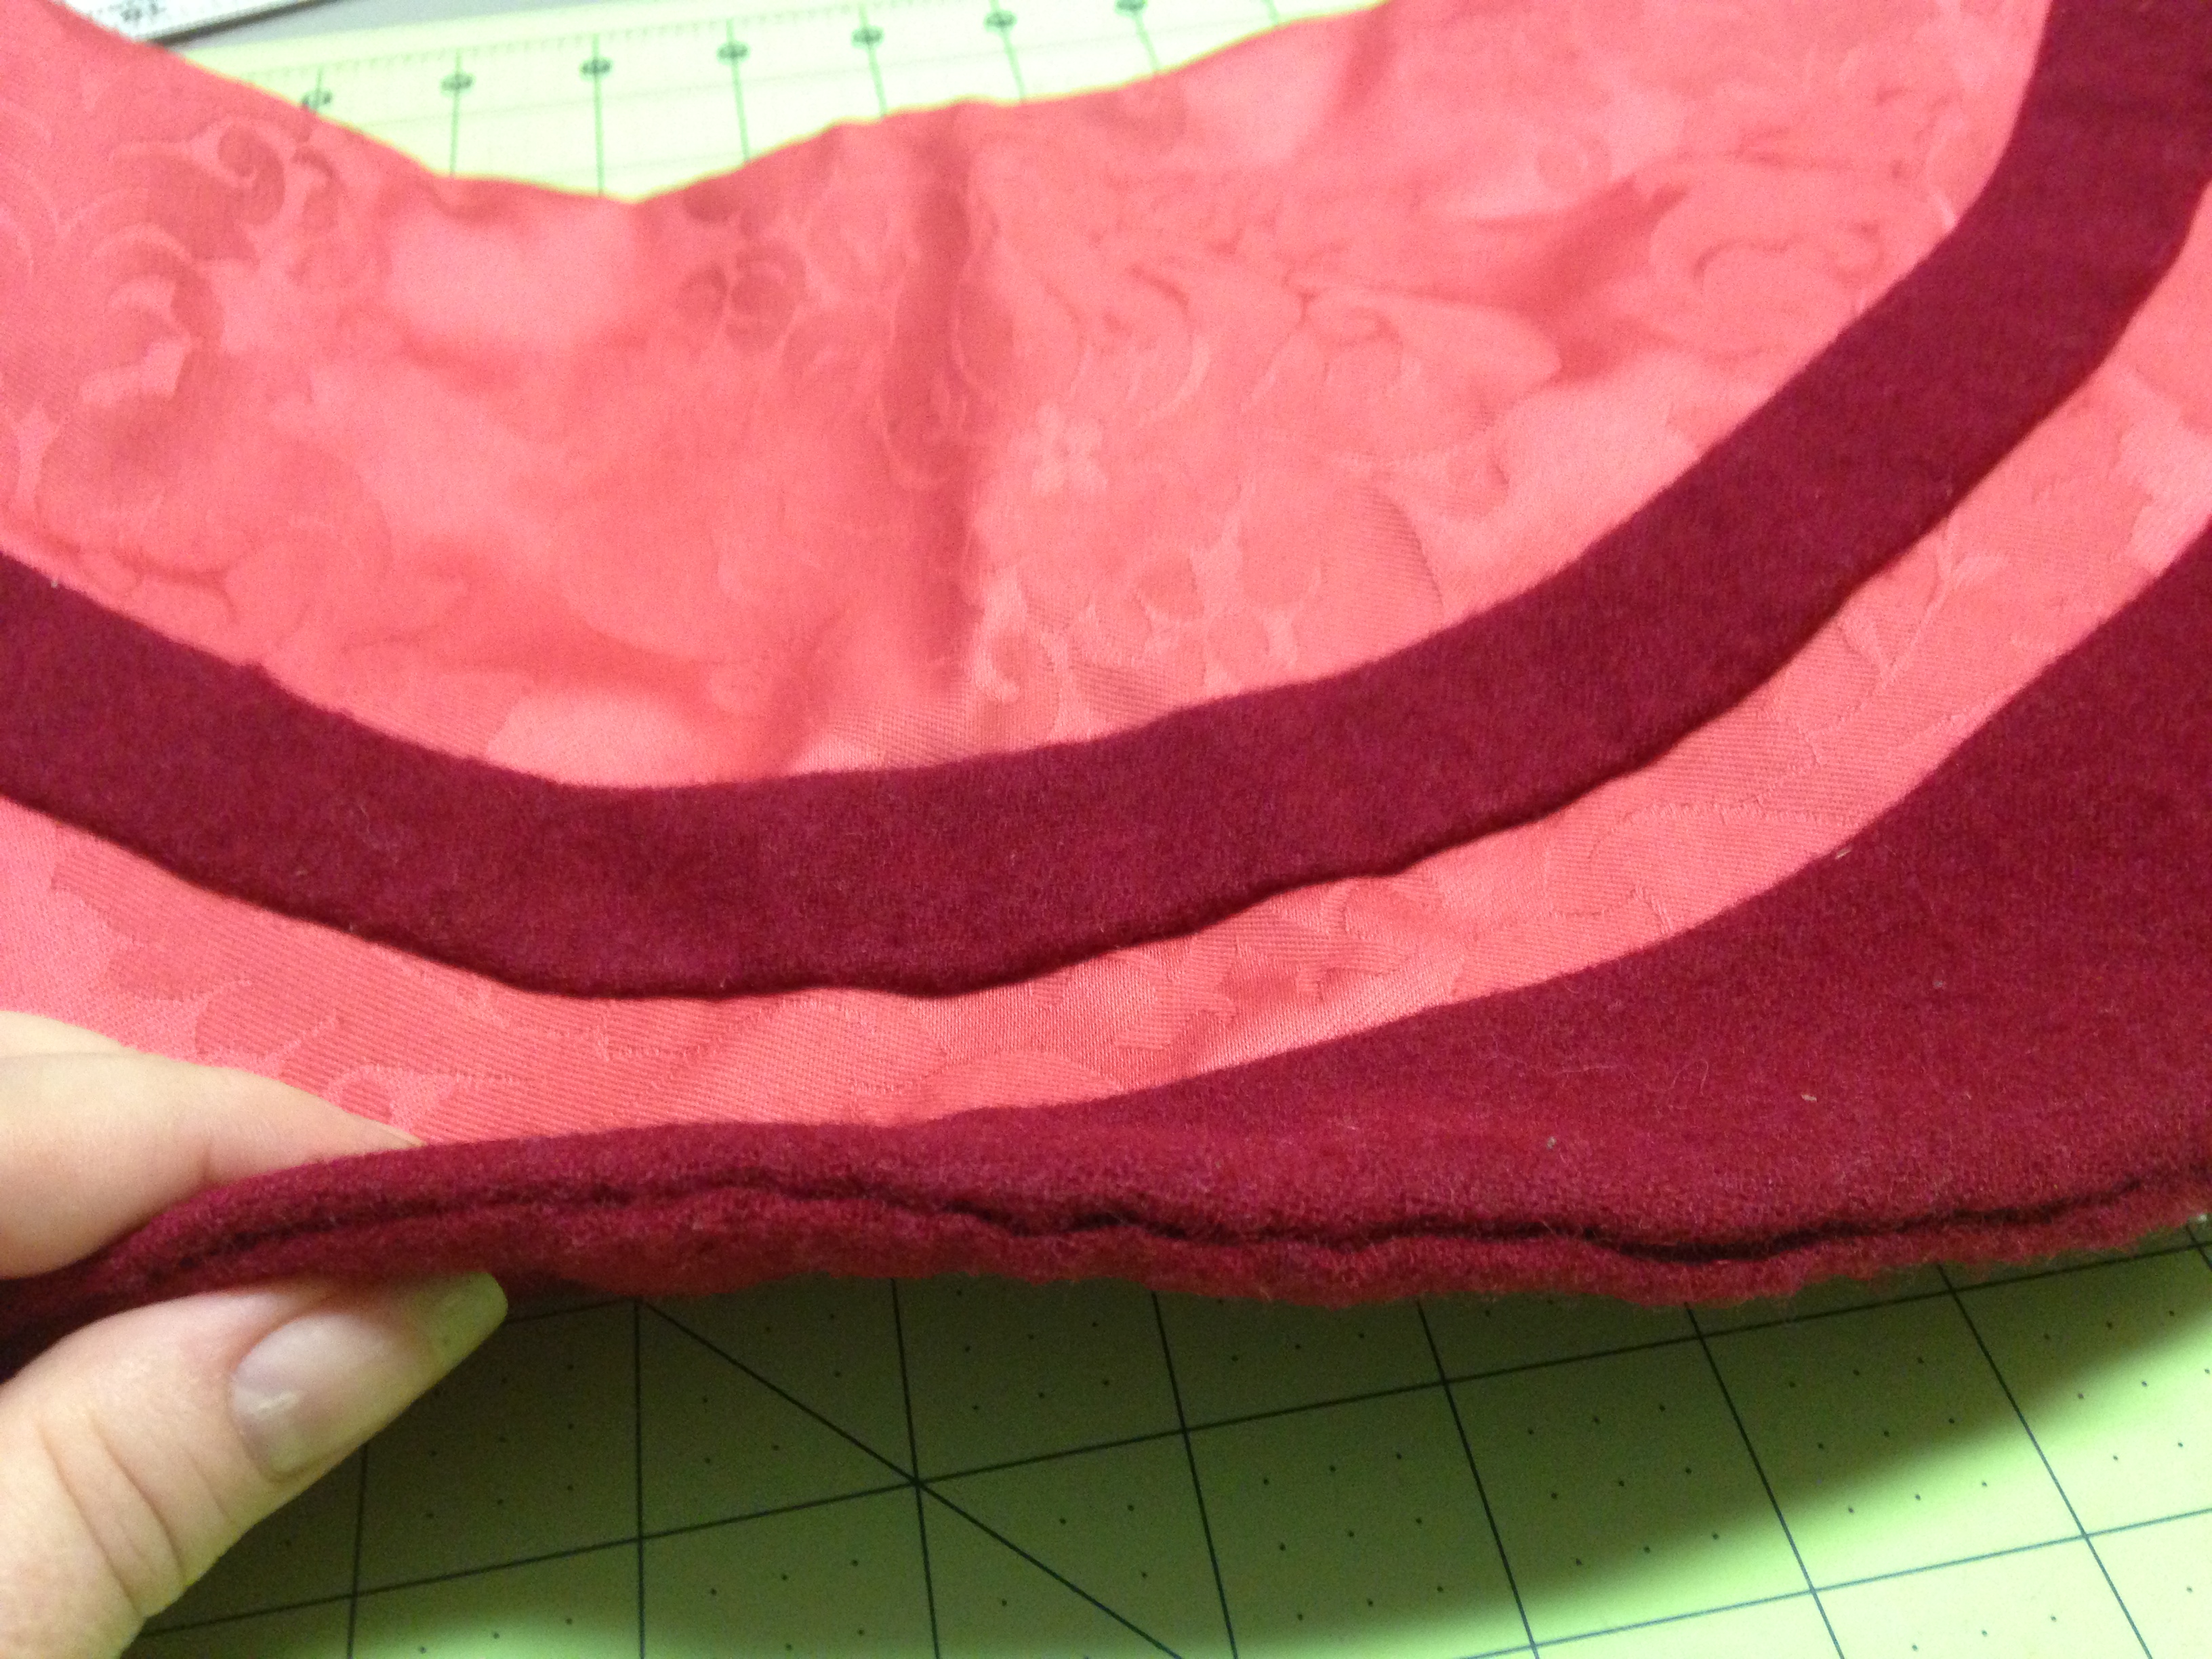
4. (Optional) If your outer fabric will have any guards (trim), now is the time to add it. Don’t try to attach a straight line of fabric and curve it — rather, lay the sewn outer fabric on top of your trim fabric, smoothing it flat as much as possible, outline it with calk on your trim fabric and cut out the same basic shape from the trim fabric. Now cut the guards from the shaped trim fabric in even strips—I cut 3.5 inches from the bottom guard followed by 2.5 inches for the narrower guard. I used the remaining fabric to cut 3.5″ x 11″ strips for the two side guards.
Placing and pinning the guards
5. (Optional) If you cut guards in the previous step, sew them on now. To do this, I first pinned the narrow guard into place using a ruler to make sure I was at a consistent distance from the bottom, then I sewed the top edge down, folded it over, pinned it, and sewed it down by hand in small, neat backstitches. The bottom guard’s top edge was sewn down, flipped over, and pinned (but not yet sewn). I did the same thing for the two side guards — sew, flip over, pin, but not sew.
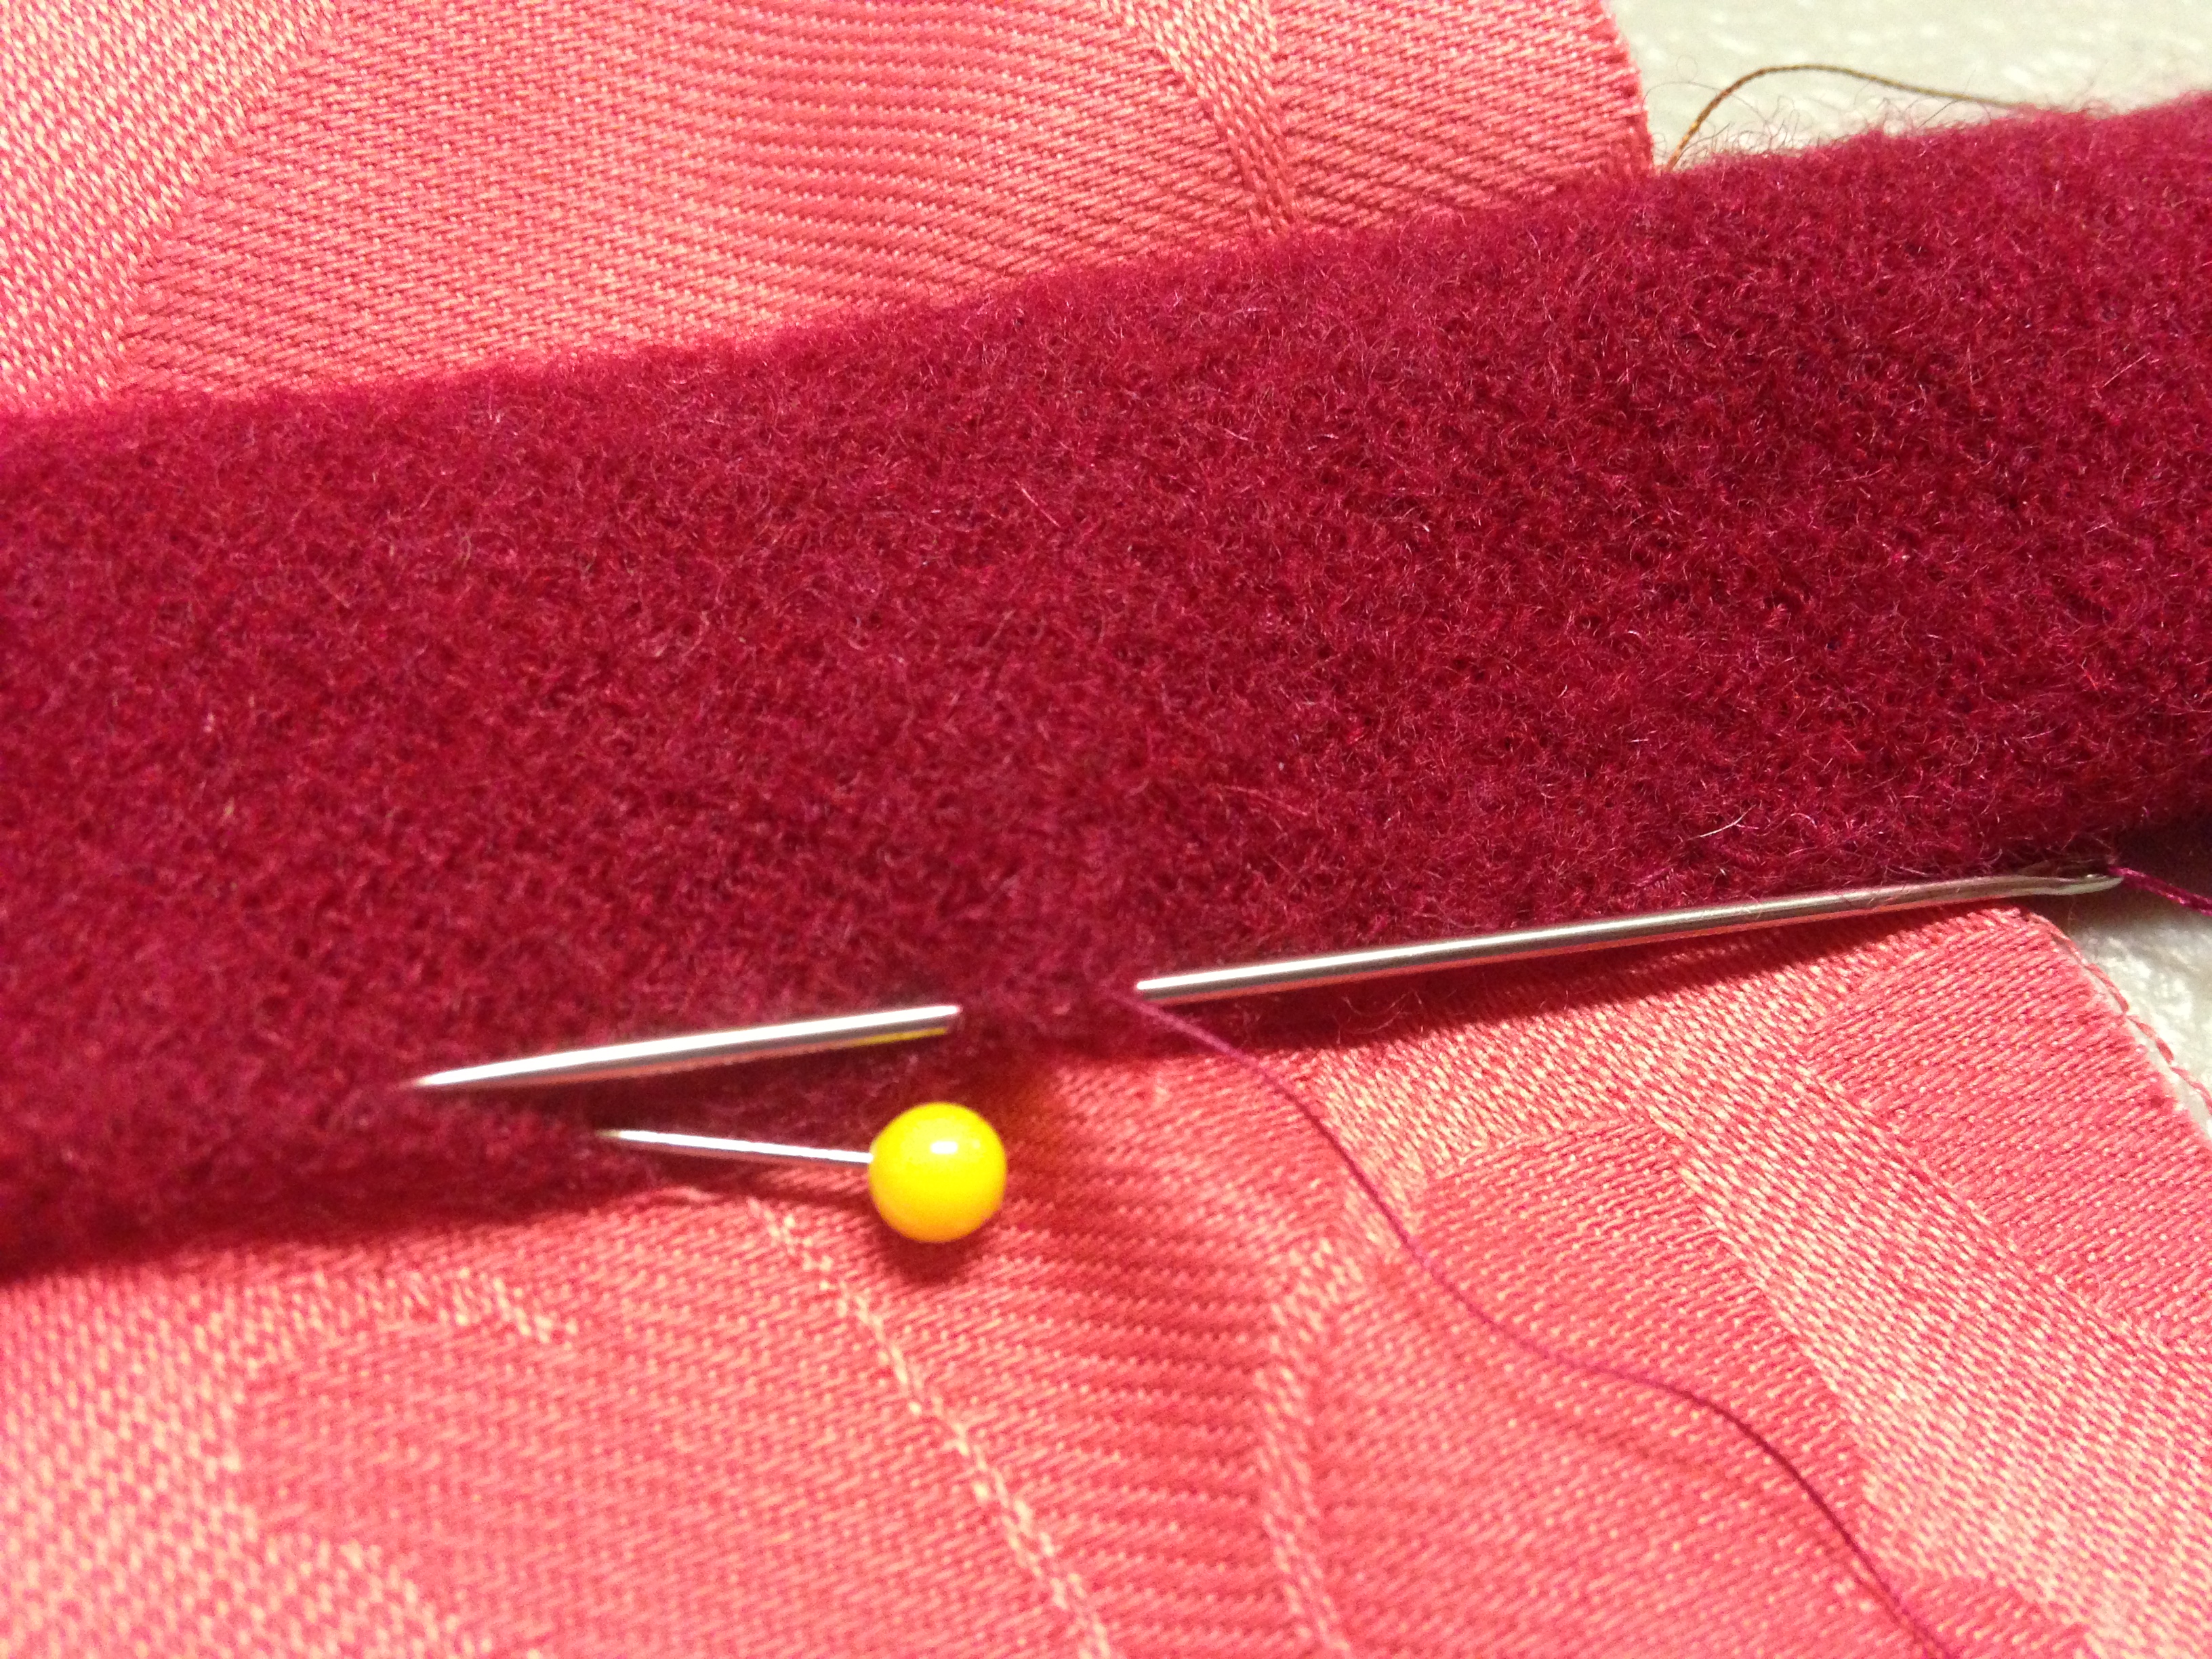
Sewing down a guard
6. (Optional) If you are using ties rather than cloak clasps, you’ll want to pin them in place now so that they are sewn in when you do the next step.
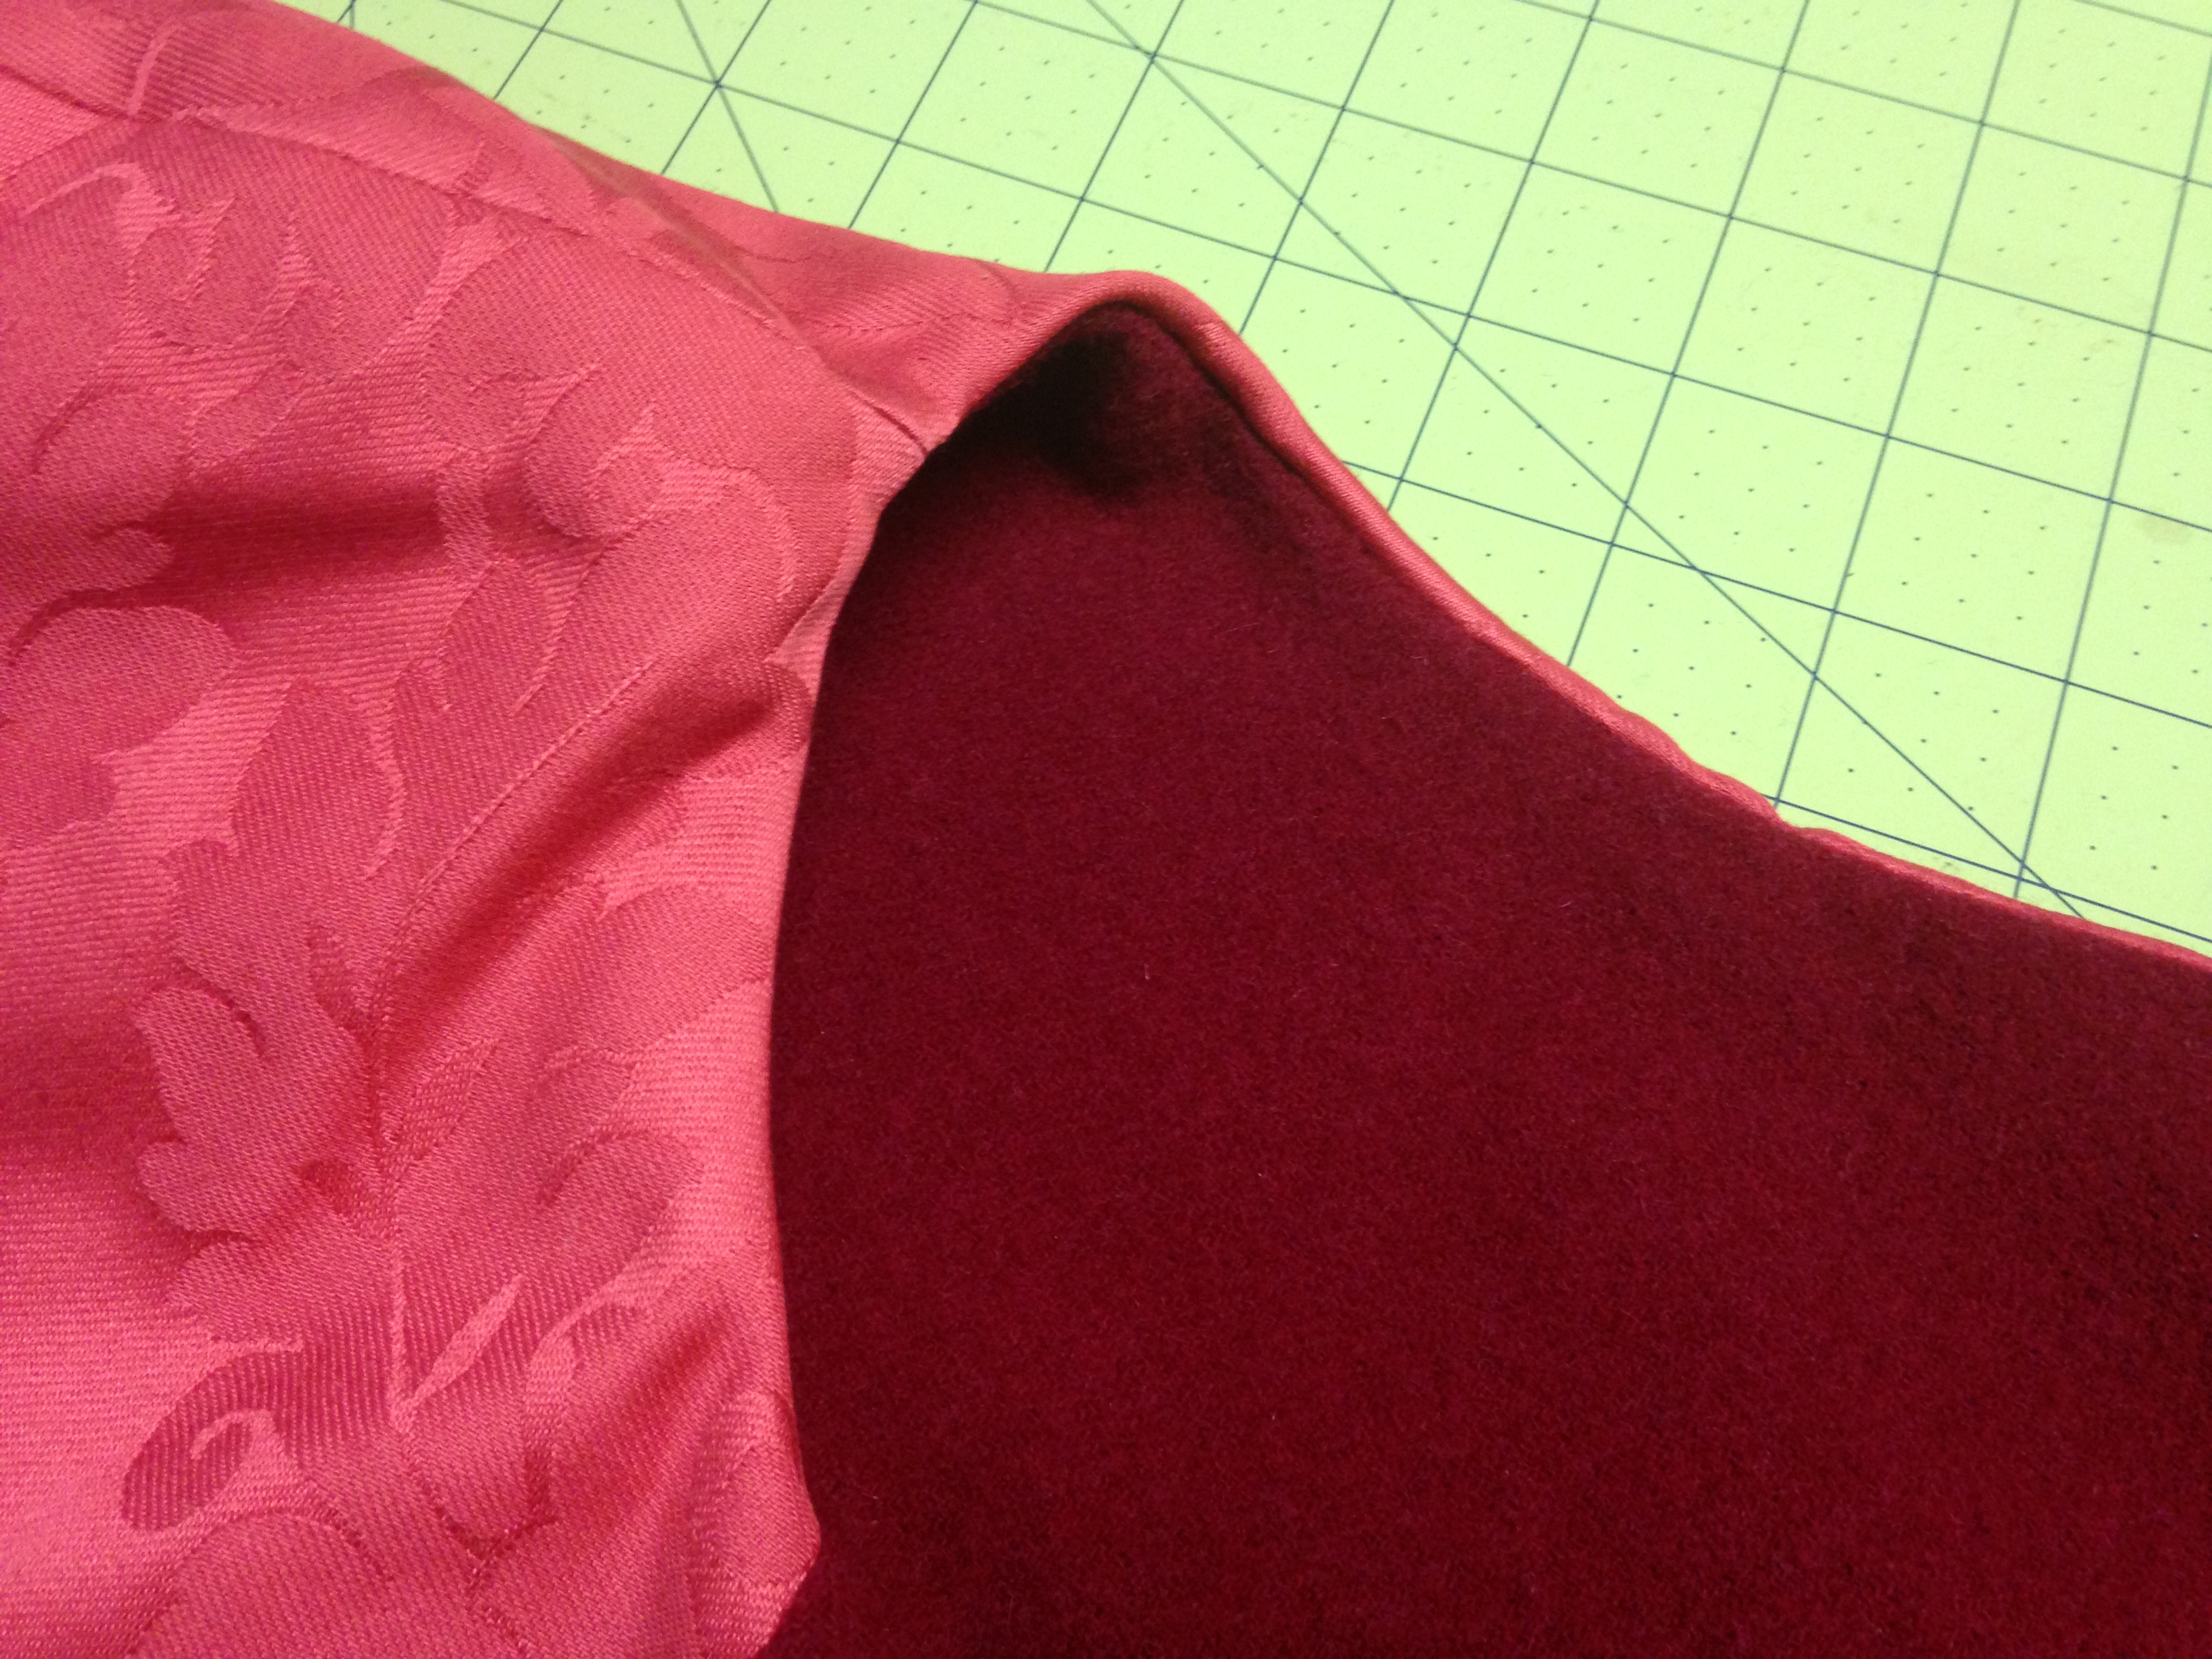
7. Now you attach the outer fabric to the lining, right sides together, along the blue dotted line on the pattern. I start sewing at the bottom of one side, sew up to the collar, sew around the collar, go down the other side, and sew roughly 1/3 of the way around the bottom curve. Then I went back to the other side and sewed another 1/3 around the bottom curve from the other direction, leaving 1/3 in the center back bottom unsewn (the red dotted line on the pattern). I then clipped the corners (to avoid bulk at them), turned the goller right side out, smoothed all my corners and edges, and ironed it flat.
8. To finish sewing the outer fabric to the lining at that open edge in the back, fold each raw fabric edge along the red dotted line inside to create a nice seam, pin, and sew together using a blind stitch. When you’re done, remove the pins and iron to make sure it’s all nice and flat.
9. If you’re using cloak clasps, sew them on securely now with doubled or extra strong thread. Be sure to sew through all layers of fabric for a better drape and fit.

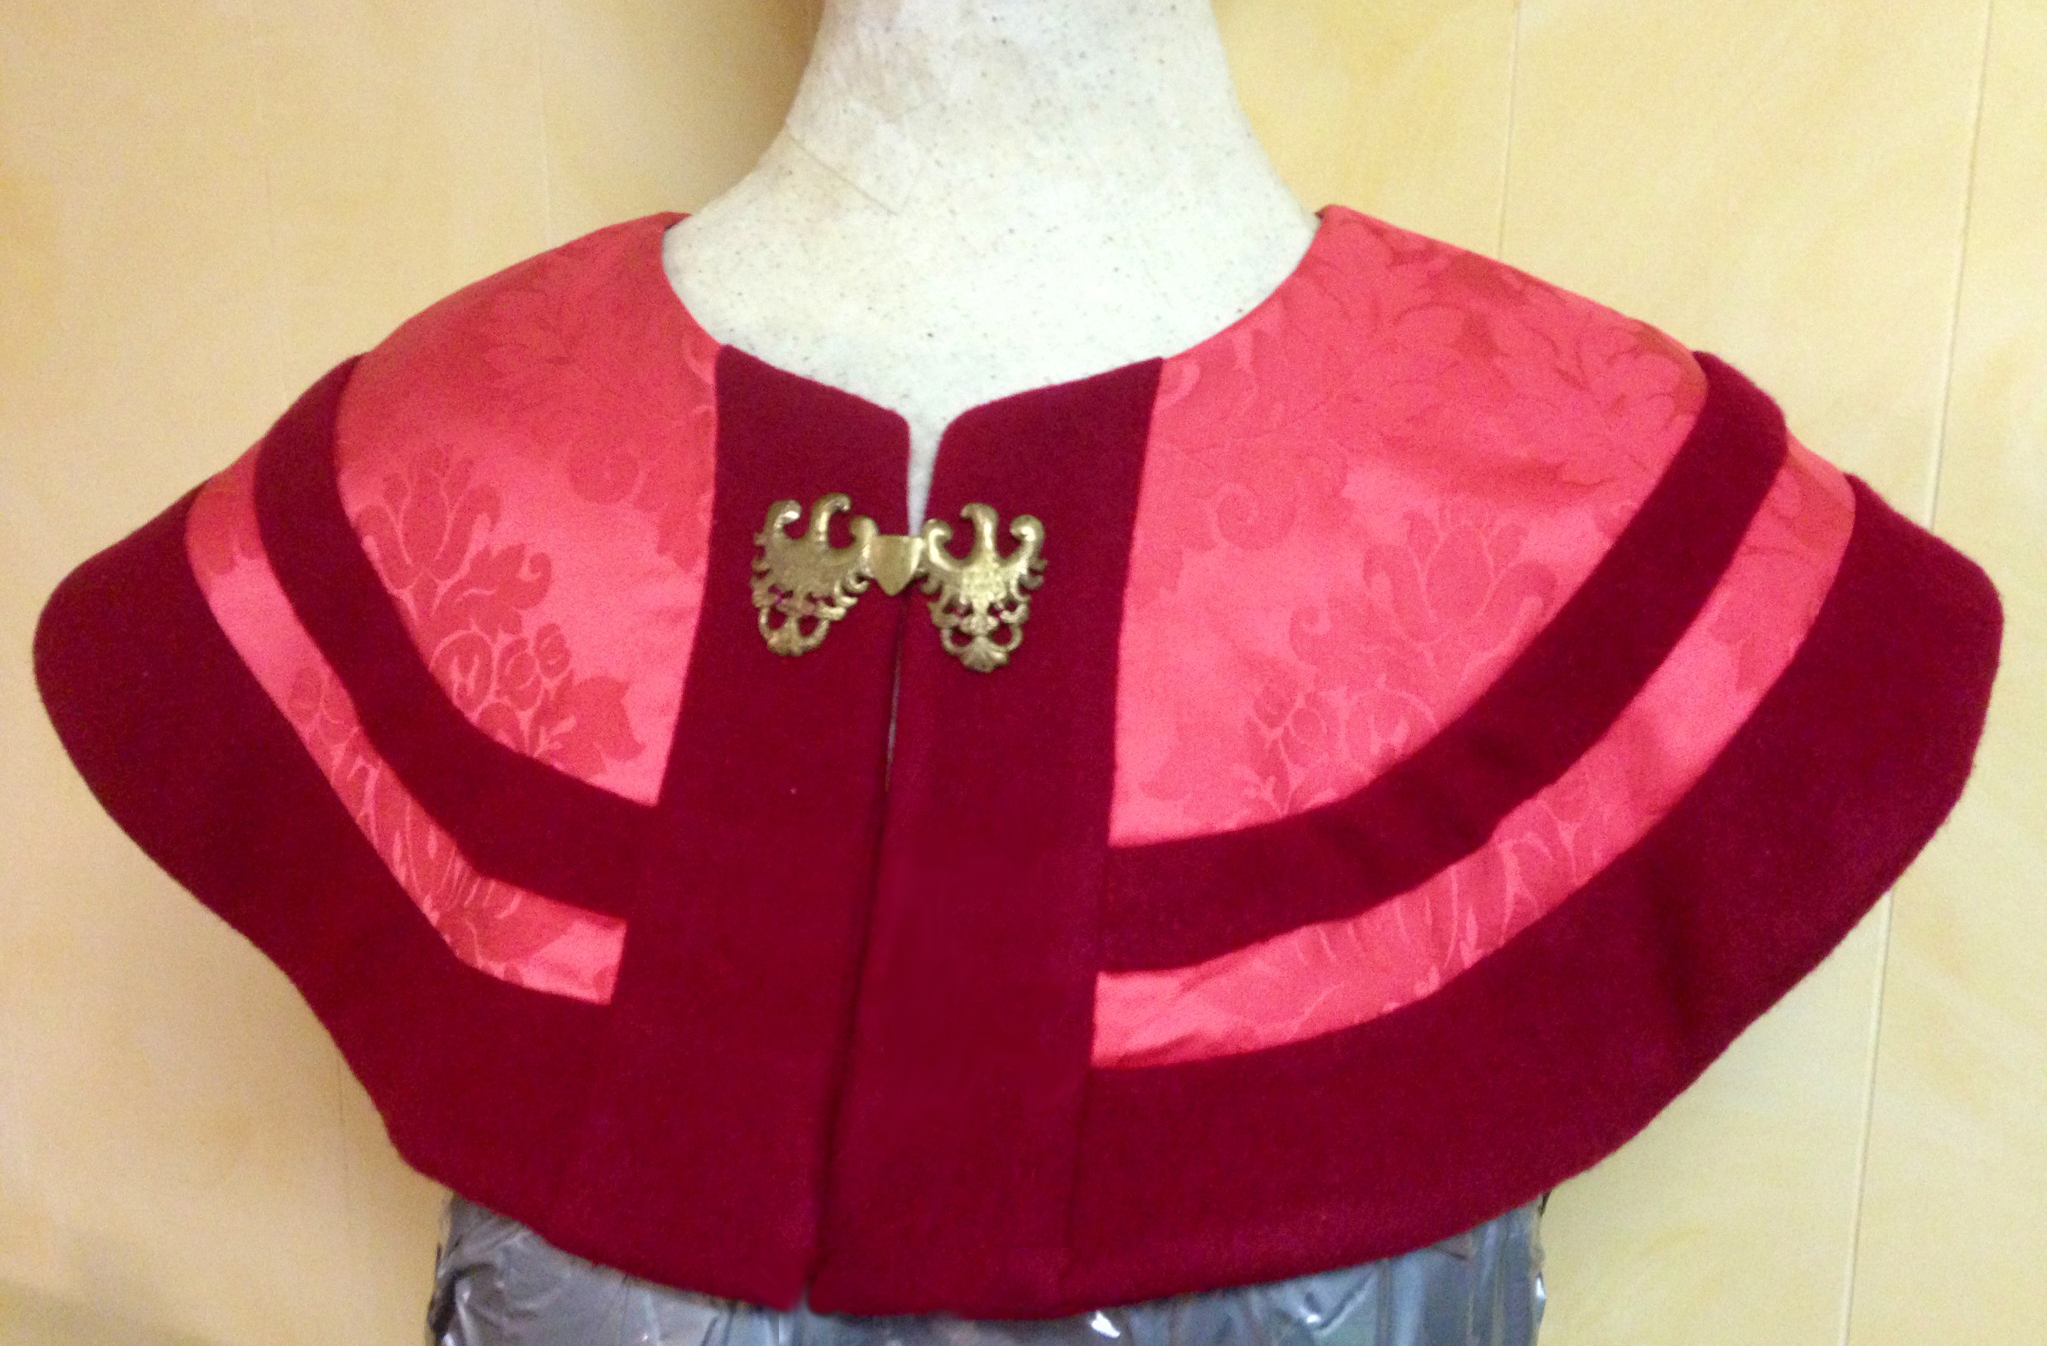
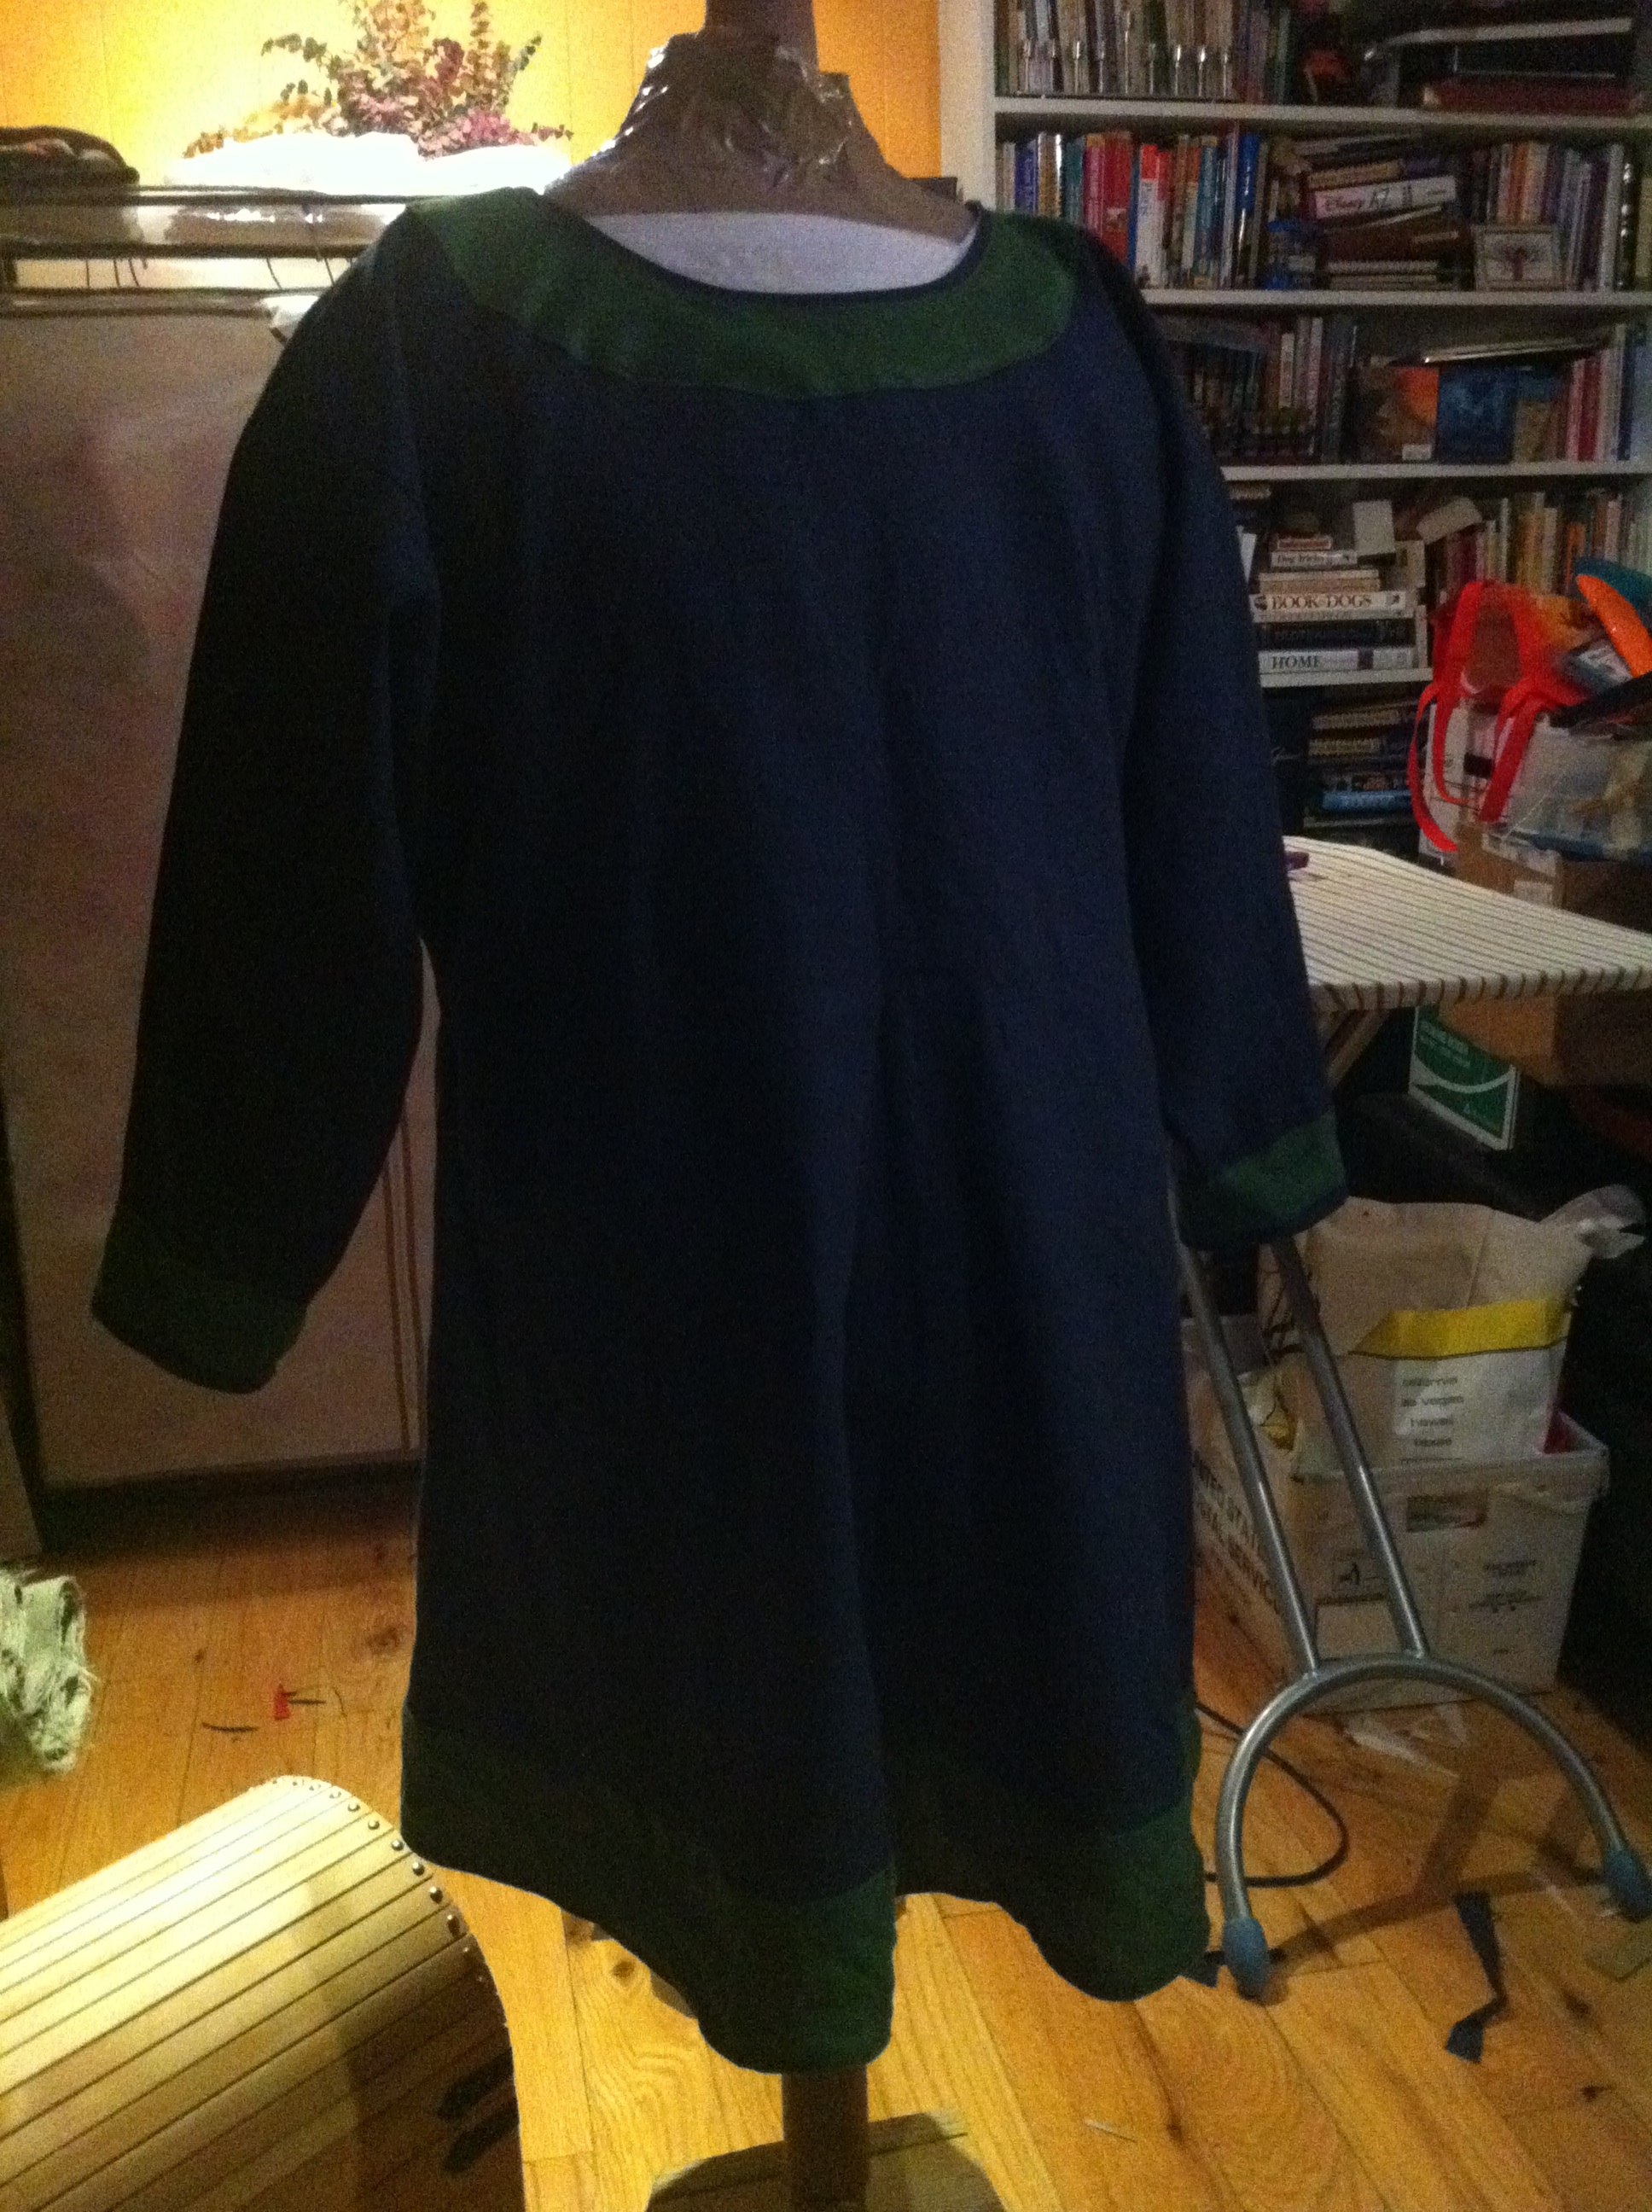
Finished goller
Time Spent: If you make a goller without guards, you can make this in under an hour. The guards add another hour or two, depending on how fancy you get with them.
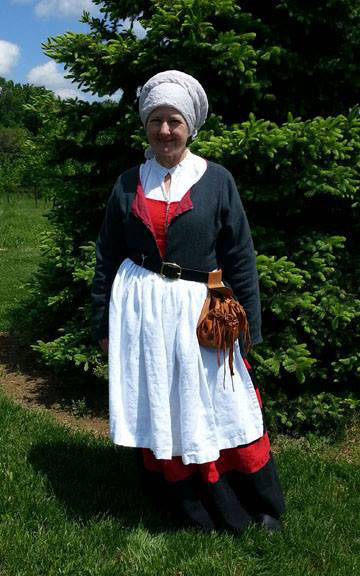
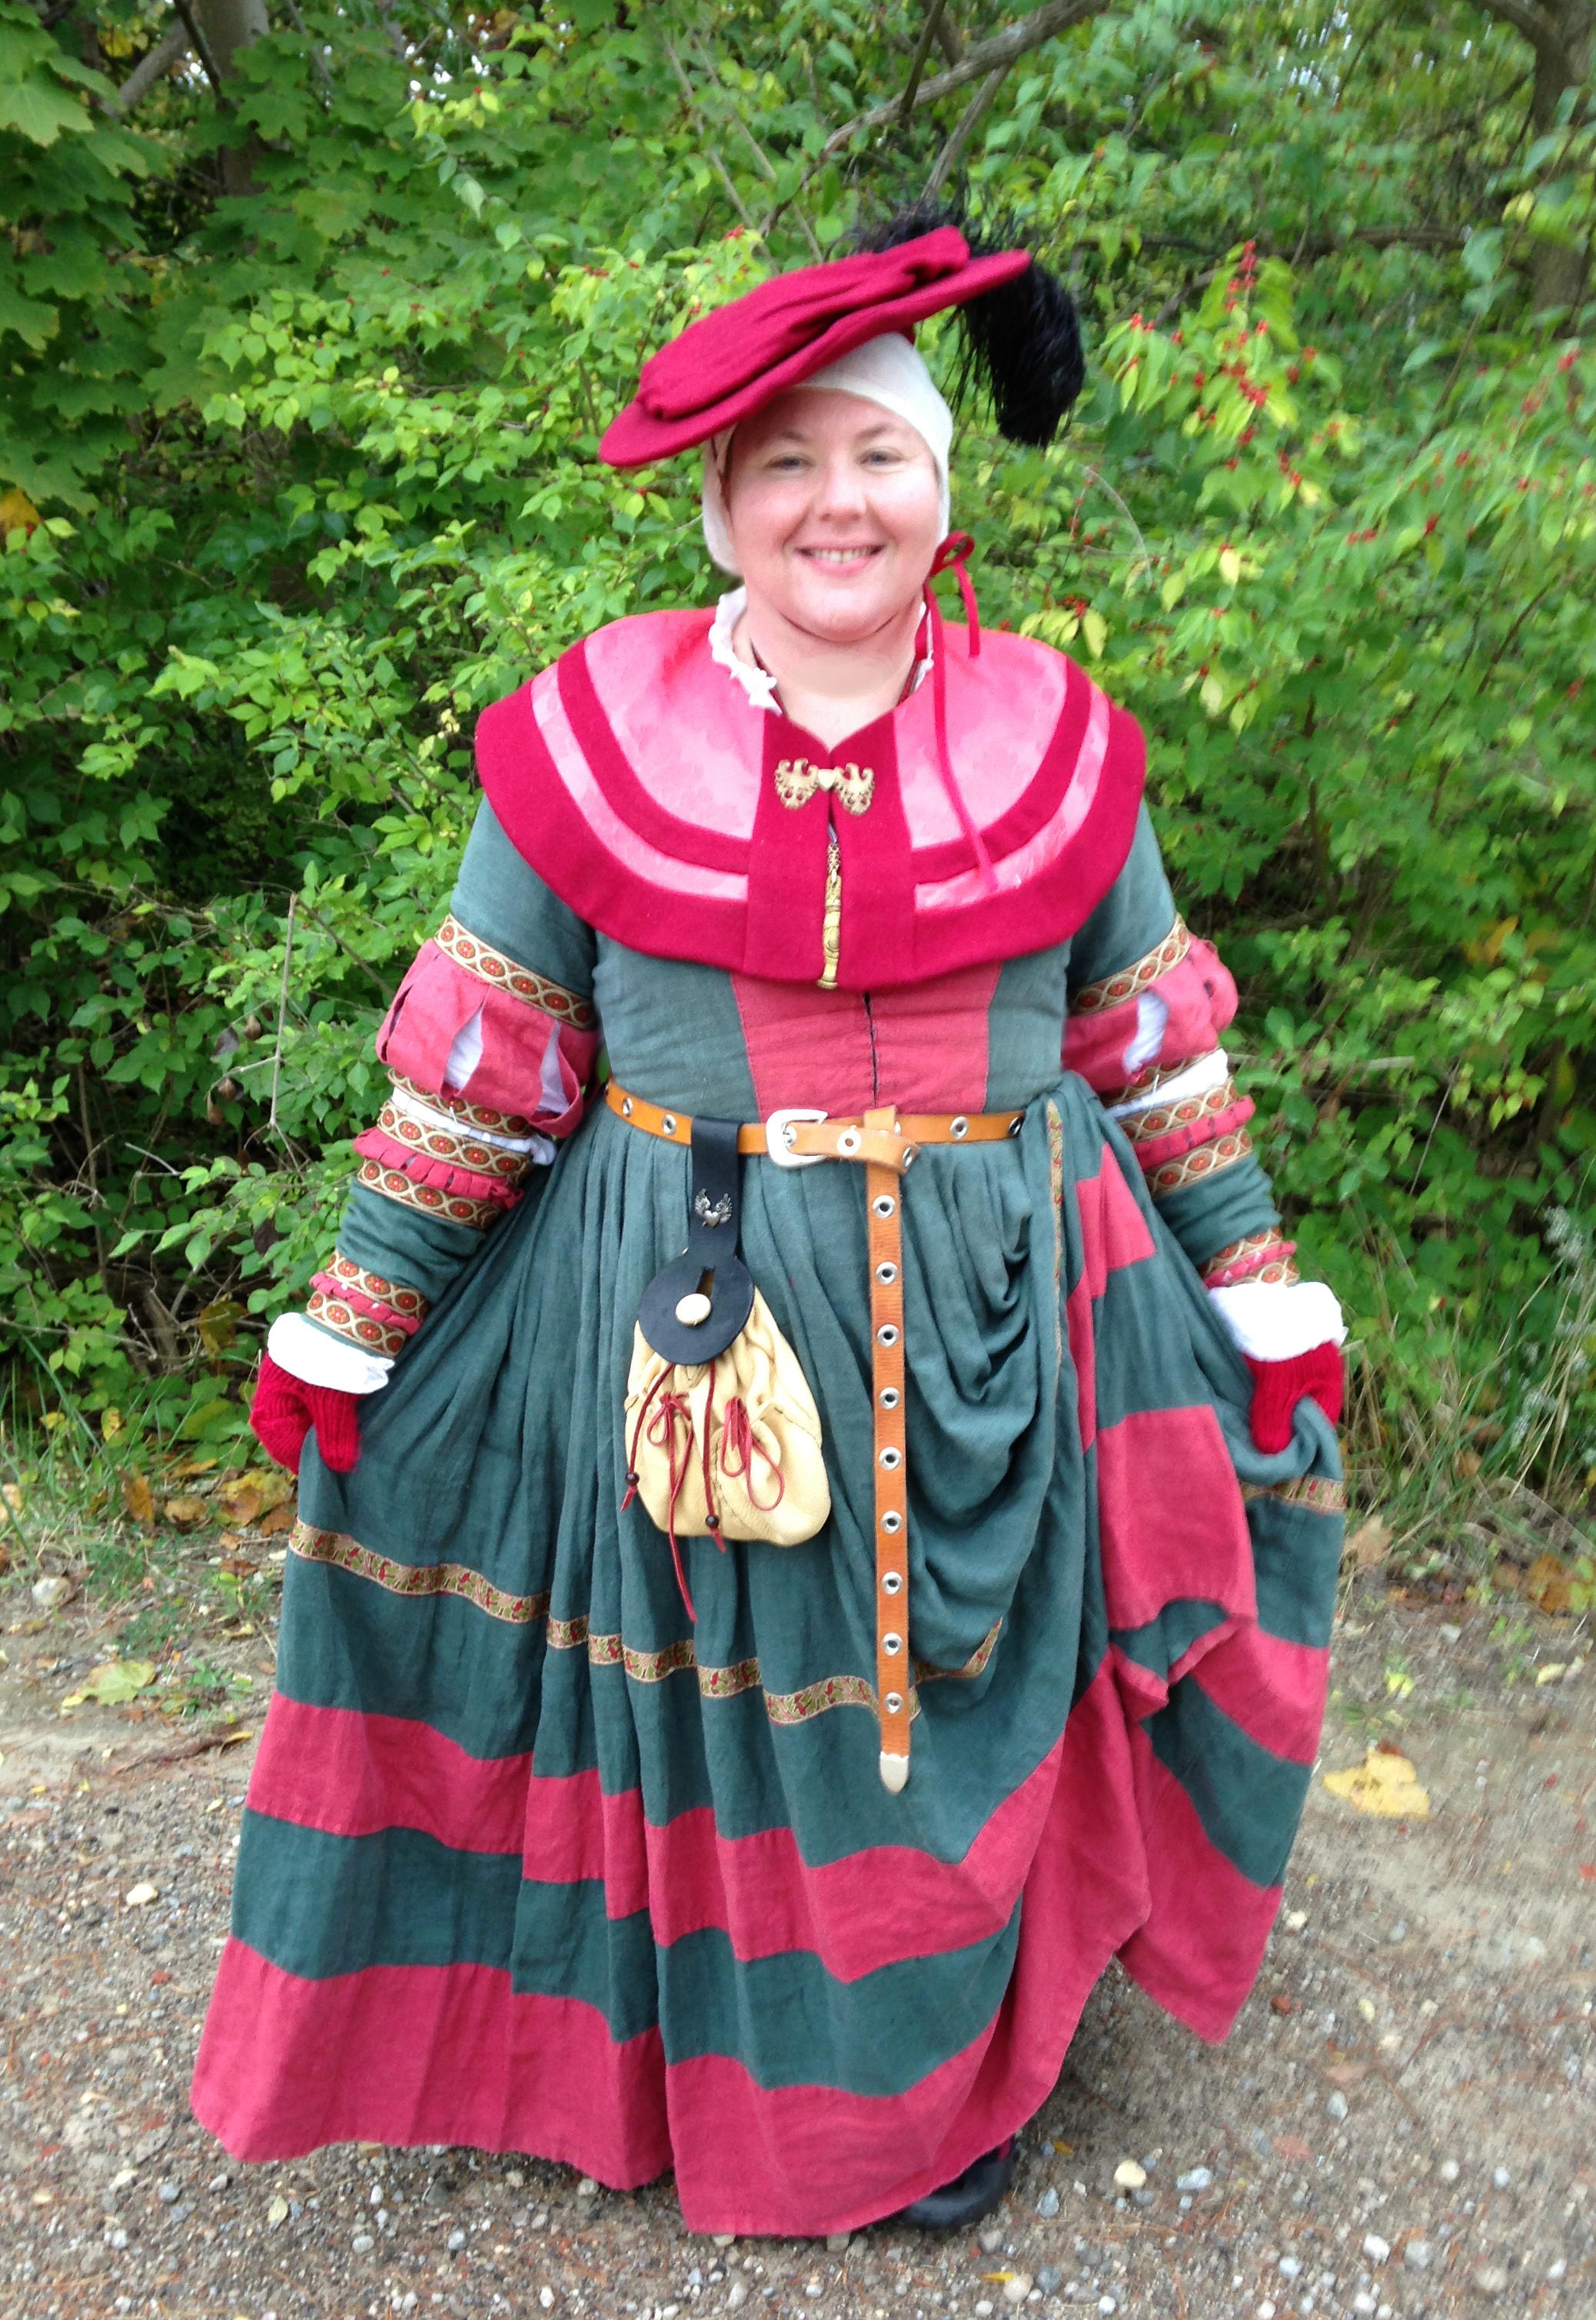
Here’s me in my new goller at Red Dragon — it was 45°F and the wool goller kept me feeling quite comfortable! Many thanks to Amie for the wonderful pattern!


