Monthly Archives: June 2014

SCA Artisan Love: Lady Heodez (Plus an Easy Moisturizer Recipe)

23 June 2014

[This is the third in a series of articles on SCA artisans who inspire, teach, encourage, and/or make the Society a better place for us all! I learned so much through other artisans while preparing for the A&S Pentathlon, and now it is my turn to shine the love on them, learn more about their craft, and introduce them to you.]

heodez-artisan

Pumpkin water for wrinkles? Almond oil for softer skin? All this and more I’ve learned from Donna Heodez Sofonisba de Talento Minotto, who weaves her particular brand of magic in the time-honored art of herbcraft. Fascinated by cosmetics since the age of 12, Heodez is studying medieval and Renaissance cosmetics made by women through the ages. “I find the journals they left behind, often called ‘books of secrets,’ fascinating.” writes Heodez. “The wealth of beauty recipes out there is amazing.”

Learning how our ancestors created and applied cosmetics isn’t always easy, however. Most journals are not in English, meaning Heodez has to translate them for starters. Then comes the fun of figuring out quantities, which more than often are not listed. And let’s not forget that our ancestors didn’t always realize (or care about) the toxicity of their ingredients—the use of white lead for a fair face in the renaissance lead to disfigurement and death. To avoid subjecting us all to this particular recreation of the period, Heodez must research reasonable substitutes. She says, “The fun is in the figuring out, despite the frustration sometimes.”

So what is Heodez’s favorite discovery to date? She loves “discovering that we still have the same beauty concerns centuries later” as our for-bearers. Worrying about how we smell or about our gray hair is time eternal, apparently. Remedies for our present-day concerns were concocted and many of them actually work. And thus learning what worked for our great-great-great-great-great-great-great grandmother can work for us, too!

Making mouthwash from a 16th c. recipe

Making mouthwash from a 16th c. recipe

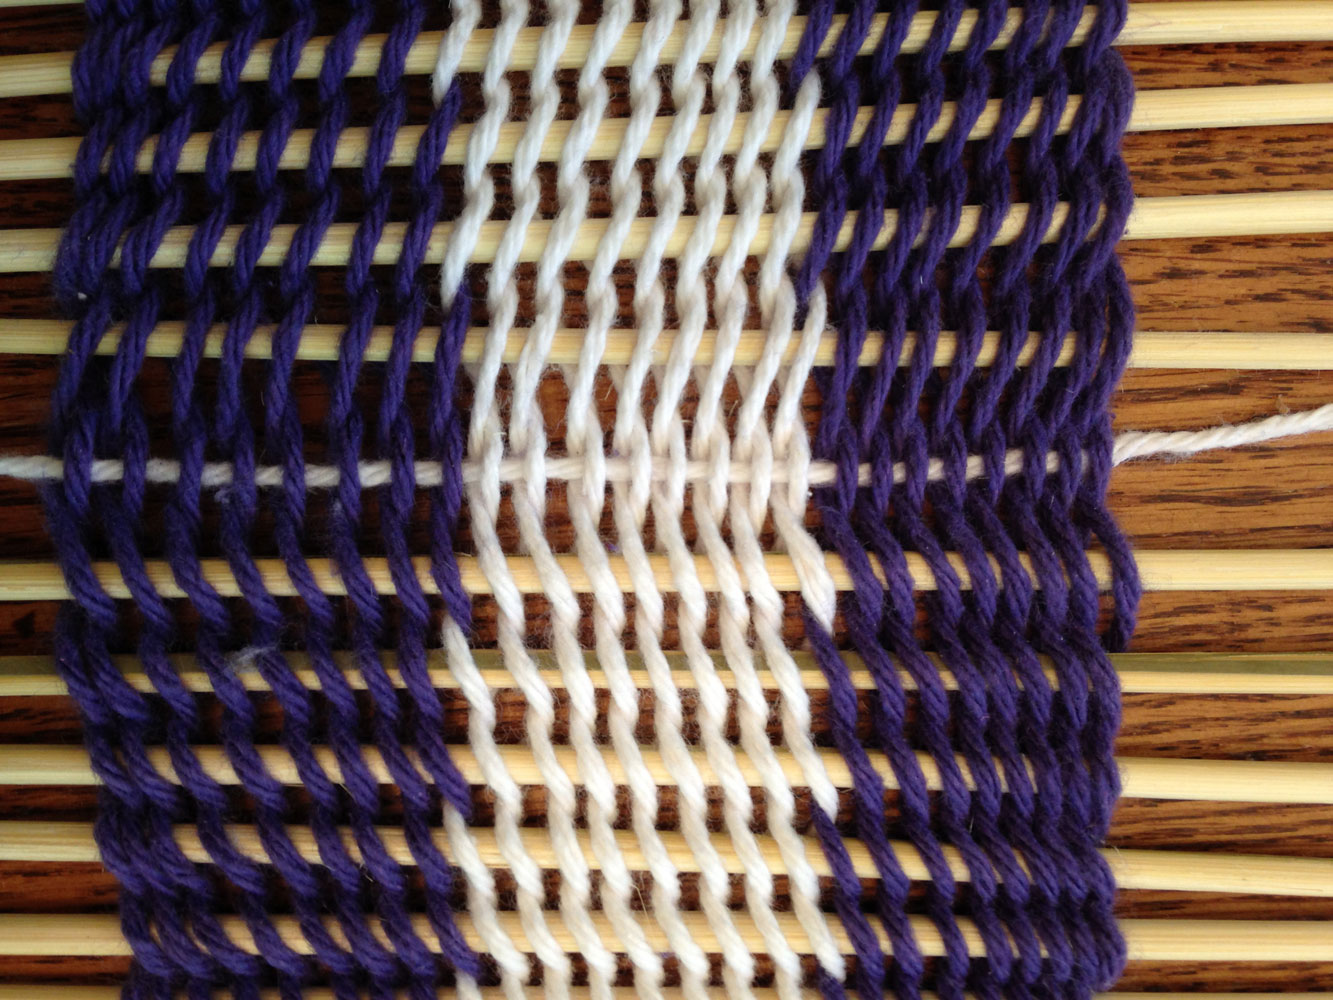
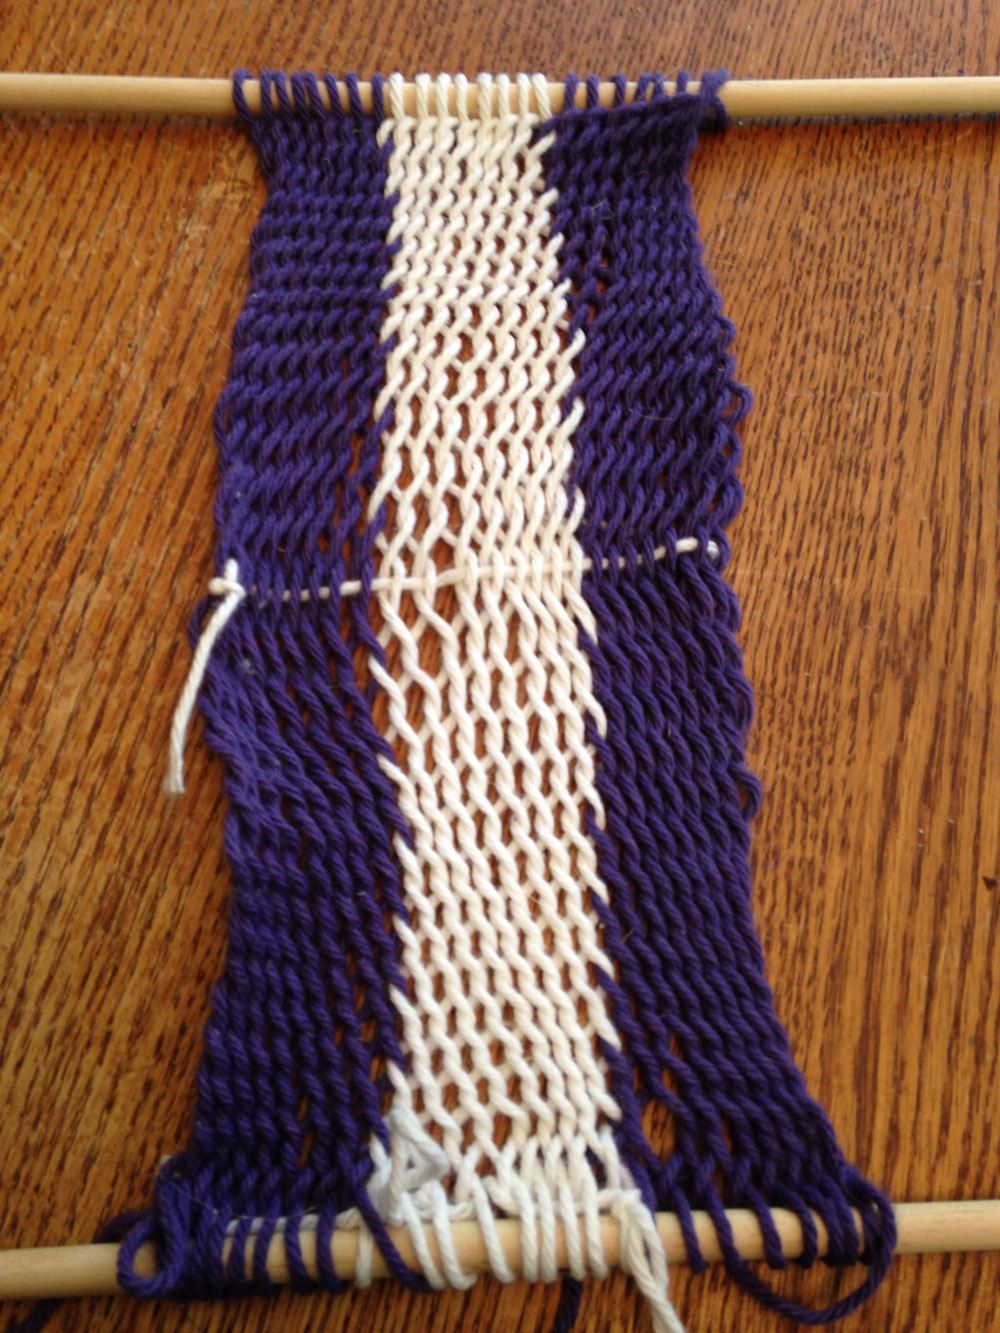
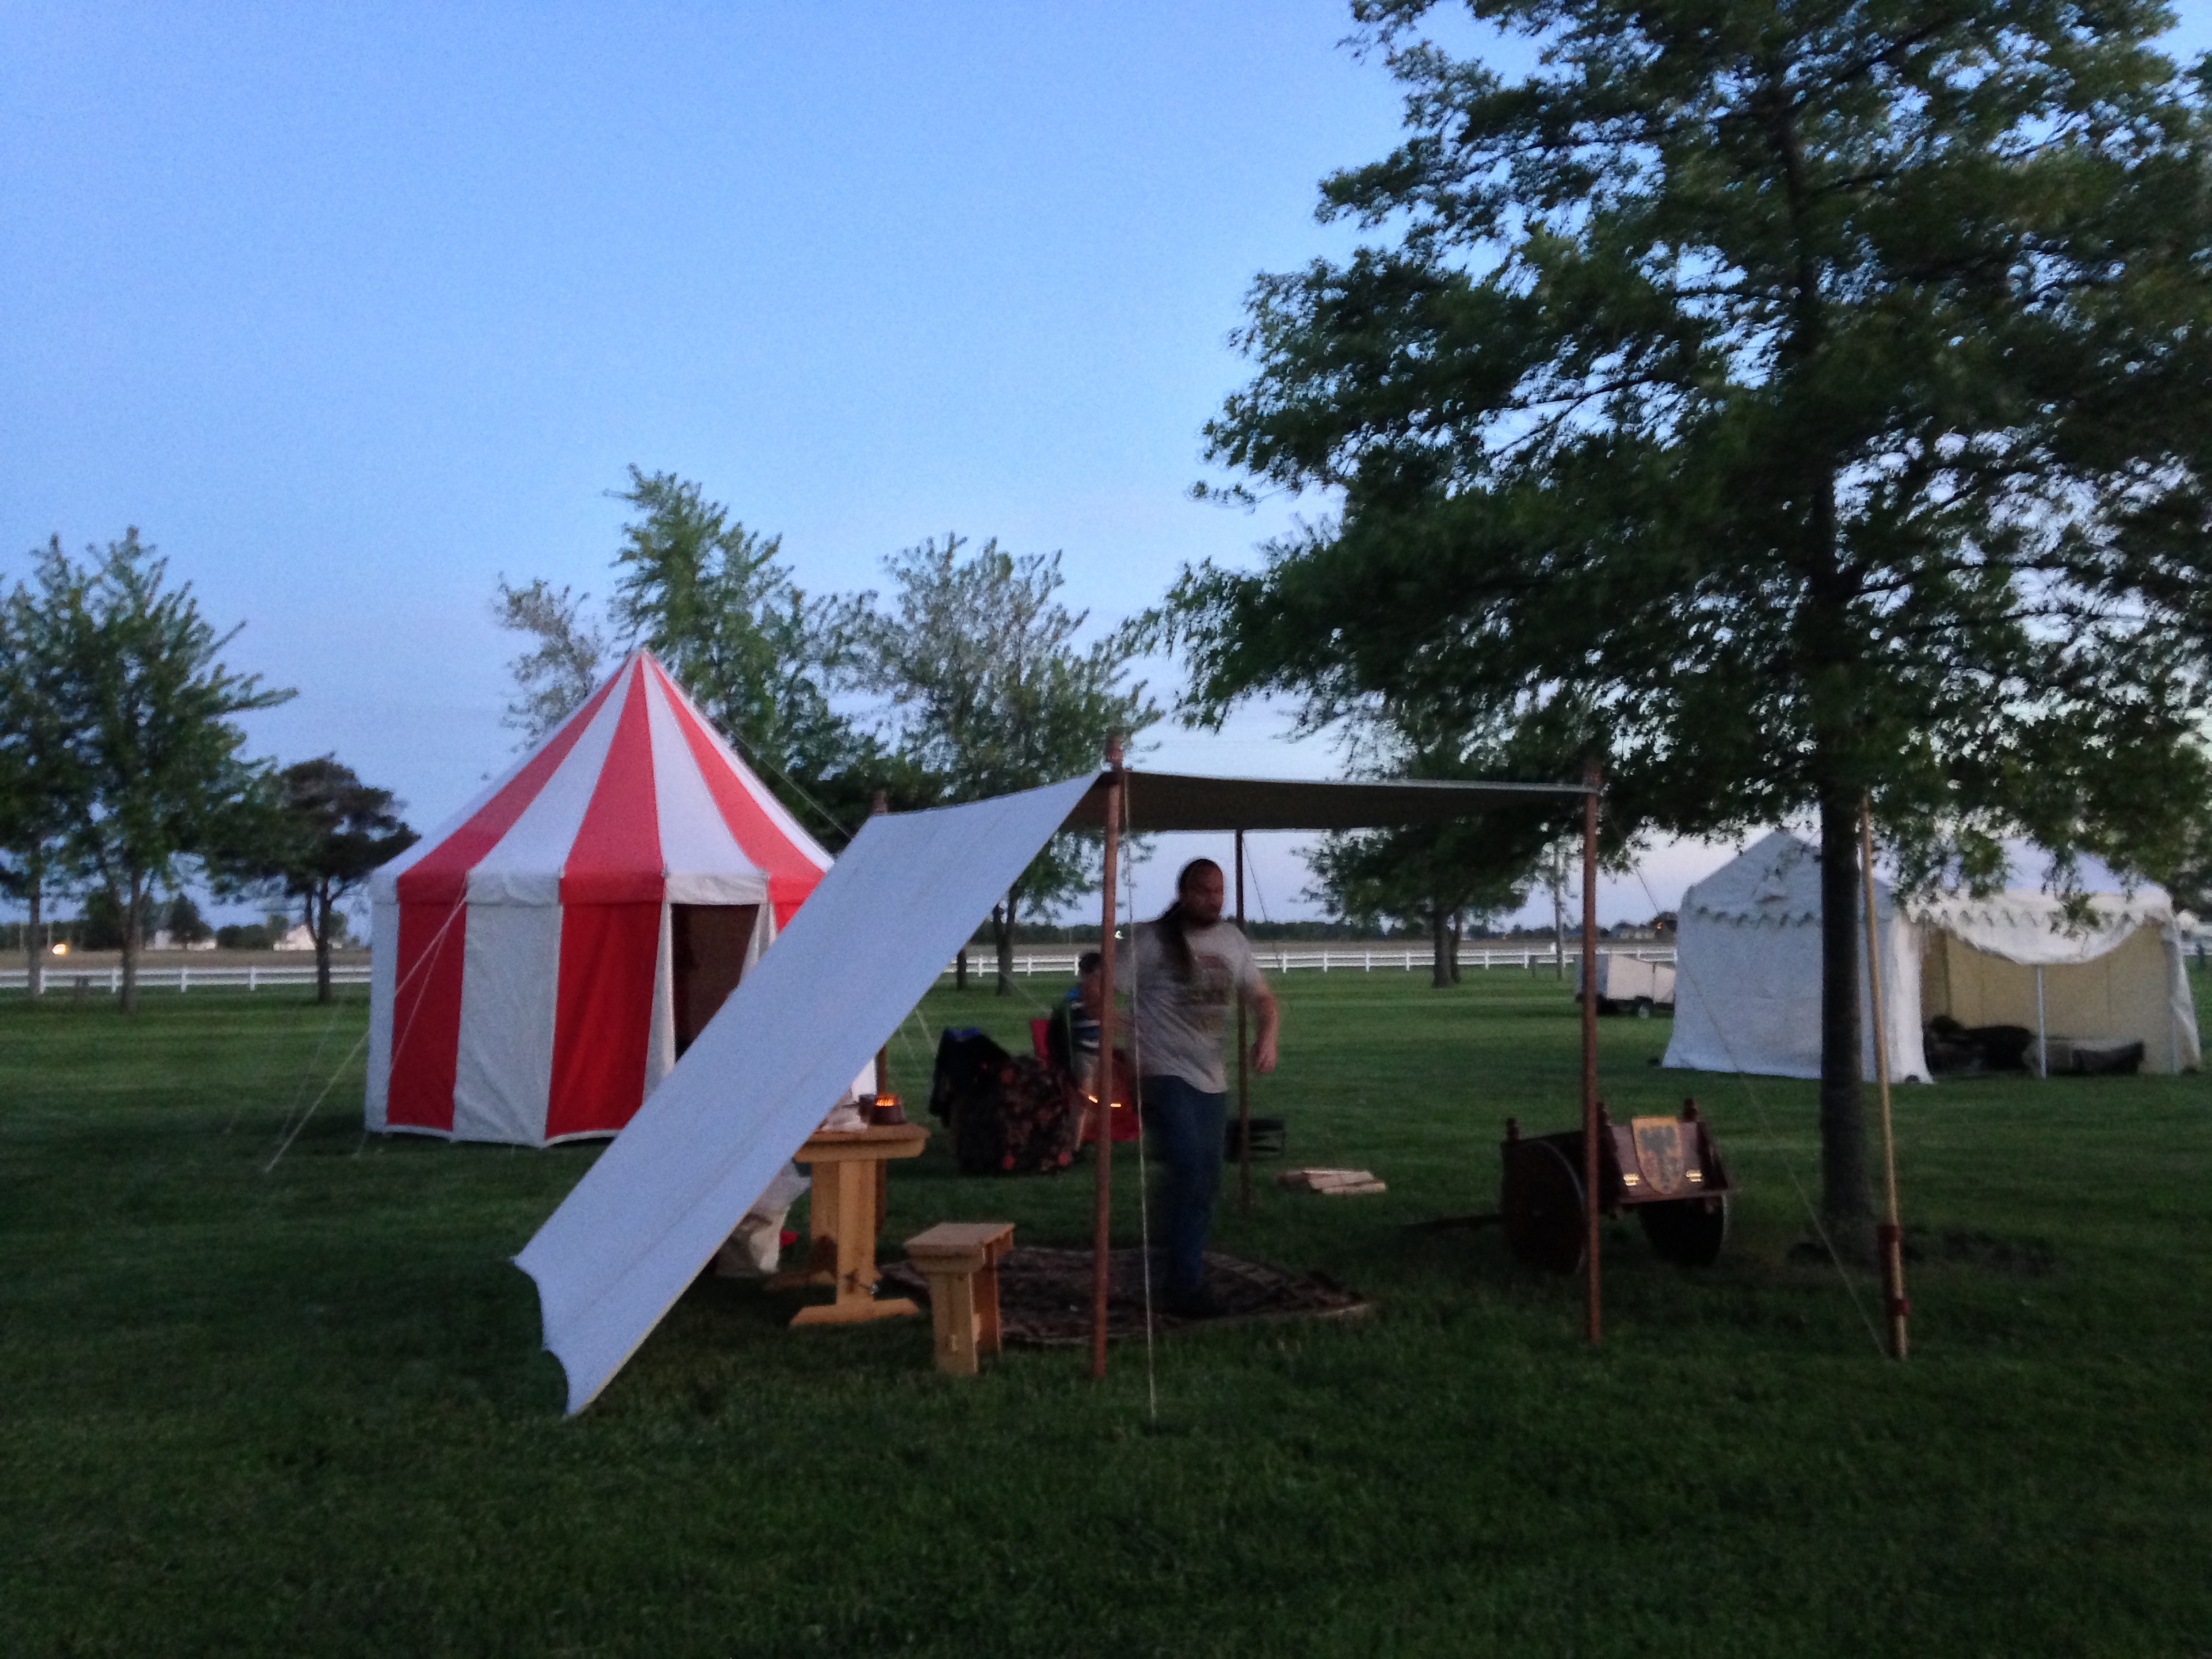
Lady Heodez’s cosmetic projects during the last two years are extensive, evident by her own modern-day Book of Secrets, the  Segreti del Pavone (“secrets of the peacock”) blog. Here you’ll find recipes for a wrinkle reducer, lavender perfume, hand whitener, underarm deodorant, rose soap, acne soap, blusher and lip color, diet drink, hangover remedy, velvet stiffener, cough drops, facial cream, shampoo, conditioner, face whitener, incense, hair remover, lip balm, astringent, mouthwash, grease stain remover, tooth whitener, and scented hair powder. This is a veritable pharmacopeia of wonders! Imagine yourself making a variety of Heodez’s beauty products for your next camping event to really take your immersion to a new level. This is one of my personal goals for Pennsic!

Heodez experiments with using the water from boiled dried peas to remove grease and oil spots from fabrics (it works!)

Heodez experiments with using the water from boiled dried peas to remove grease and oil spots from fabrics (it works!)

And I would be remiss in leaving out Heodez’s interest beyond cosmetics. She’s redacted recipes for stiffening velvet and making artificial pearls. I myself made fake pearls based on her recipe over a year ago — that was a fun adventure! Heodez also enjoys sewing, embroidery, and dance. She is an apprentice to Mistress Sarafina Sinclair.

Heodez is a fellow Midrealm A&S Pentathlon entrant, having won the Kingdom A&S Pentathlon last year and inspiring me to enter this year. She was also the Middle Kingdom Arts and Sciences Champion and the Middle Marches Baronial A&S Champion in 2013. She is a member of the Order of the Silver Oak. I personally feel her leaves shine green in all four seasons — if you agree with me, please do let Their Majesties know.


How to Make a Hand Softener/Moisturizer:

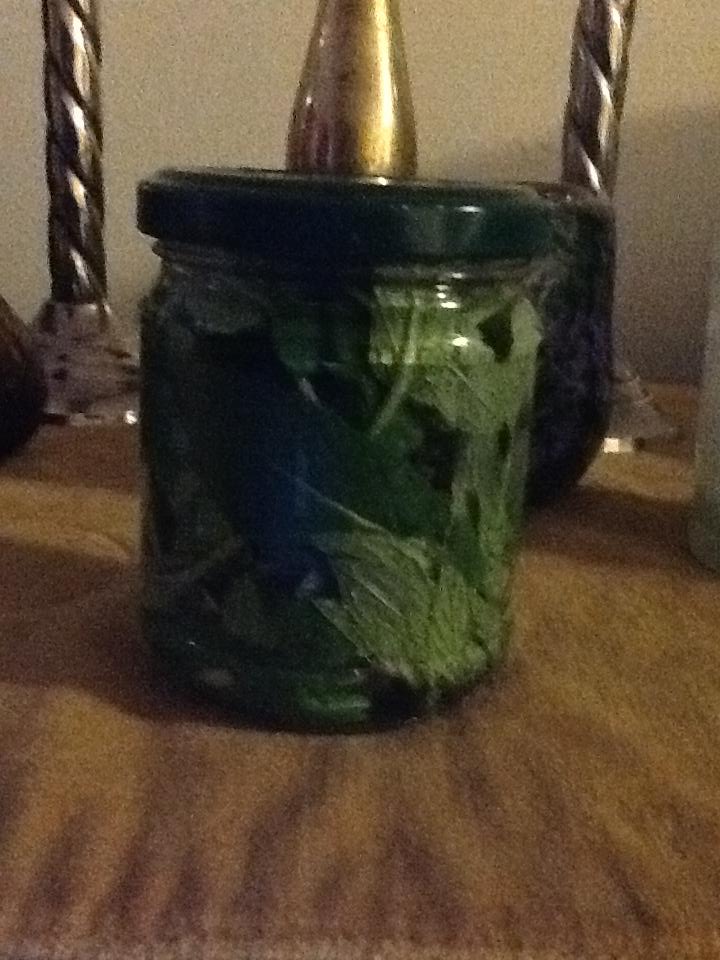
Lady Heodez shared a recipe for a hand softener from the late 16th century.  She says it was  very popular when she bring it to Craftperson’s Faires and Pennsic. It’s exceedingly simple to make. The recipe is from The English Huswife (which contains “The inward and outward Vertues which ought to be a in a compleate Woman”). Here’s how you do it:

1. Procure some almond oil (sweet), whole cloves, and a small glass jar. Historically you would have ground almonds to release their oil. I bought all from my local Whole Foods store.

IMG_6468

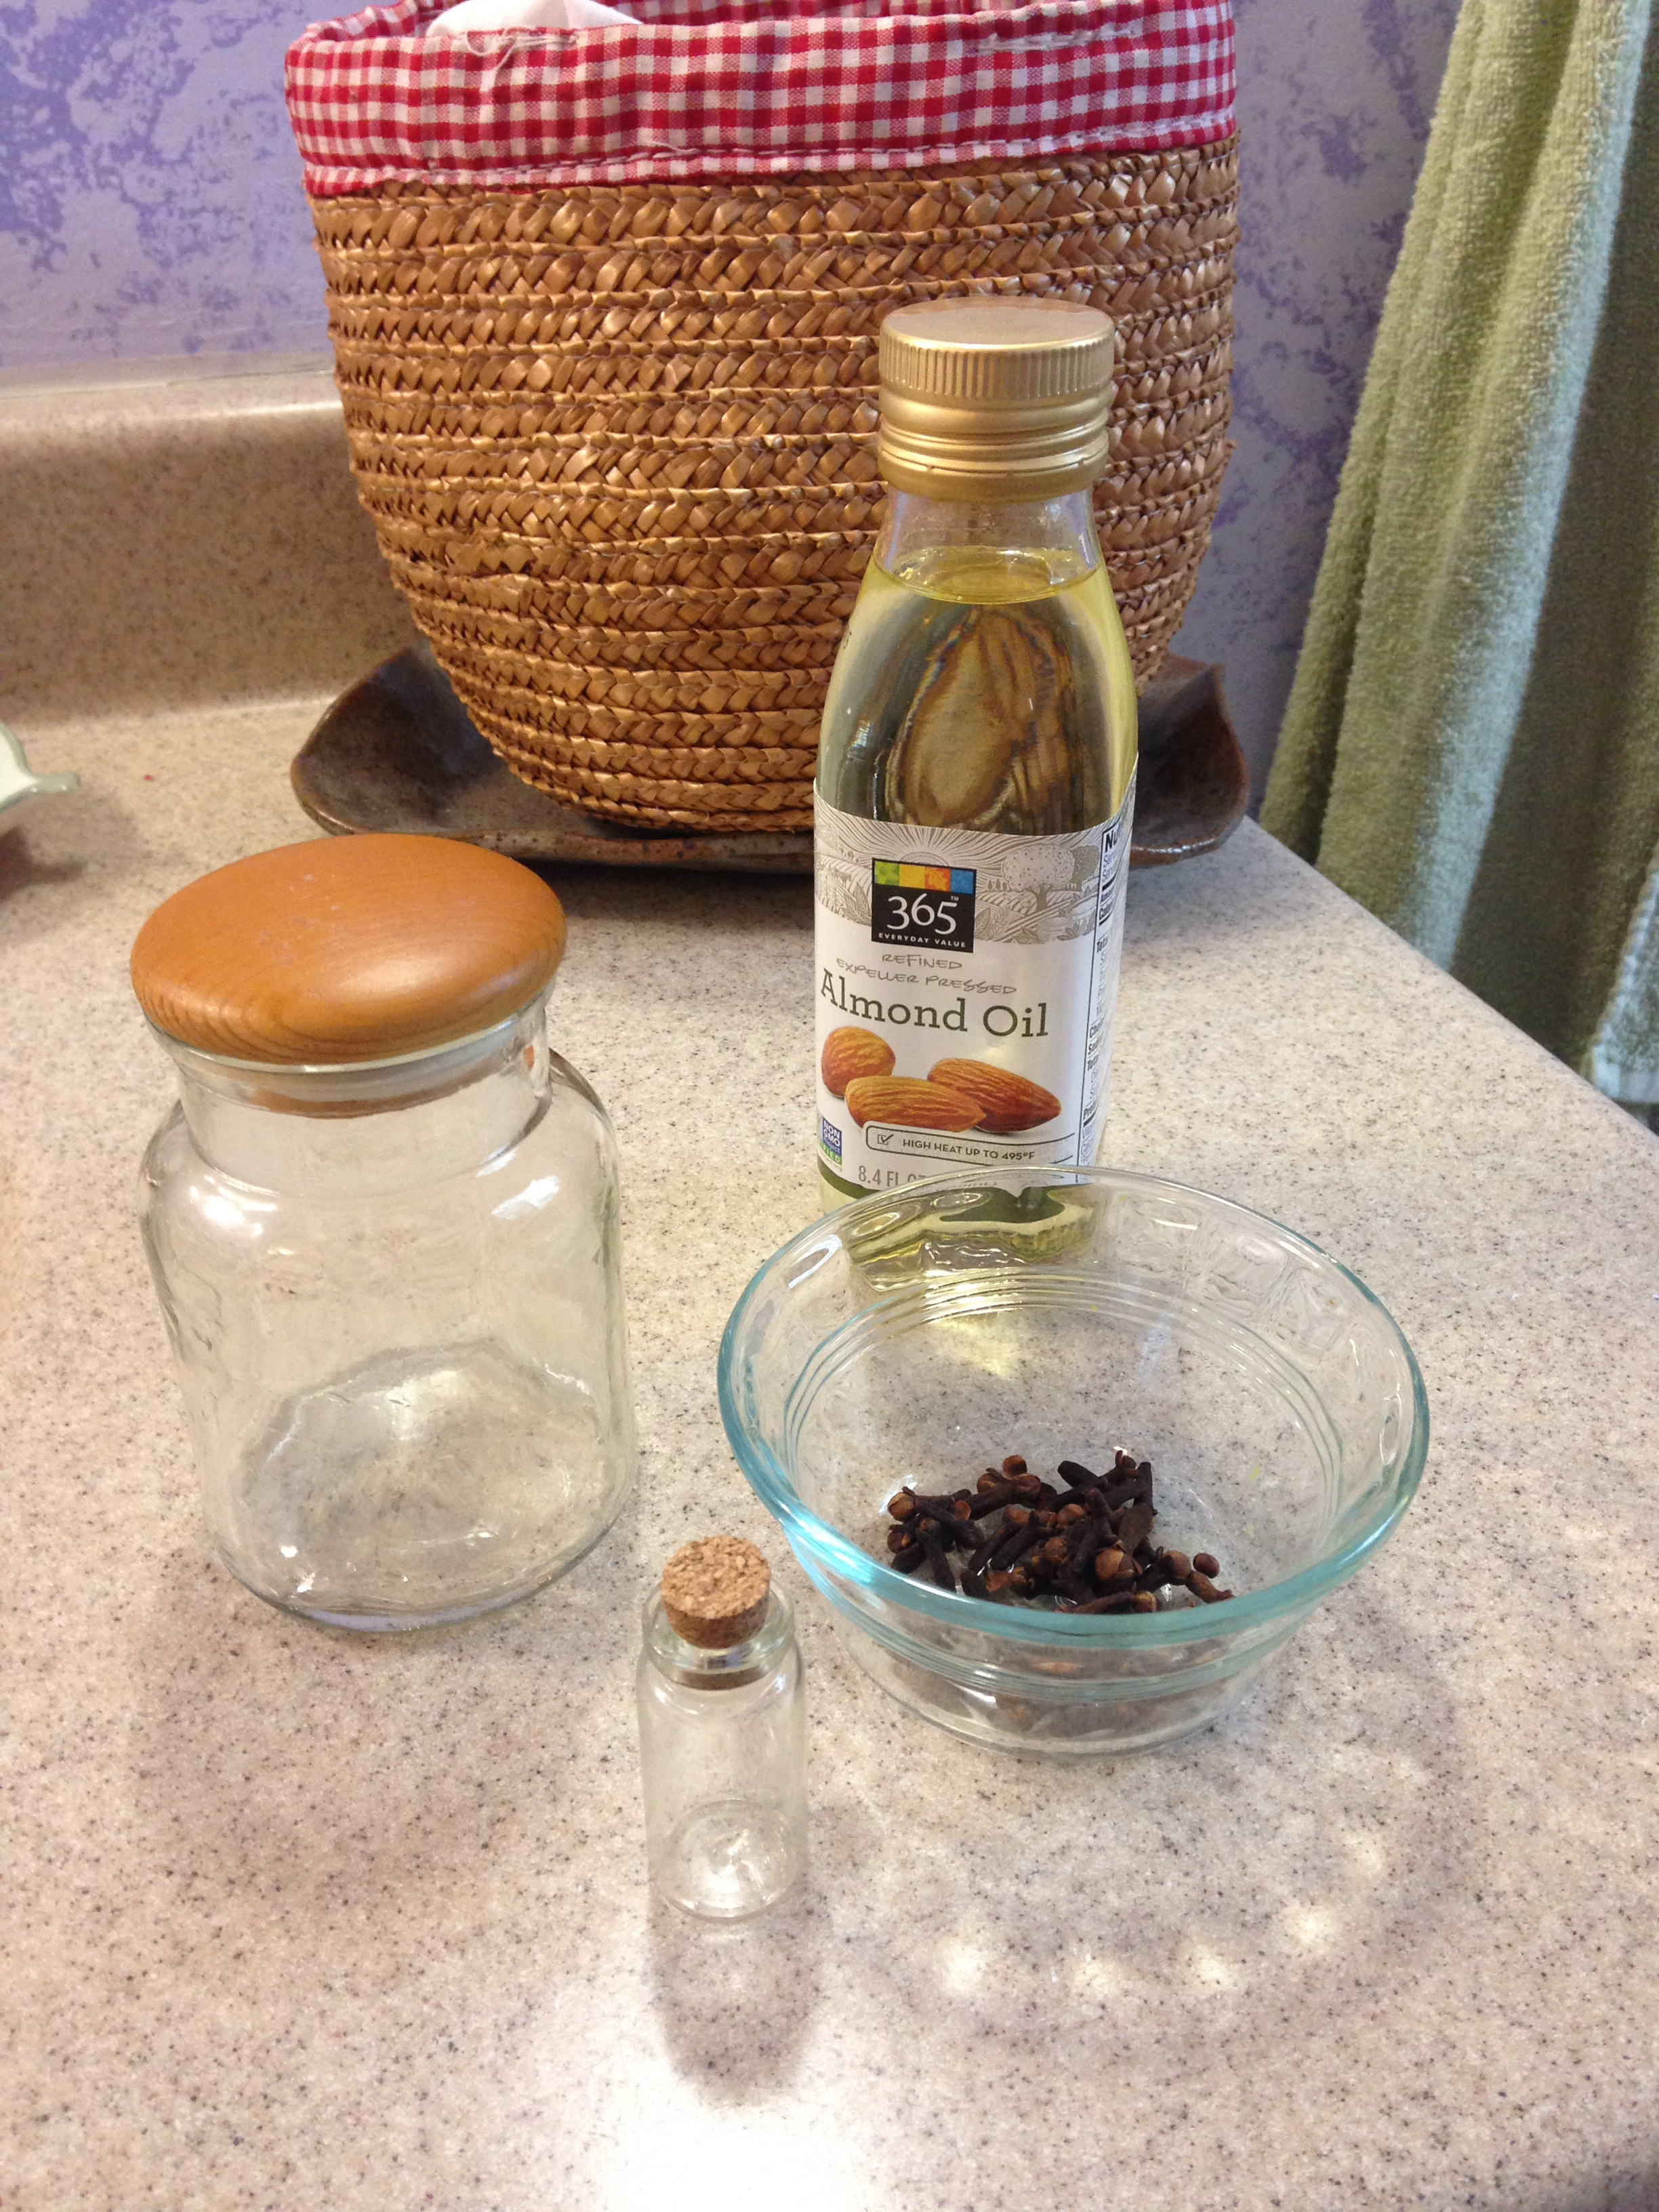
2. Fill your jar 3/4 full of almond oil, then place 2 or 3 whole cloves in the jar and seal it tightly.

IMG_6473

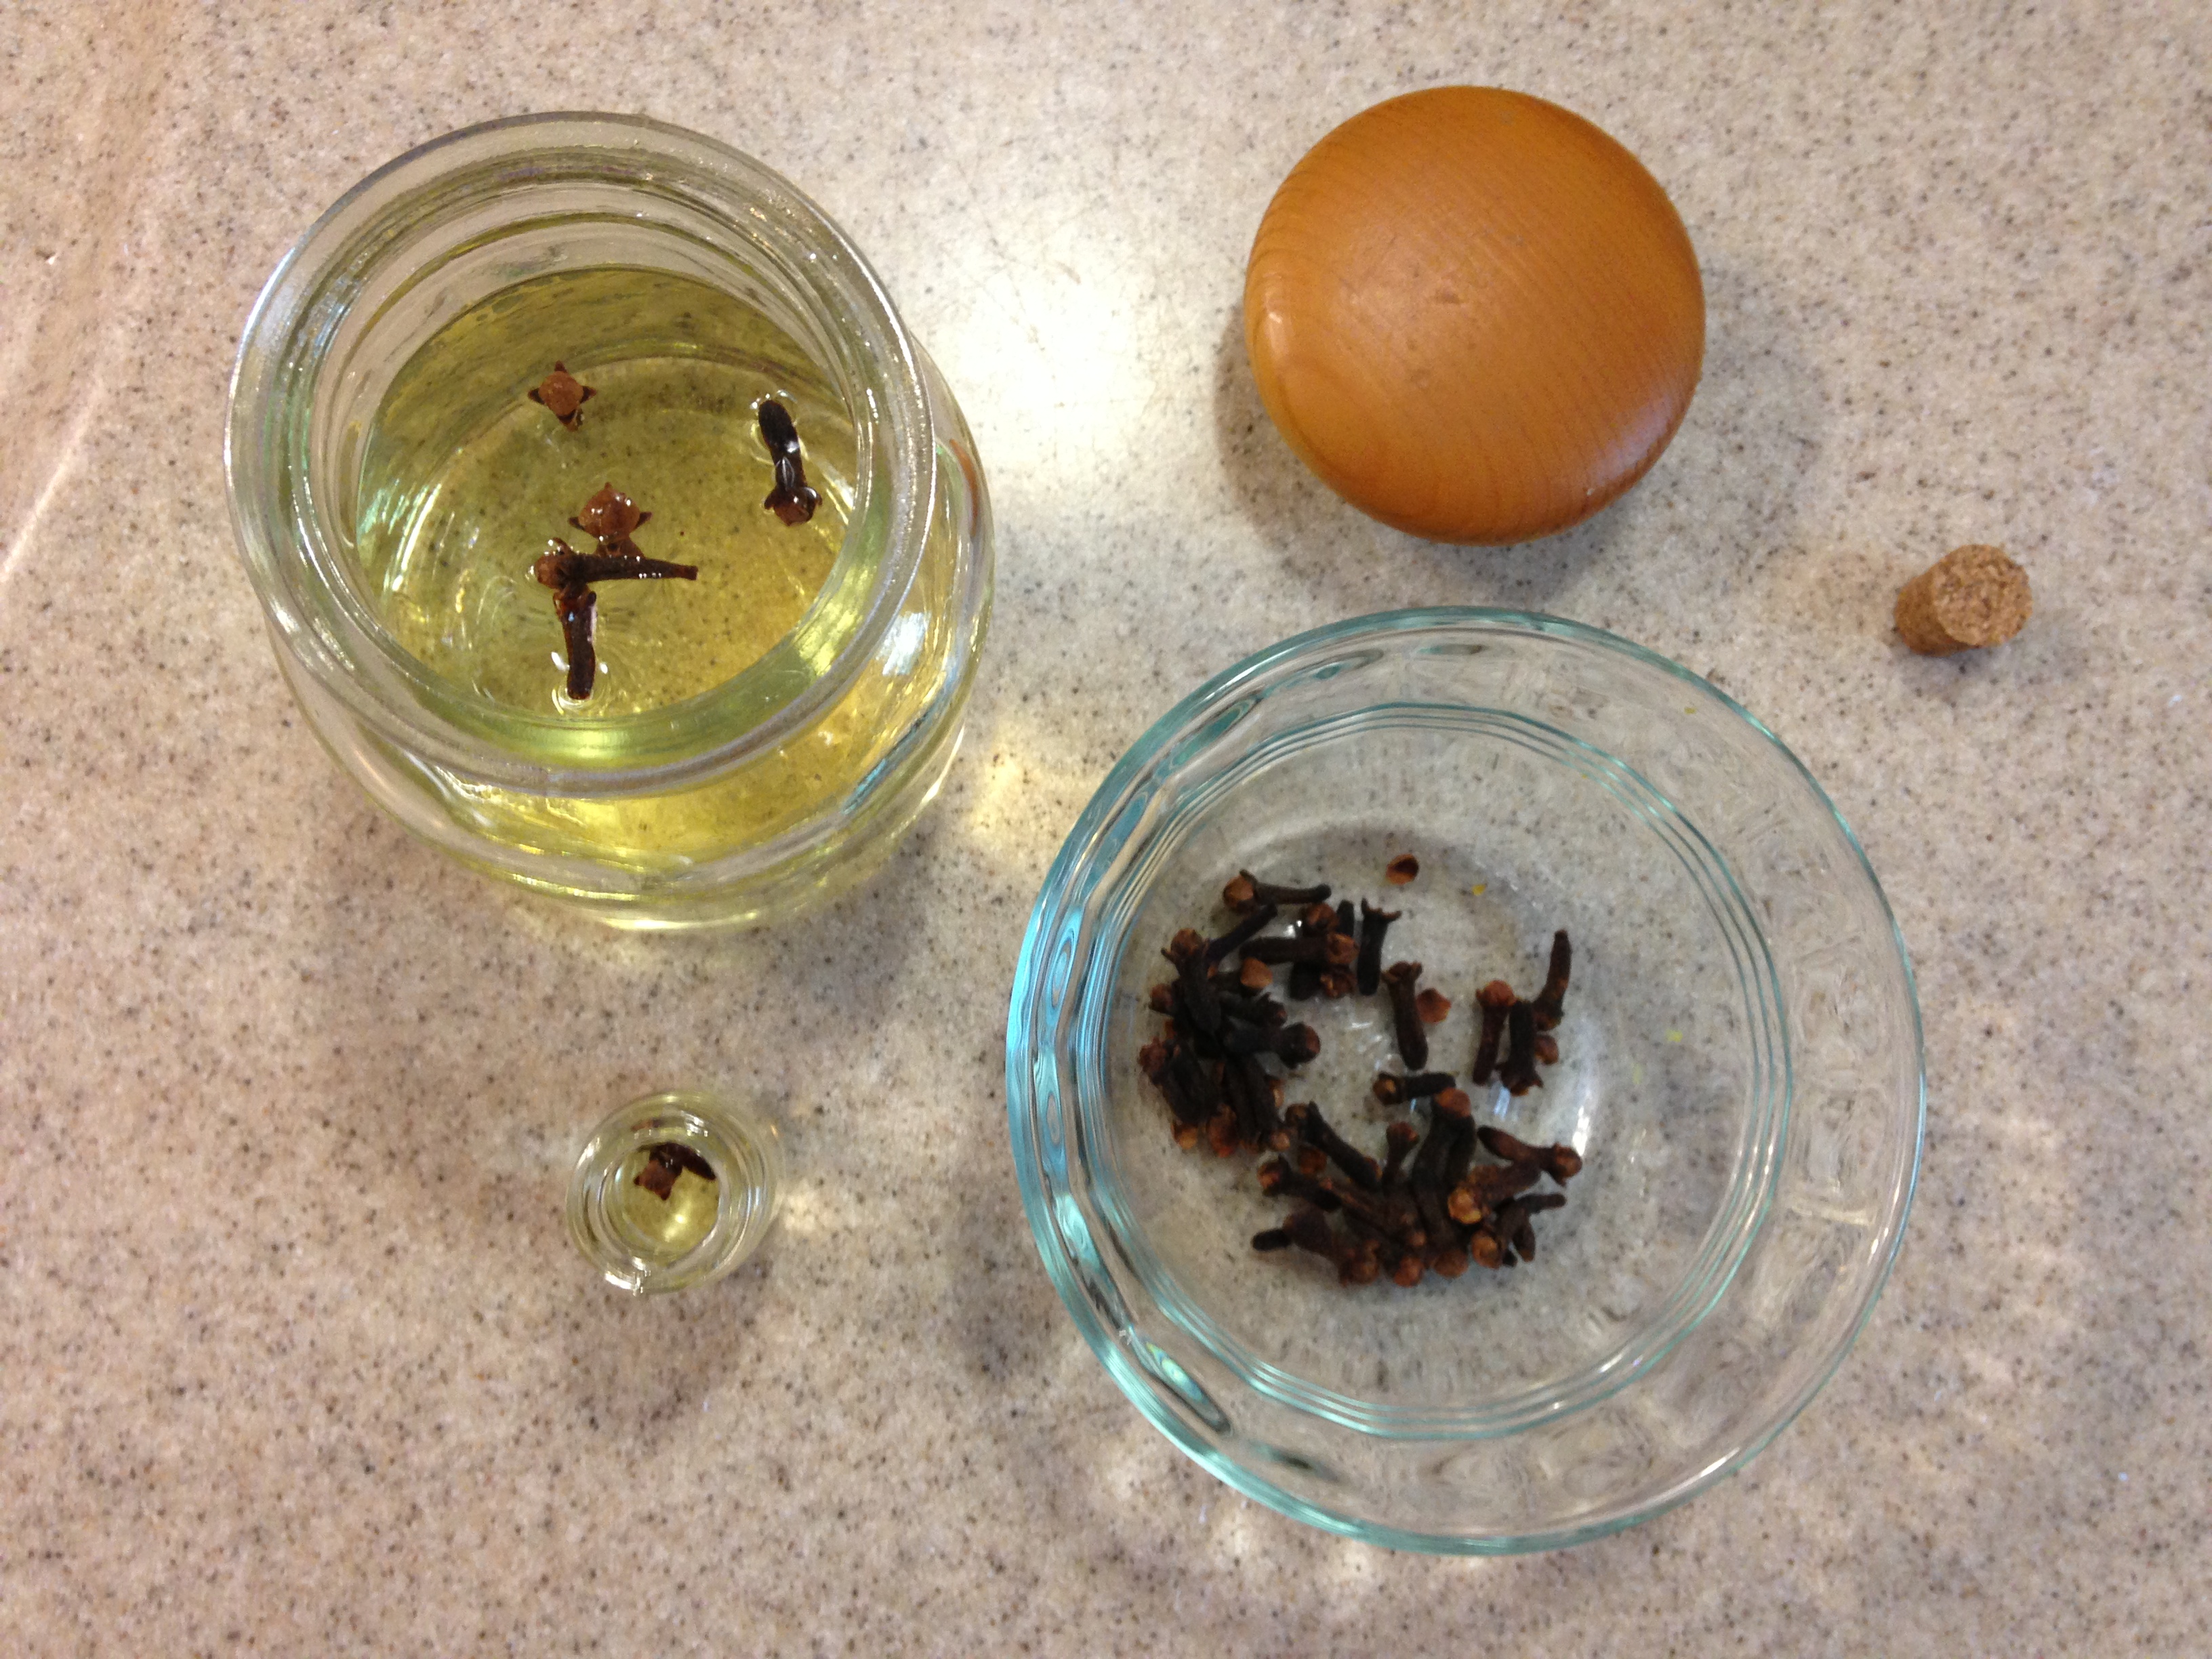
4. Place this jar in your sunniest windowsill for about four days.

IMG_6474

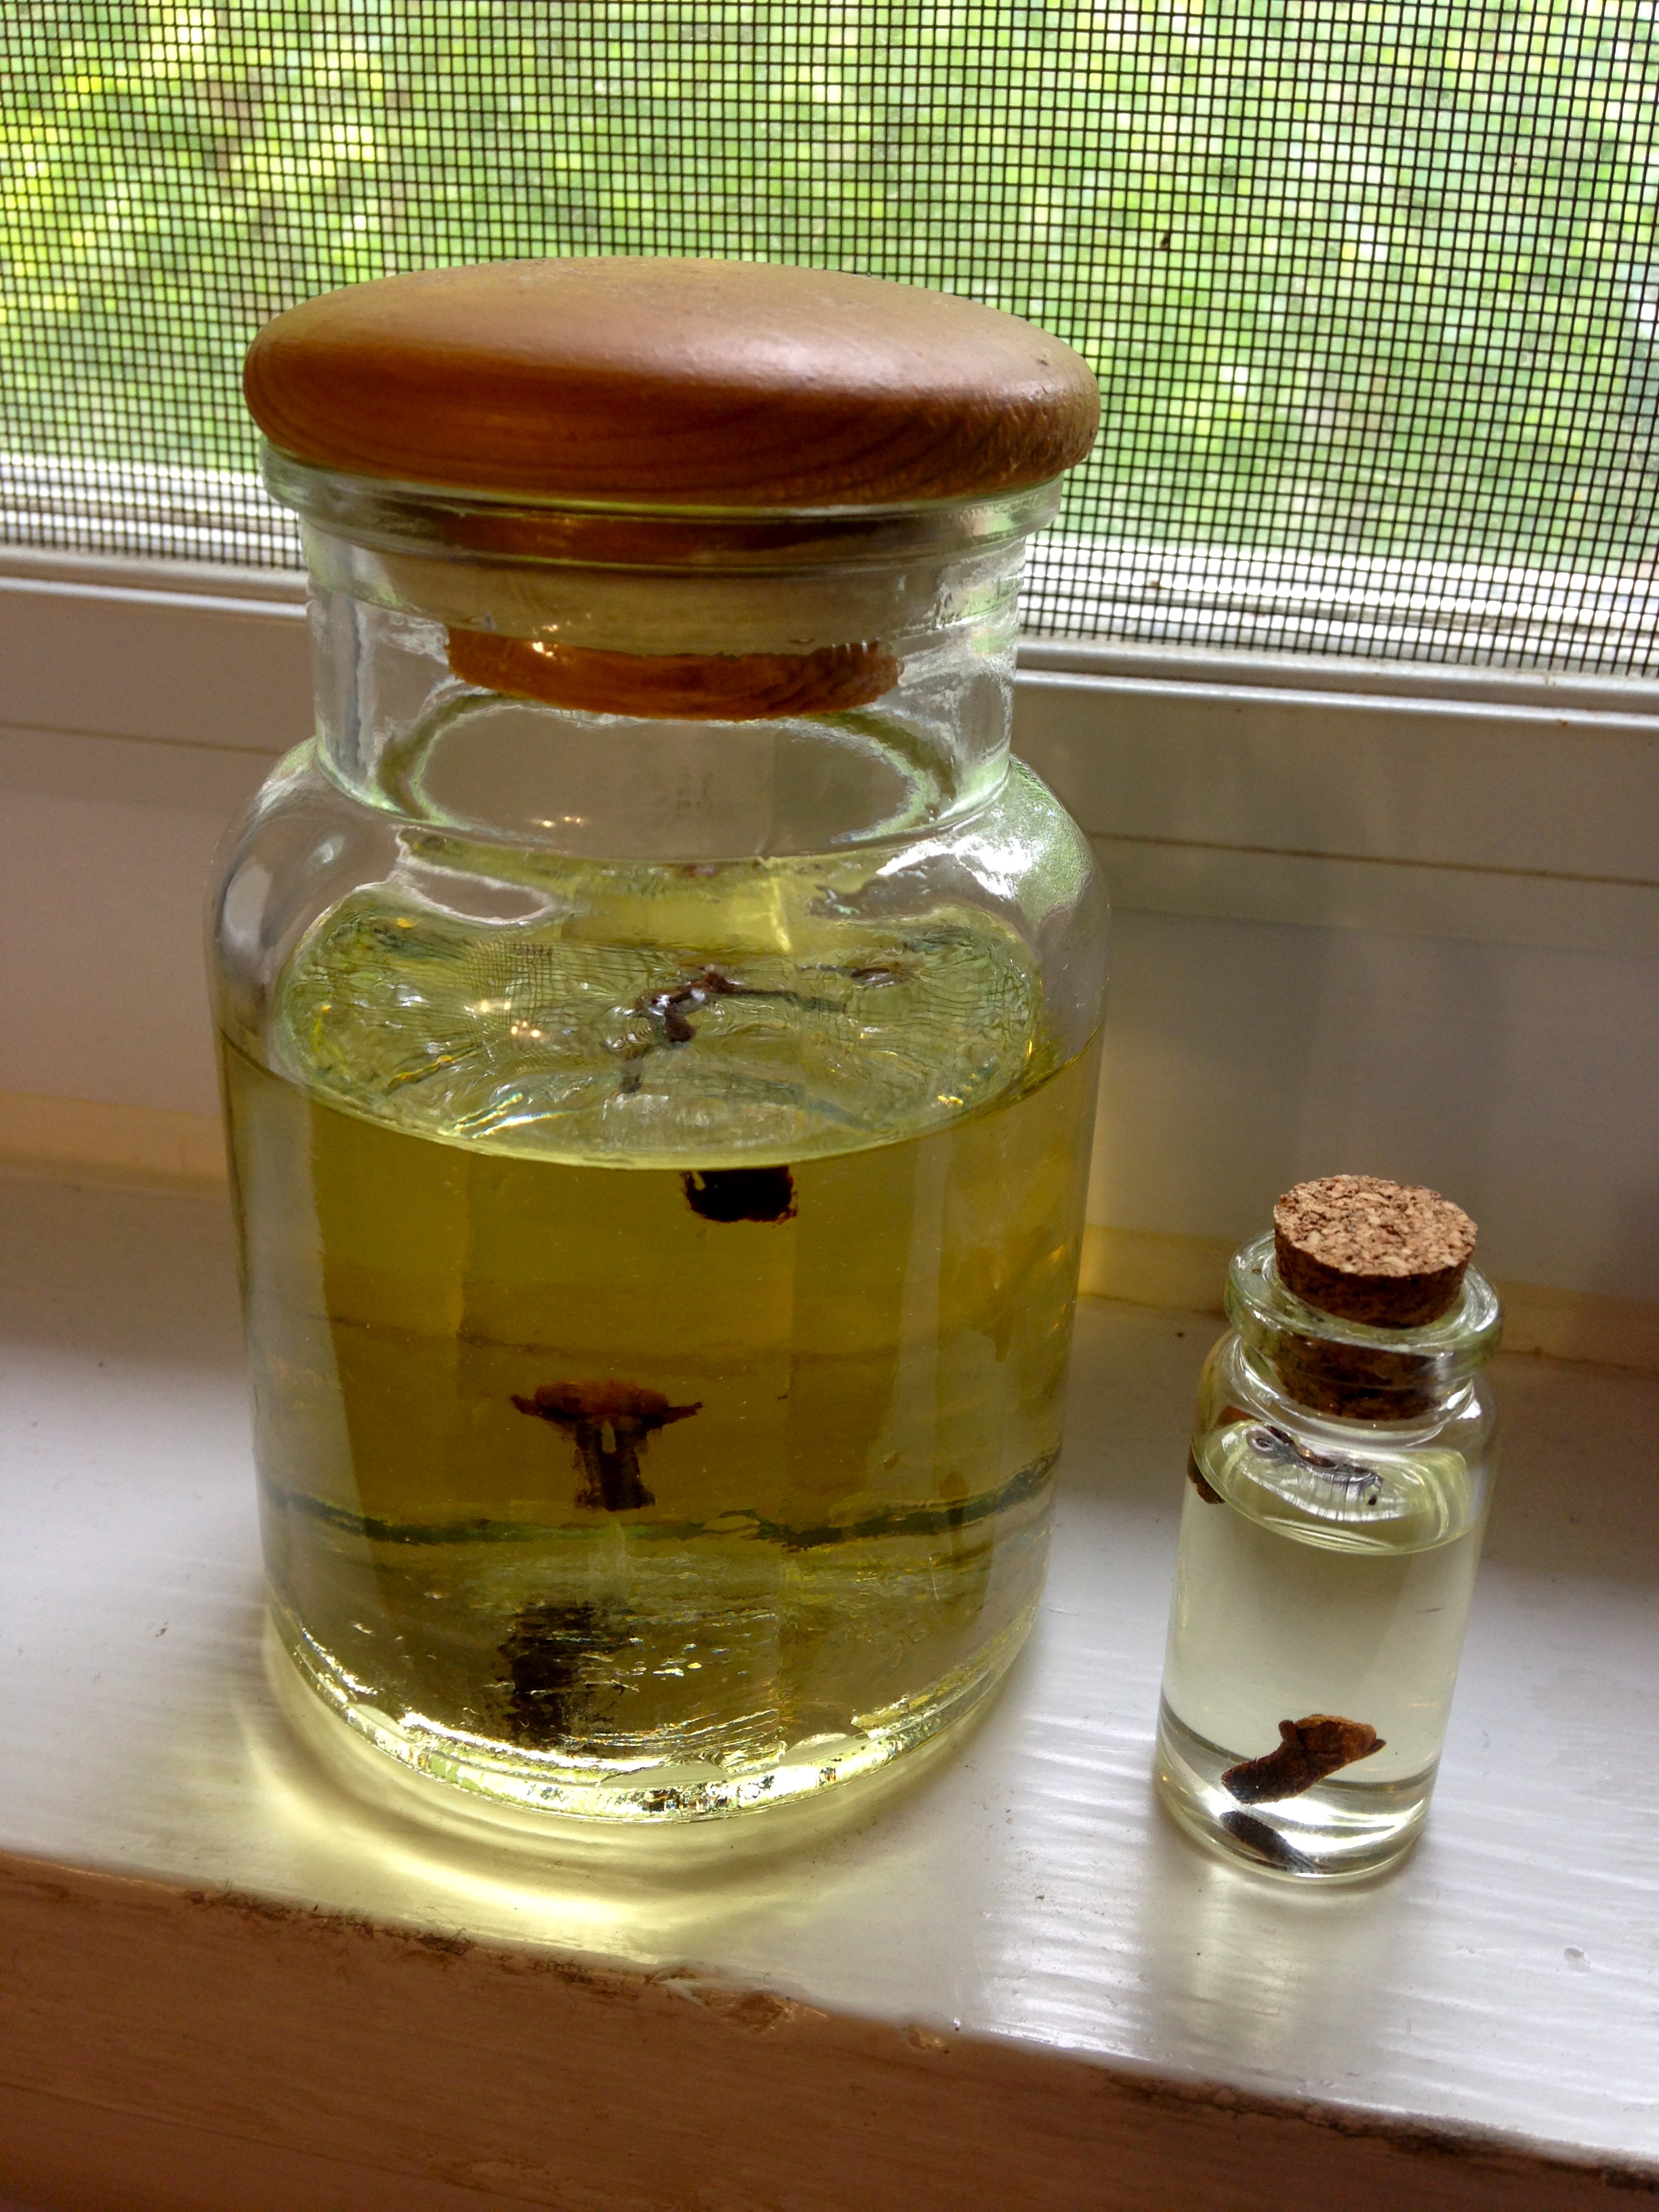
You have now created a hand softener which is lightly scented and long lasting.  You only need a small dab, so a little jar lasts a long time.  It also makes a wonderful facial moisturizer during the winter.  Almond oil does not clog the pores and is hypoallergenic.

photo(188)

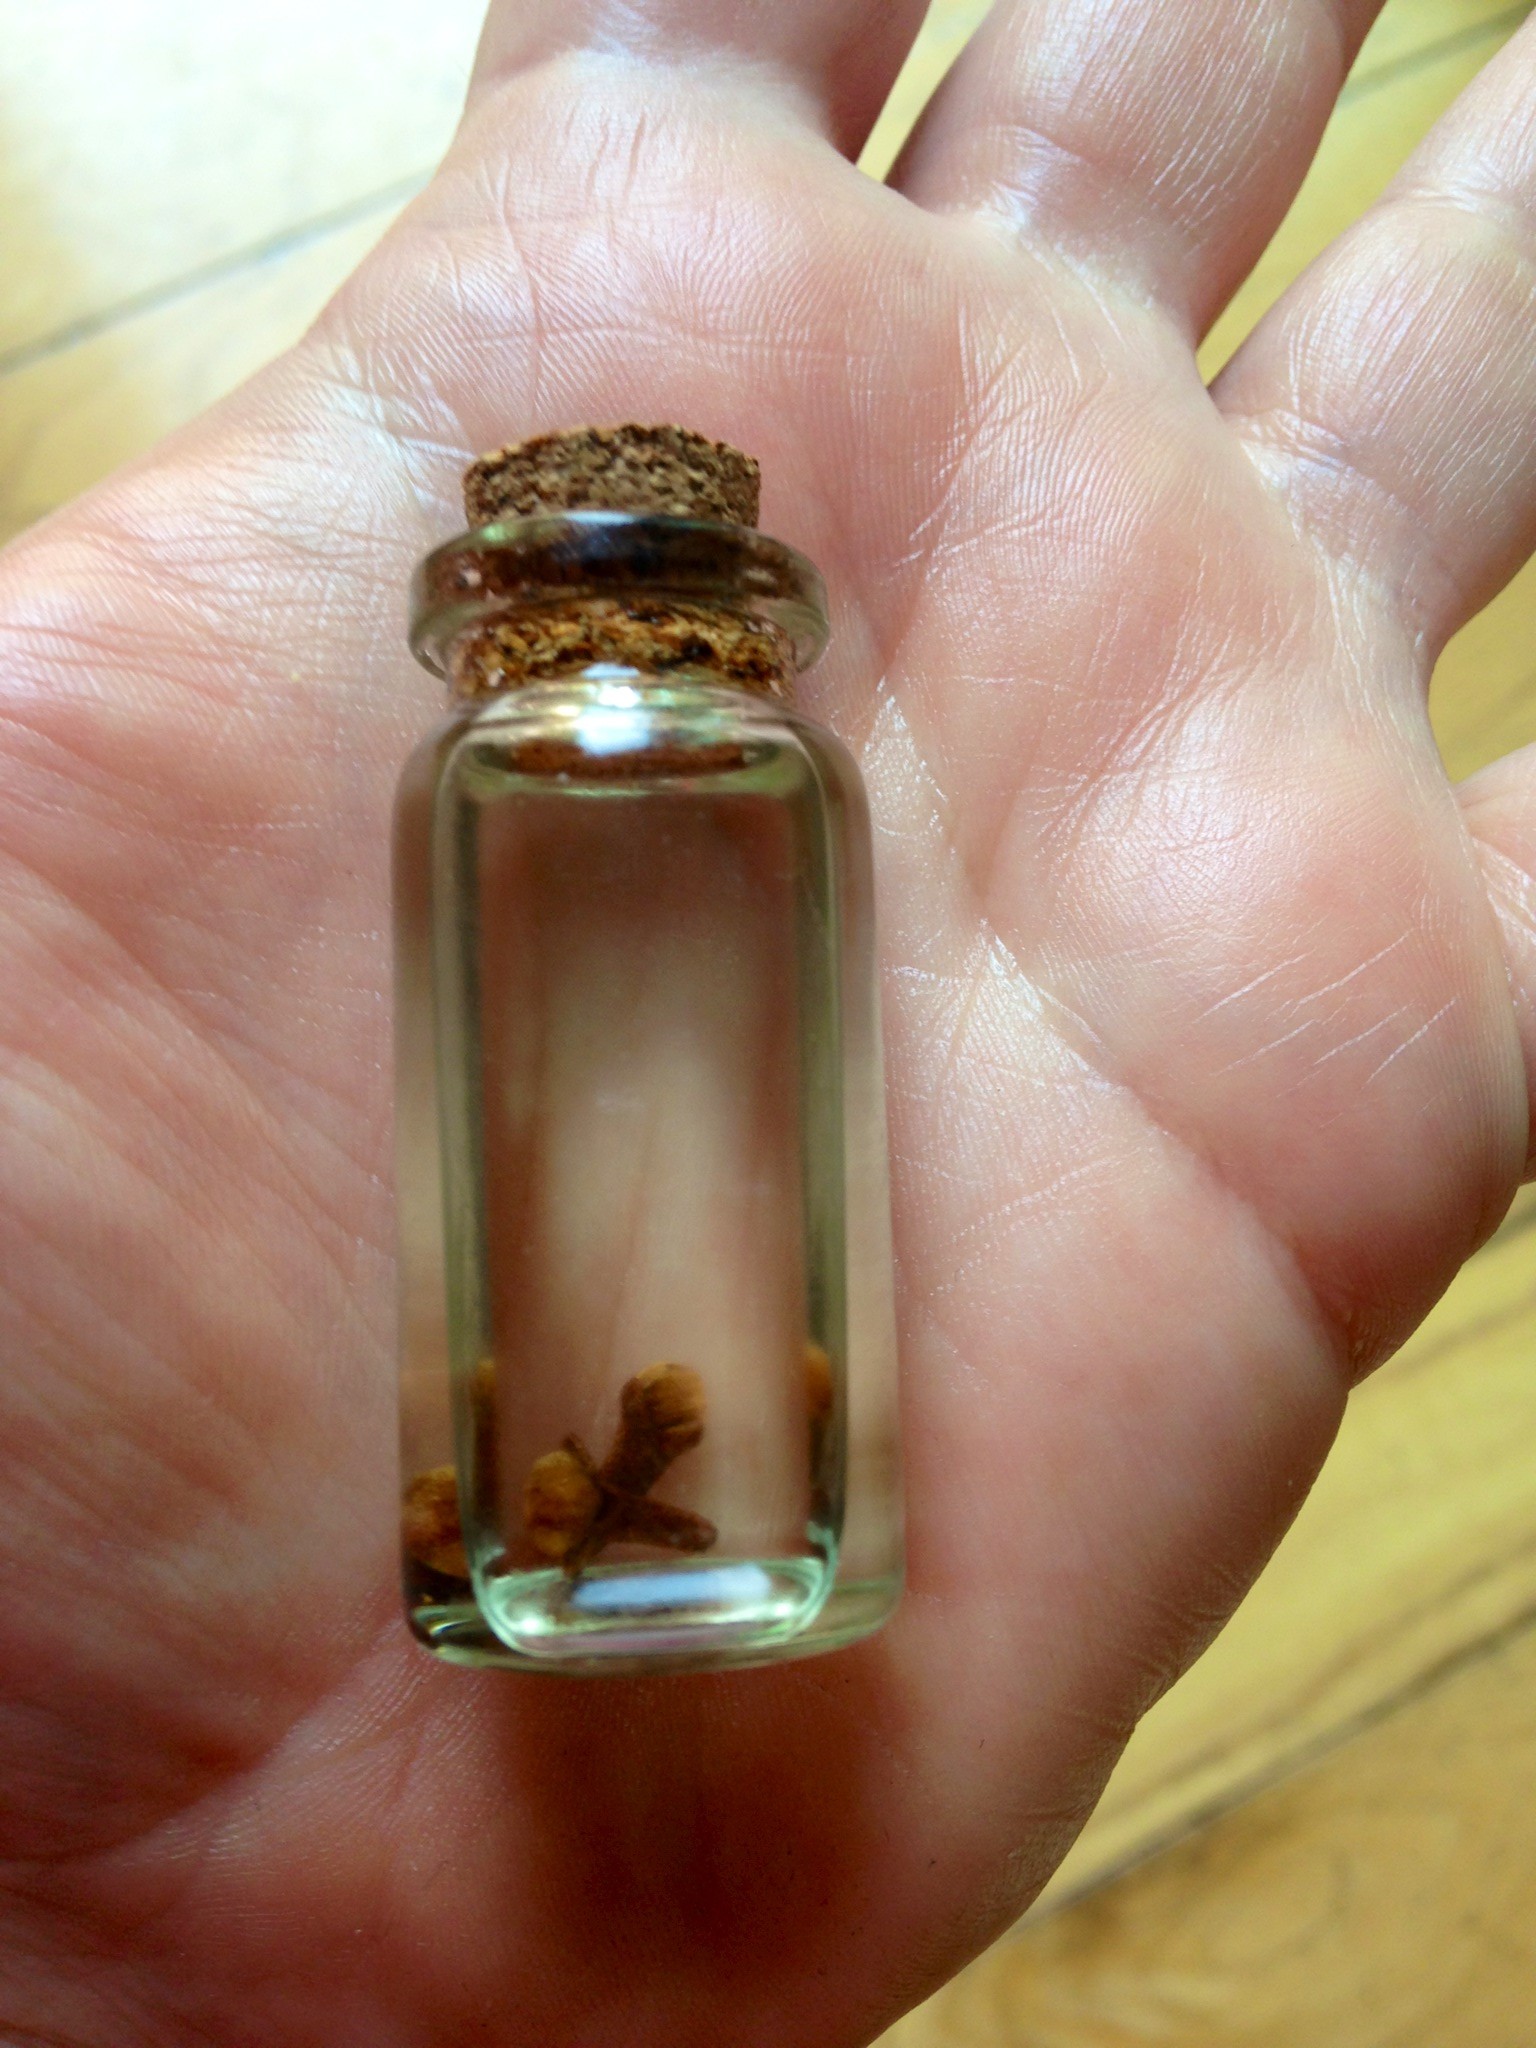
The oil has a lovely scent of cloves, but not at all overpowering. I’ve been applying the oil to my hands for several days now and they are indeed very soft! This little bottle will be going in my toilette kit for Pennsic!

Lady Heodez was nominated for this project by THL Philippa Montague, who wrote to me to say, “in addition to two pentathlons in two successive years, [Heodez] teaches classes and sends her students home with handfuls of samples and recipes. (The medieval bilberry deodorant was as startlingly effective as advertised, plus it didn’t freeze when everything else froze at Gulf Wars!)”. Would you like to nominate someone to be featured here? Leave a reply or contact me directly!

SCA Artisan Love: THL Eva vanOldeBroek (+ Beginner Sprang Tutorial)

8 June 2014

[This is the second in a series of articles on SCA artisans who inspire, teach, encourage, and/or make the Society a better place for us all! I learned so much through other artisans while preparing for the A&S Pentathlon, and now it is my turn to shine the love on them, learn more about their craft, and introduce them to you.]

eva-vanoldebroek

The Honorable Eva vanOldeBroek tells me she is “craft ADD,” but I beg to differ. Learning just one of her arts — sprang — took a considerable amount of focus and dedication on my part. I think a better term for this talented artisan would be “renaissance woman” of the A&S world! Her interests include the fiber arts, sprang, knitting, embroidering, sewing, weaving, calligraphy, illumination, sugar paste subtleties, and mead making!

eva-garterLady Eva hails from the Canton of Rimsholt in the Barony of Andelcrag some distance to the west of me and I first became aware of her arts through photographs. At several events last year, Eva wore the fretwork veil you can see in the photo above. It was absolutely lovely and instantly captivated me, making me curious about her. It wasn’t long before I began seeing her at events, always with a ready smile for me and anyone! Eventually I learned that Eva has been practicing her craft for over a dozen years in the SCA.  Eva started in the SCA in 2000, when she was first inspired to try inkle weaving by THL Cassandra of Glastonbury, who also introduced her to sprang years later. Artisans like Cassandra inspire Eva, who says, “I keep seeing such awesome new things that I just have to try them myself. There is always a growing list of skills I simply MUST have, mostly because I’ve seen someone doing really great work in it.”

When I asked Eva what her favorite project has been so far, she named her sprang garter that took a first place at Kingdom A&S last month. “The garter was a challenge, not just in actually braiding, but in figuring out the precise pattern,” says Eva. “There was a bit of trial and error before I decided on a technique that would closely match the original piece.” You can see a portion of the intricate sprang garter in the image above and a closeup to the right.

Eva really has a wide breadth of skills and knowledge. A look through her photo archive shows a fashion doll, a knitted beret, embroideries, a variety of Dutch headwear, fun sugarpaste projects, silk paintings, dozens of illuminated scrolls, and yards and yards of sprang. Here are just a few of her projects:

eva-embroidery eva-scroll eva-doll

You can see more of Eva’s work, and read about her projects and progress at her web site at http://evavano.dreamwidth.org. Eva was Andelcrag’s Baronial A&S Champion in  2009-2010, the recipient of the Order of the Evergreen, a consistent entrant and judge in our Midrealm A&S competitions, and a frequent teacher of classes on sprang and veils.

As I do, I asked Eva is there was something she could teach me. And as it happened, she was teaching a class that weekend in basic sprang. I took her excellent class and learned the basics. I went home, took photos of each step, and wrote down the directions so you could learn, too!

Beginner Sprang Tutorial (as taught by THL Eva van Oldebroek)

First, what is sprang? Sprang in a very old method of weaving (or braiding) threads together. Sprang looks a bit like netting or knitting in some forms, but sprang uses only warp threads — no weft. Sprang goes back to the Bronze Age and was still in use as late as the 16th century (and beyond). Eva told me that sprang can be used for garters, belts, hairnets, stockings, scarves, and other purposes where a flexible material is required. Working sprang reminds me a bit of a solo cat’s cradle game, if you remember that. Threads are pulled out and twist as you go along, creating an intriguing interlock.

Eva’s classes include a simple starter kit consisting of a frame made of PVC pipes and two dowels upon which she’s already wound the yarn. But for those of you at home who cannot get to one of Eva’s classes, here is a materials list:

  • Basic cotton yarn
  • PVC pipe pieces with a diameter of 1 inch (two  2’foot long pipes,  two 12″ long pipes, and four connectors — you can buy these inexpensively at home improvement stores)
  • Two 12″ wood dowels
  • 10 wooden sticks (like the sort you can buy for kabobs)
  • Instructions (Basic Sprang Handout PDF)

1. To get started, suspend your two dowels to the top and bottom of your frame like shown below. Tie it securely, but make sure you can untie it easily later (i.e., slipknot) as you’ll want to adjust the tension.

sprang-frame

2. Now tie one end of your yarn to one end of one dowel, then begin wrapping the yarn (thread) around the two dowels in a figure-8 pattern, moving across. This is called warping. Continue until you have a good number of wraps — the one from Eva had 24 loops. When you’ve reached the end, tie the end off on the same dowel as your first tie.

sprang-frame-warped  sprang-frame-warped2

Note: Eva’s warp used two different colors, which was achieved by wrapping the center section separately in a different color.

2a. Check the tension on your warped threads. A lot of my problems were caused by the tension either being too loose or too tight. You want the threads to be stable enough to work with.

3. Now let’s organize our threads — insert one of your sticks into the top end of your threads, pulling the back ones forward and the front ones back alternately, as shown below. This really helped me get my threads separated!

spring-organize3

spring-organize

4. Now it’s time to sprang! You will be alternating two rows of twists. Starting with the first row, pull the two rightmost back threads forward and the one rightmost front thread back, in that order, like shown below. You can use a stick or your fingers — I preferred to use my fingers, but it was harder to take a photo of that.

sprang-row1asprang-row1

4a. Bring the next back thread forward and the next front thread backward. Repeat all across the row.

sprang-row1-stick2sprang-row1complete

4b. Insert a second stick in the same spot as the first, as shown here:

sprang-row1-dowel

4c. Push the lower stick all the way down to the bottom and the upper stick all the way up to the top, like this:

sprang-row1-dowel2

5. Now it’s time for the next row. This time instead of bringing the two rightmost back threads forward, you bring just the one rightmost back thread forward, like this:

sprang-row2bsprang-row2

5a. Bring the next back thread forward and the next front thread backward. Repeat all across the row.

sprang-row2-stick3sprang-row2c

5b. Insert another stick in the same spot and push the lower stick down and the upper stick up, just like in step 4c.

6. Continue alternating steps 4 and 5 until you run out of space (the twists will eventually meet in the middle), adjusting tension as necessary. If you lose your spot (forget whether you should start with two back threads or one back thread, just check to see how many threads you started with last time. In the photo below, you can see that I started with TWO threads on my last row (I’ve circled those two threads to make it easier to spot them), so my next row would start with one.

sprang-finding-place

7. As you work each row, check that you got it right before moving on. I often would skip/jump a thread by accident and need to start over. Here’s what that common mistake looks like so you can identify it:

sprang-finding-mistakes

8. When you get to the middle, Eva says you can either use a crochet hook and “chain stitch” the threads together, or run a thread through the center. I chose the latter.

sprang-middle-thread

9. Remove the sticks.

sprang-no-sticks

10. Cut a long length of yarn and carefully thread it through the top loops as you remove the top dowel. Repeat with another piece of yarn for the bottom dowel.

sprang-top-loops

11. You can leave it like this, or you can make your sprang into a pouch! To make a pouch, fold your piece in half in the middle (where you inserted that yarn in step 8), thread a large-eye needle with one end of the middle thread, and begin stitching up the sides through the loops on the ends. When you get to the top of the side, take several more stitches in the same spot then knot it securely. Repeat for the other side.

sprang-sidessprang-sides2sprang-sides3

11a. To turn the top strings into a drawstring, switch one of your top-loop strings so it enters/exits from the opposite side of the other string. This enables you to pull on both and tightly cinch the top.

sprang-pouch

Tada! A beginner sprang pouch! Many thanks to Eva for teaching me how to do this. If you would like to learn more about sprang, check out Eva’s Advanced Sprang Techniques page. Eva also recommends the Sprang email list at Sprang-subscribe@yahoogroups.com, which includes several useful files including a copy of a Sprang Chronology started in Collingwood but added to by Maedb ingen Dungaile (also found here http://www.florilegium.org/?http%3A//www.florilegium.org/files/TEXTILES/sprang-chrono-art.html), and a very thorough bibliography (also found here http://www.cs.vassar.edu/~capriest/sprangbib.html).

THL Eva is a student of Mistress Gytha Arnarsdottir (also known as Catherine of Chester) and resides in the Canton of Rimsholt.  You can reach her through her web site at http://evavano.dreamwidth.org/.

Please help share the love for A&S and the artisans who create it by sharing this post with your friends! And if you know of an artisan that deserves to be called out, please post here and spread the word-fame!

Tutorial: Simple Canvas Dayshade for Events (with or without wings)

2 June 2014

CanvasDayshadeTutorialHere’s how to make a simple canvas sunshade that is pretty easy to set up and take down. The benefit of this particular sunshade is that it has a sloped back wall, providing protection against sun, wind, and rain. It even gives you a bit of privacy, useful for when you just want to shut out the sight that modern road behind you. You can add on optional wings for more privacy, and if you do, you can drop the front and effectively close up the space.

Dayshade Materials:

Here’s what you need to make this sunshade

  • Enough canvas to make a rectangle that is 120″ wide by 172″ long — you will need to piece lengths of canvas (use my tutorial on a felled seam to attach the lengths together) *
  • (Optional) Extra 60″ x 120″ of canvas for the privacy wings
  • Seven strong metal rings about 1″ in diameter (nine if you do the wings) — for reinforcing your hand-sewn grommets
  • Heavy cotton or linen thread and a long, strong needle — for sewing your hand-sewn grommets
  • One 2″ x 4″ x 132″ long wood ridge pole
  • Four 3″ x 3″ x 81″ long wood poles
  • Four 4″ long threaded bolts (to go into the end of your poles)
  • Seven 12″ long heavy-duty “nails” to use as tent stakes
  • Four 1/2″ cotton ropes
  • (Optional) Finials for the tops of the poles and paint for the poles/canvas (or just stain for the poles)

* Note on the canvas: If you only need sun protection, not rain protection, any outdoor-rated canvas will do. If you want your dayshade to keep the water off your head and belongings, however, you’ll need a heavy duty, water repellent 100% cotton canvas, such as 10 oz. Sunforger canvas. We do not recommend you use the canvas drop cloths from a hardware store unless you don’t mind getting wet!


Dayshade Pattern:

Here is the original plan of the various components of this sunshade (each set of gridelines represents one foot):

sloped-dayshade-pattern


Dayshade Instructions:

1. Cut your canvas as show in the pattern above. You’ll likely need to join several pieces of canvas to get a 120″ width (use my tutorial on a felled seam to attach the lengths together).

2. Hem all four sides of the main dayshade. We folded over the edge twice — a simple rolled hem — and stitched it on our sewing machine. Note that not all sewing machines can handle really heavy-duty canvas, so test yours out first. I used my ’90s era Kenmore sewing machine and went slowly.

3. Add grommets in each of the four corners, plus an extra one centered on the back edge. We do not recommend the brass grommets you can buy at the craft store — they will likely rip out (been there, done that). Instead, take the time to hand-sew your grommets. Use these directions, and sandwich in the metal ring between the canvas for extra reinforcement. Here’s what our grommets look like after plenty of use. Not pretty, but works great.

grommet

4. Cut your four poles to 81″ long and screw in a bolt to each end, making sure about 2″ of the bolt is sticking up. Make sure the bolt is small enough to easily go into your grommets made in step 3.

5. Cut your ridge pole to size (132″ long) and drill 1/2″ diameter holes roughly 6″ in on either side. Make sure your holes are large enough to allow the bolts inserted in step 4 to pass through.

6. If you want the optional privacy wings (we have not added ours yet), attach the longest side to the sides of the back sides of the day shade (use a flat fell seam again) and add grommets to the outer corners so you can stake them down or tie them to your poles.

7. If you want finials, find something appropriate at your local hardware store (or make something), drill a hole in the bottom that fits the end of your bolt, and stain/paint to look the way you want. Here’s one of our finials:

finial

That’s pretty much it!


Dayshade Setup:

1. Lay the dayshade on the ground, positioning the back edge where you want it to be.

2. Stake the back edge of the dayshade to the ground using the 12″ nails (or real iron tent stakes, if you have them).

3. Fold the front edge of the dayshade back, put the ridge pole on the ground in about the spot you want it, then fold the dayshade back over the ridge pole (it’s all still flat on the ground at this point).

4. Position the four poles on the ground around the corners of the dayshade.

5. Take a pole, insert it’s top bolt through the hole at the end of the ridge pole, then through the grommet in your canvas — stand it up, hook/tie a rope around the top, and stake it down. Repeat with the pole on the other side of the ridge pole. (We do this as a team — it’s much easier with two people.)

6. Insert the two front poles, attach the rope, and stake them down.

7. If you made finials, just put them over the top of your bolts in your poles (they stay on by gravity).

8. If you attached privacy wings, either tie the sides to the poles or stake the edges down through the grommets you added to each corner.

We use this sunshade at day-trip events — it sets up in about 10-15 minutes, and comes down in less time.

Here are some photos of the dayshade at events:

dayshade-red-dragon2 dayshade-red-dragon dayshadefront dayshadeback

We still plan to attach the wings, but as we have not yet, be aware that our pattern may not be perfect — we haven’t yet tested the wings. Looking at the angle of the dayshade when it is set up, it looks a bit more angled than we allowed for in our pattern. Yet that angle in the pattern should be correct, based on our calculations of the length of the top and back. So keep this in mind and your mileage may vary!

We have plans to pain the back of our dayshade since it provides such a nice big, blank canvas — we’re thinking something like this:

paint-idea

This is the heraldic shield on the back of Gregor’s cart and it incorporates the personal heraldry of our family, plus the German double-headed eagle. We shall see if we manage to do that!

If you have questions about the dayshade, please post here and we’ll do our best to help!