Norse Apron Dress (Smokkr): Instructions and Pattern (Easy, Fun, and Comfortable!)
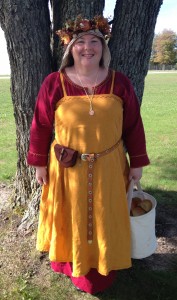
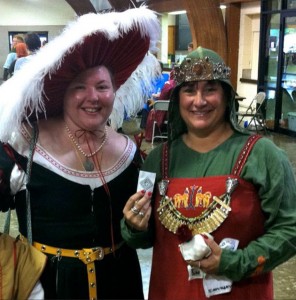
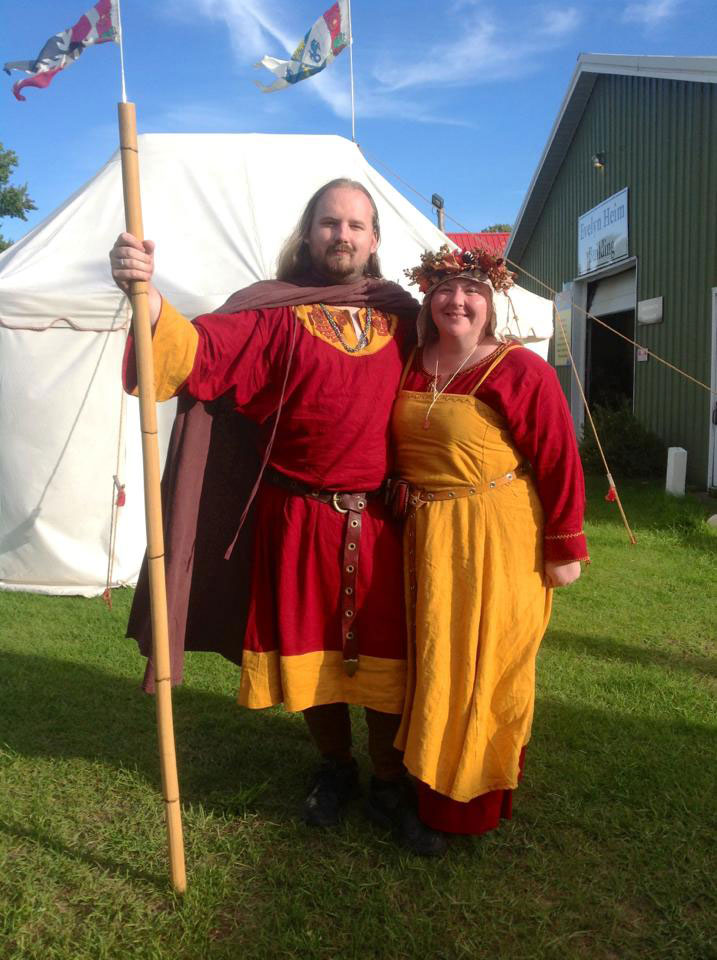
When I was new to the SCA, the sitting queen of the Middle Kingdom was the lovely and wise Runa. Today she is a Duchess, but she will always be my first Queen. She is kind, very talented with the needle, and quintessentially Norse. When I think of Norse and Viking, I think of Runa. She has the most beautiful Norse apron dresses. So when I embarked on my Artisan Quest, I decided to make a version of Duchess Runa’s Apron Dress for myself! She graciously consented to share her pattern, and gave me permission to share it with you here.
Apron Dress Materials:
Linen or wool, approximately 3 yards (this depends on your measurements, see pattern below)
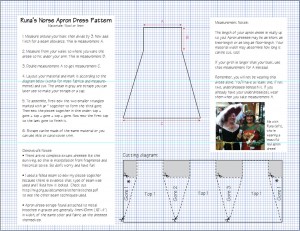
Apron Dress Pattern:
I’ve put Runa’s pattern into a handy PDF file, along with some of my notes. You can either download the full PDF, or simply click the image below for a closer view.
Apron Dress Instructions:
1. Measure around your bust then divide by 3. Now add 1 inch for a seam allowance. This is measurement A.
2. Measure from your waist to where you want the dress to hit under your arm. This is measurement B.
3. Double measurement A to get measurement C.
4. Layout your material and mark it according to the diagram below (works for most fabrics and measurements) and cut. The areas in gray are scraps you can later use to make your straps or a cap.
5. To assemble, first sew the two smaller triangles marked with an * together to form the third gore. Then sew the pieces together in this order: top + gore + top + gore + top + gore. Now sew the first top to the last gore to finish it.
6. Straps can be made of the same material or you can use inkle or card woven trim.
Measurement Notes:
- The length of your apron dress is really up to you! Apron dresses may be as short as knee-length or as long as floor-length. Your material width may determine how long it can be cut, too!
- If your girth is larger than your bust, use that measurement for A instead.
- Remember, you will not be wearing this dress alone. You’ll have at least one, if not two, underdresses beneath it. If you already have your underdress(es), wear them when you take measurement A.
My Notes:
- There are no complete extant dresses like this surviving, so this is interpolation from fragments and historical texts. So don’t worry and have fun!
- I used a felled seam to sew my pieces together because there is evidence that type of seam was used and I liked how it looked. Check out http://nvg.org.au/documents/other/stitches.pdf to see the other seam techniques used.
- Apron dress straps found attached to metal brooches in graves are generally 4mm-10mm (.16″-.4″) in width, of the same color and fabric as the dresses themselves.
The apron dress only took one day to cut and sew (and not even a full day at that)! It was easy and very comfortable to wear.
Once your apron dress is complete, you can embellish it with seam treatments, appliques, and/or jewelry. Those are topics for another blog post, though!
Many, many thanks to Duchess Runa for being such a wonderful inspiration!

