Tutorial: Simple Canvas Dayshade for Events (with or without wings)
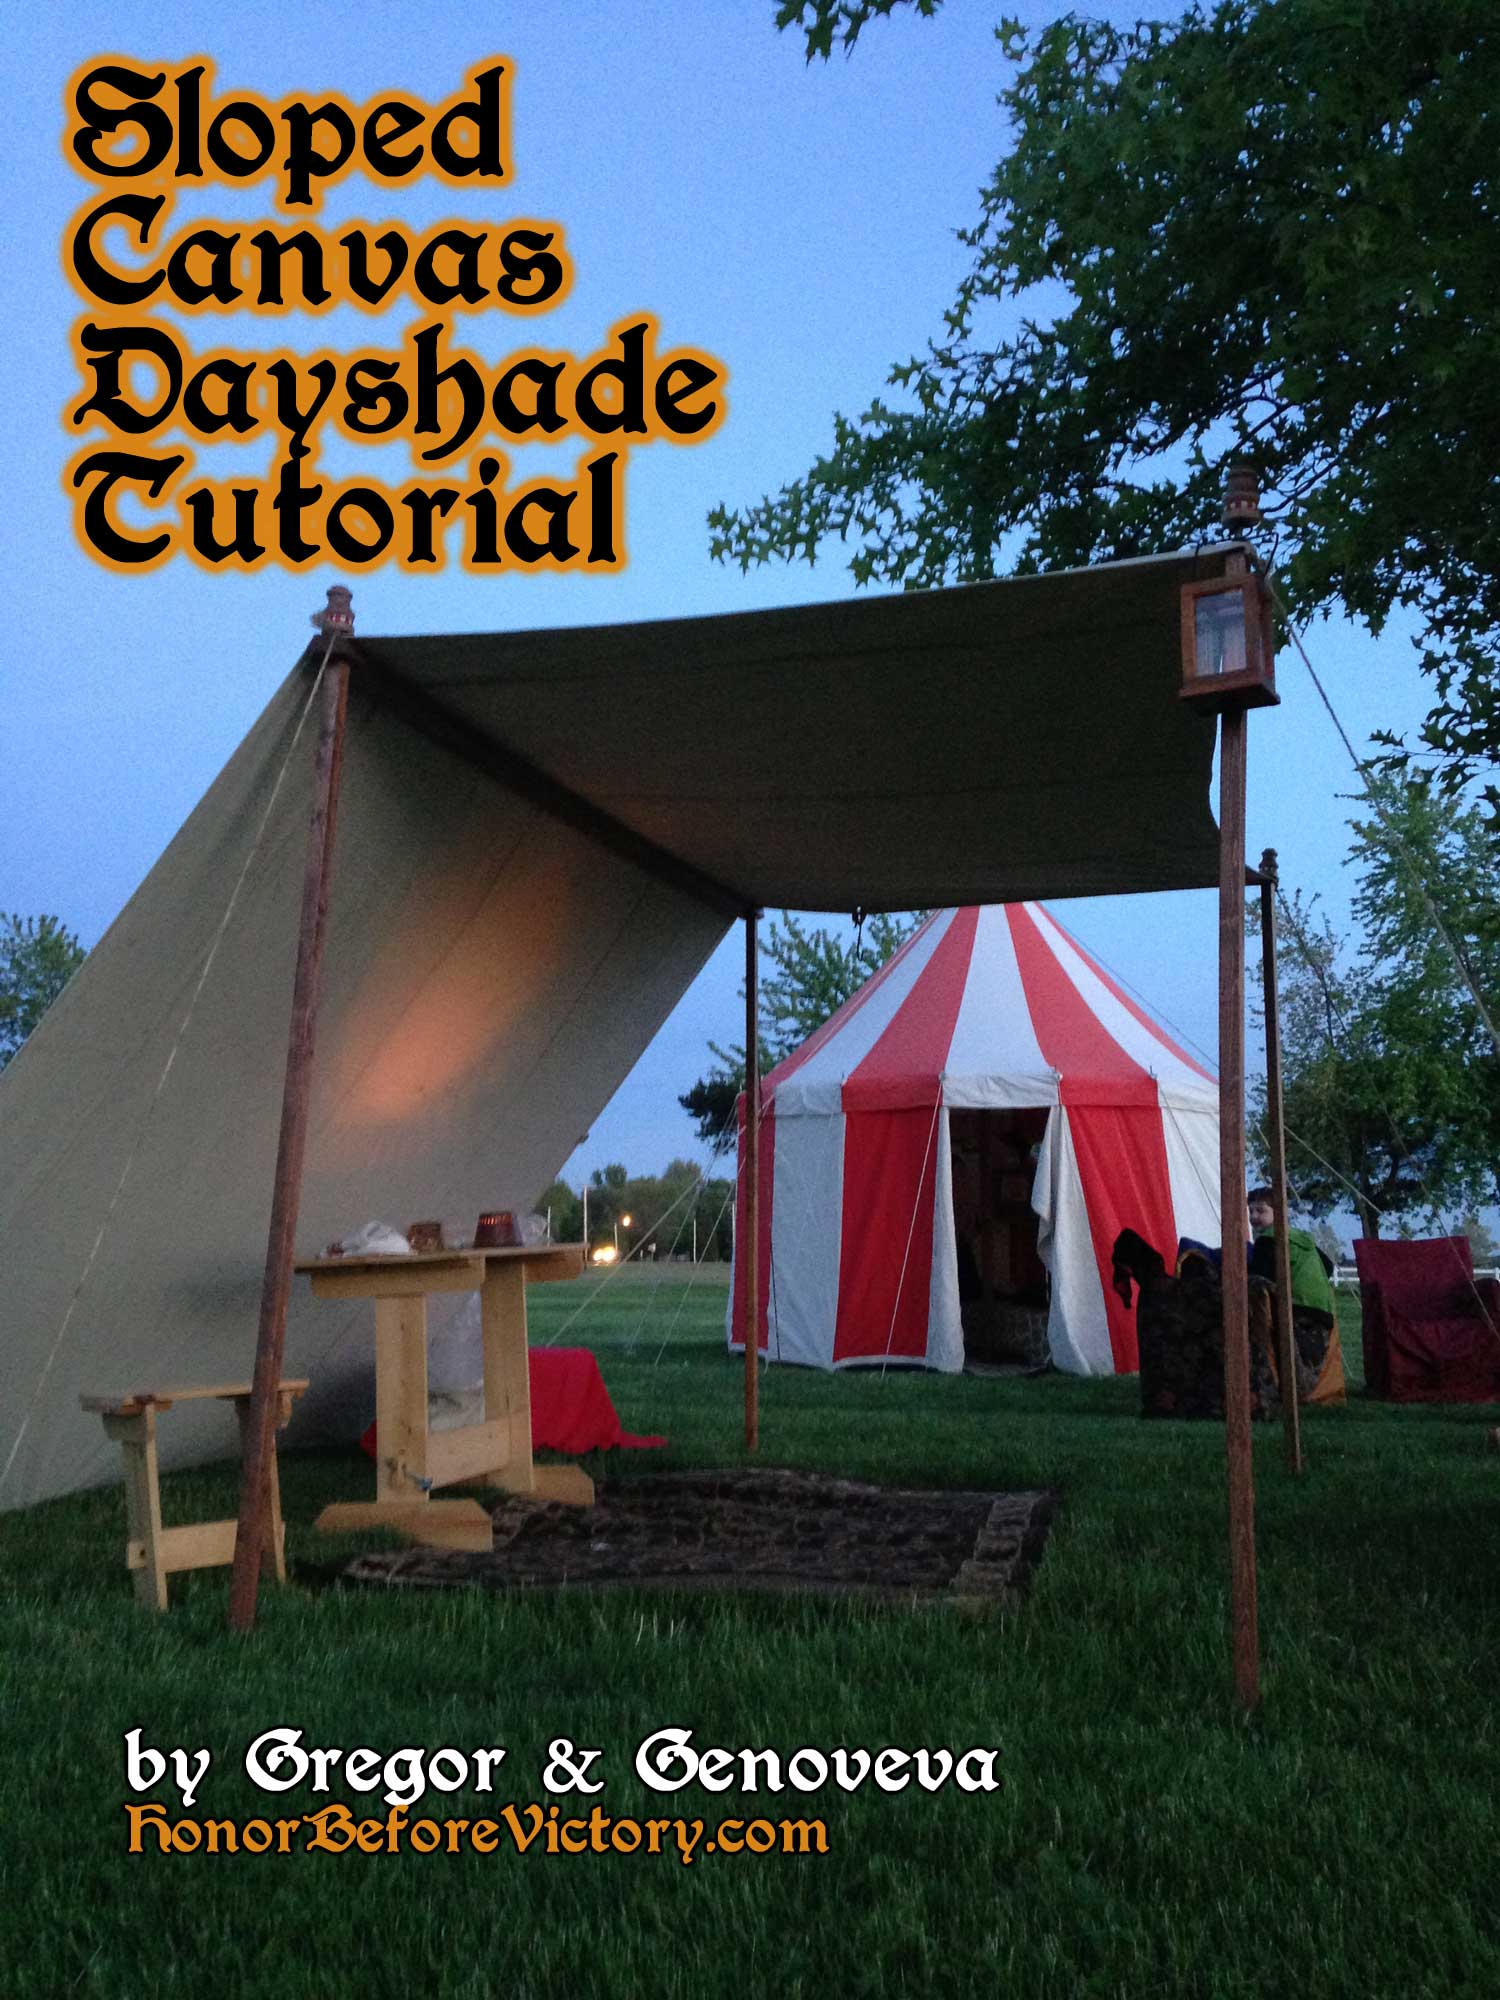 Here’s how to make a simple canvas sunshade that is pretty easy to set up and take down. The benefit of this particular sunshade is that it has a sloped back wall, providing protection against sun, wind, and rain. It even gives you a bit of privacy, useful for when you just want to shut out the sight that modern road behind you. You can add on optional wings for more privacy, and if you do, you can drop the front and effectively close up the space.
Dayshade Materials:
Here’s what you need to make this sunshade
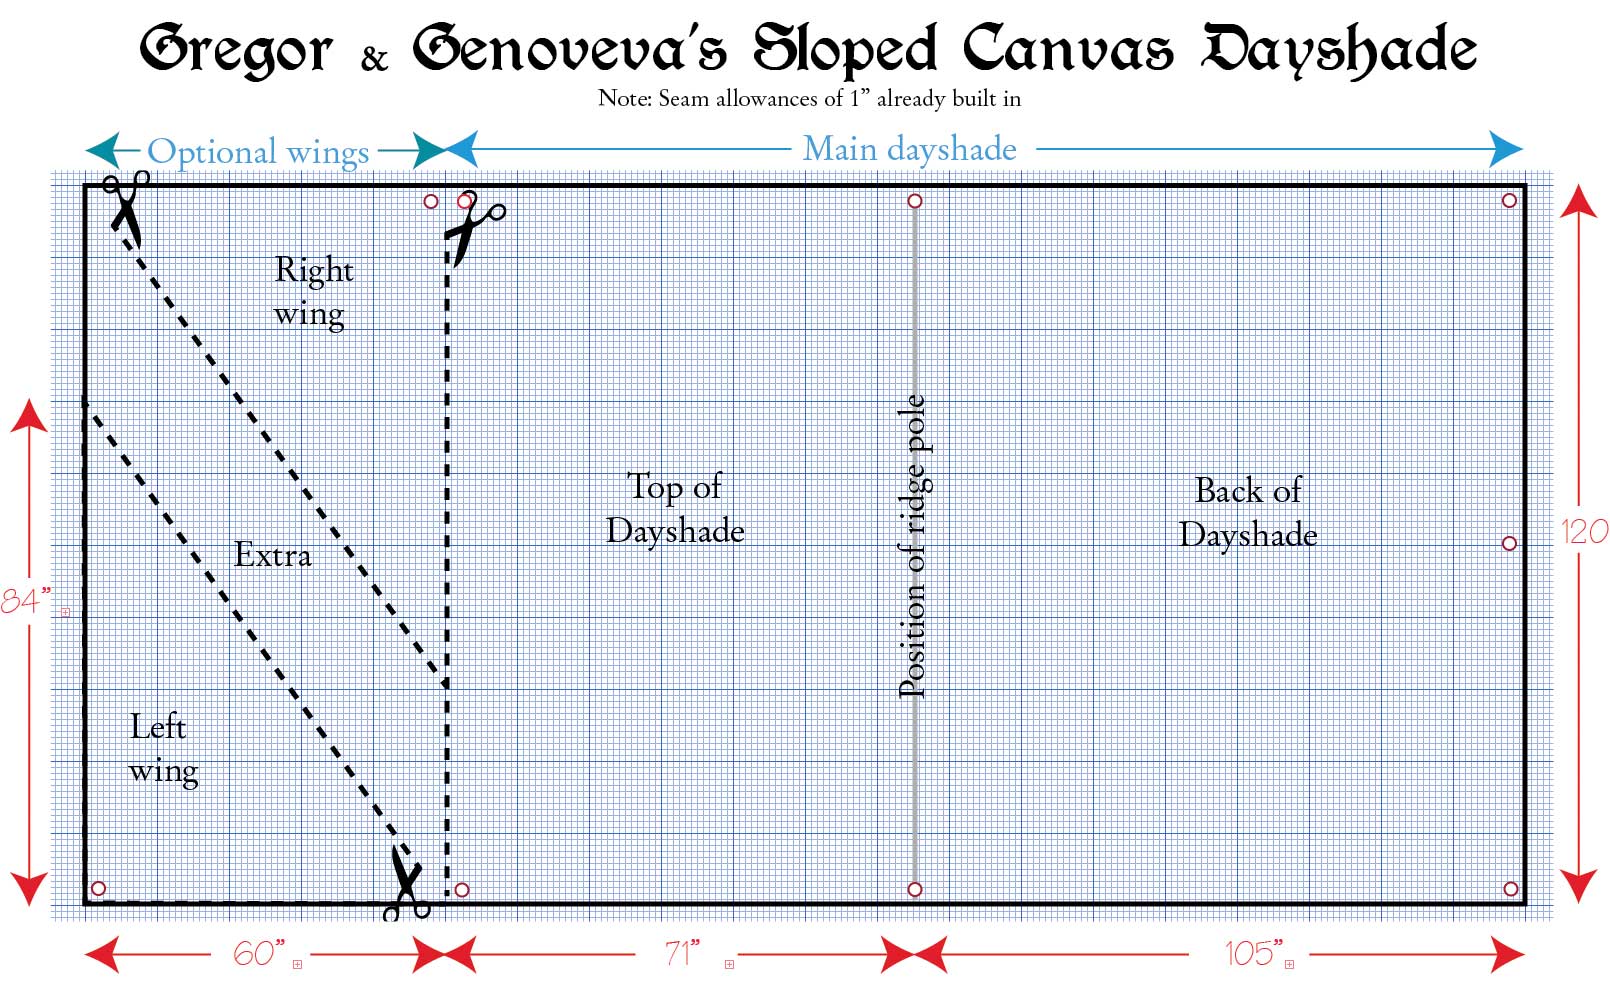
- Enough canvas to make a rectangle that is 120″ wide by 172″ long — you will need to piece lengths of canvas (use my tutorial on a felled seam to attach the lengths together) *
- (Optional) Extra 60″ x 120″ of canvas for the privacy wings
- Seven strong metal rings about 1″ in diameter (nine if you do the wings) — for reinforcing your hand-sewn grommets
- Heavy cotton or linen thread and a long, strong needle — for sewing your hand-sewn grommets
- One 2″ x 4″ x 132″ long wood ridge pole
- Four 3″ x 3″ x 81″ long wood poles
- Four 4″ long threaded bolts (to go into the end of your poles)
- Seven 12″ long heavy-duty “nails” to use as tent stakes
- Four 1/2″ cotton ropes
- (Optional) Finials for the tops of the poles and paint for the poles/canvas (or just stain for the poles)
* Note on the canvas: If you only need sun protection, not rain protection, any outdoor-rated canvas will do. If you want your dayshade to keep the water off your head and belongings, however, you’ll need a heavy duty, water repellent 100% cotton canvas, such as 10 oz. Sunforger canvas. We do not recommend you use the canvas drop cloths from a hardware store unless you don’t mind getting wet!
Dayshade Pattern:
Here is the original plan of the various components of this sunshade (each set of gridelines represents one foot):
Dayshade Instructions:
1. Cut your canvas as show in the pattern above. You’ll likely need to join several pieces of canvas to get a 120″ width (use my tutorial on a felled seam to attach the lengths together).
2. Hem all four sides of the main dayshade. We folded over the edge twice — a simple rolled hem — and stitched it on our sewing machine. Note that not all sewing machines can handle really heavy-duty canvas, so test yours out first. I used my ’90s era Kenmore sewing machine and went slowly.
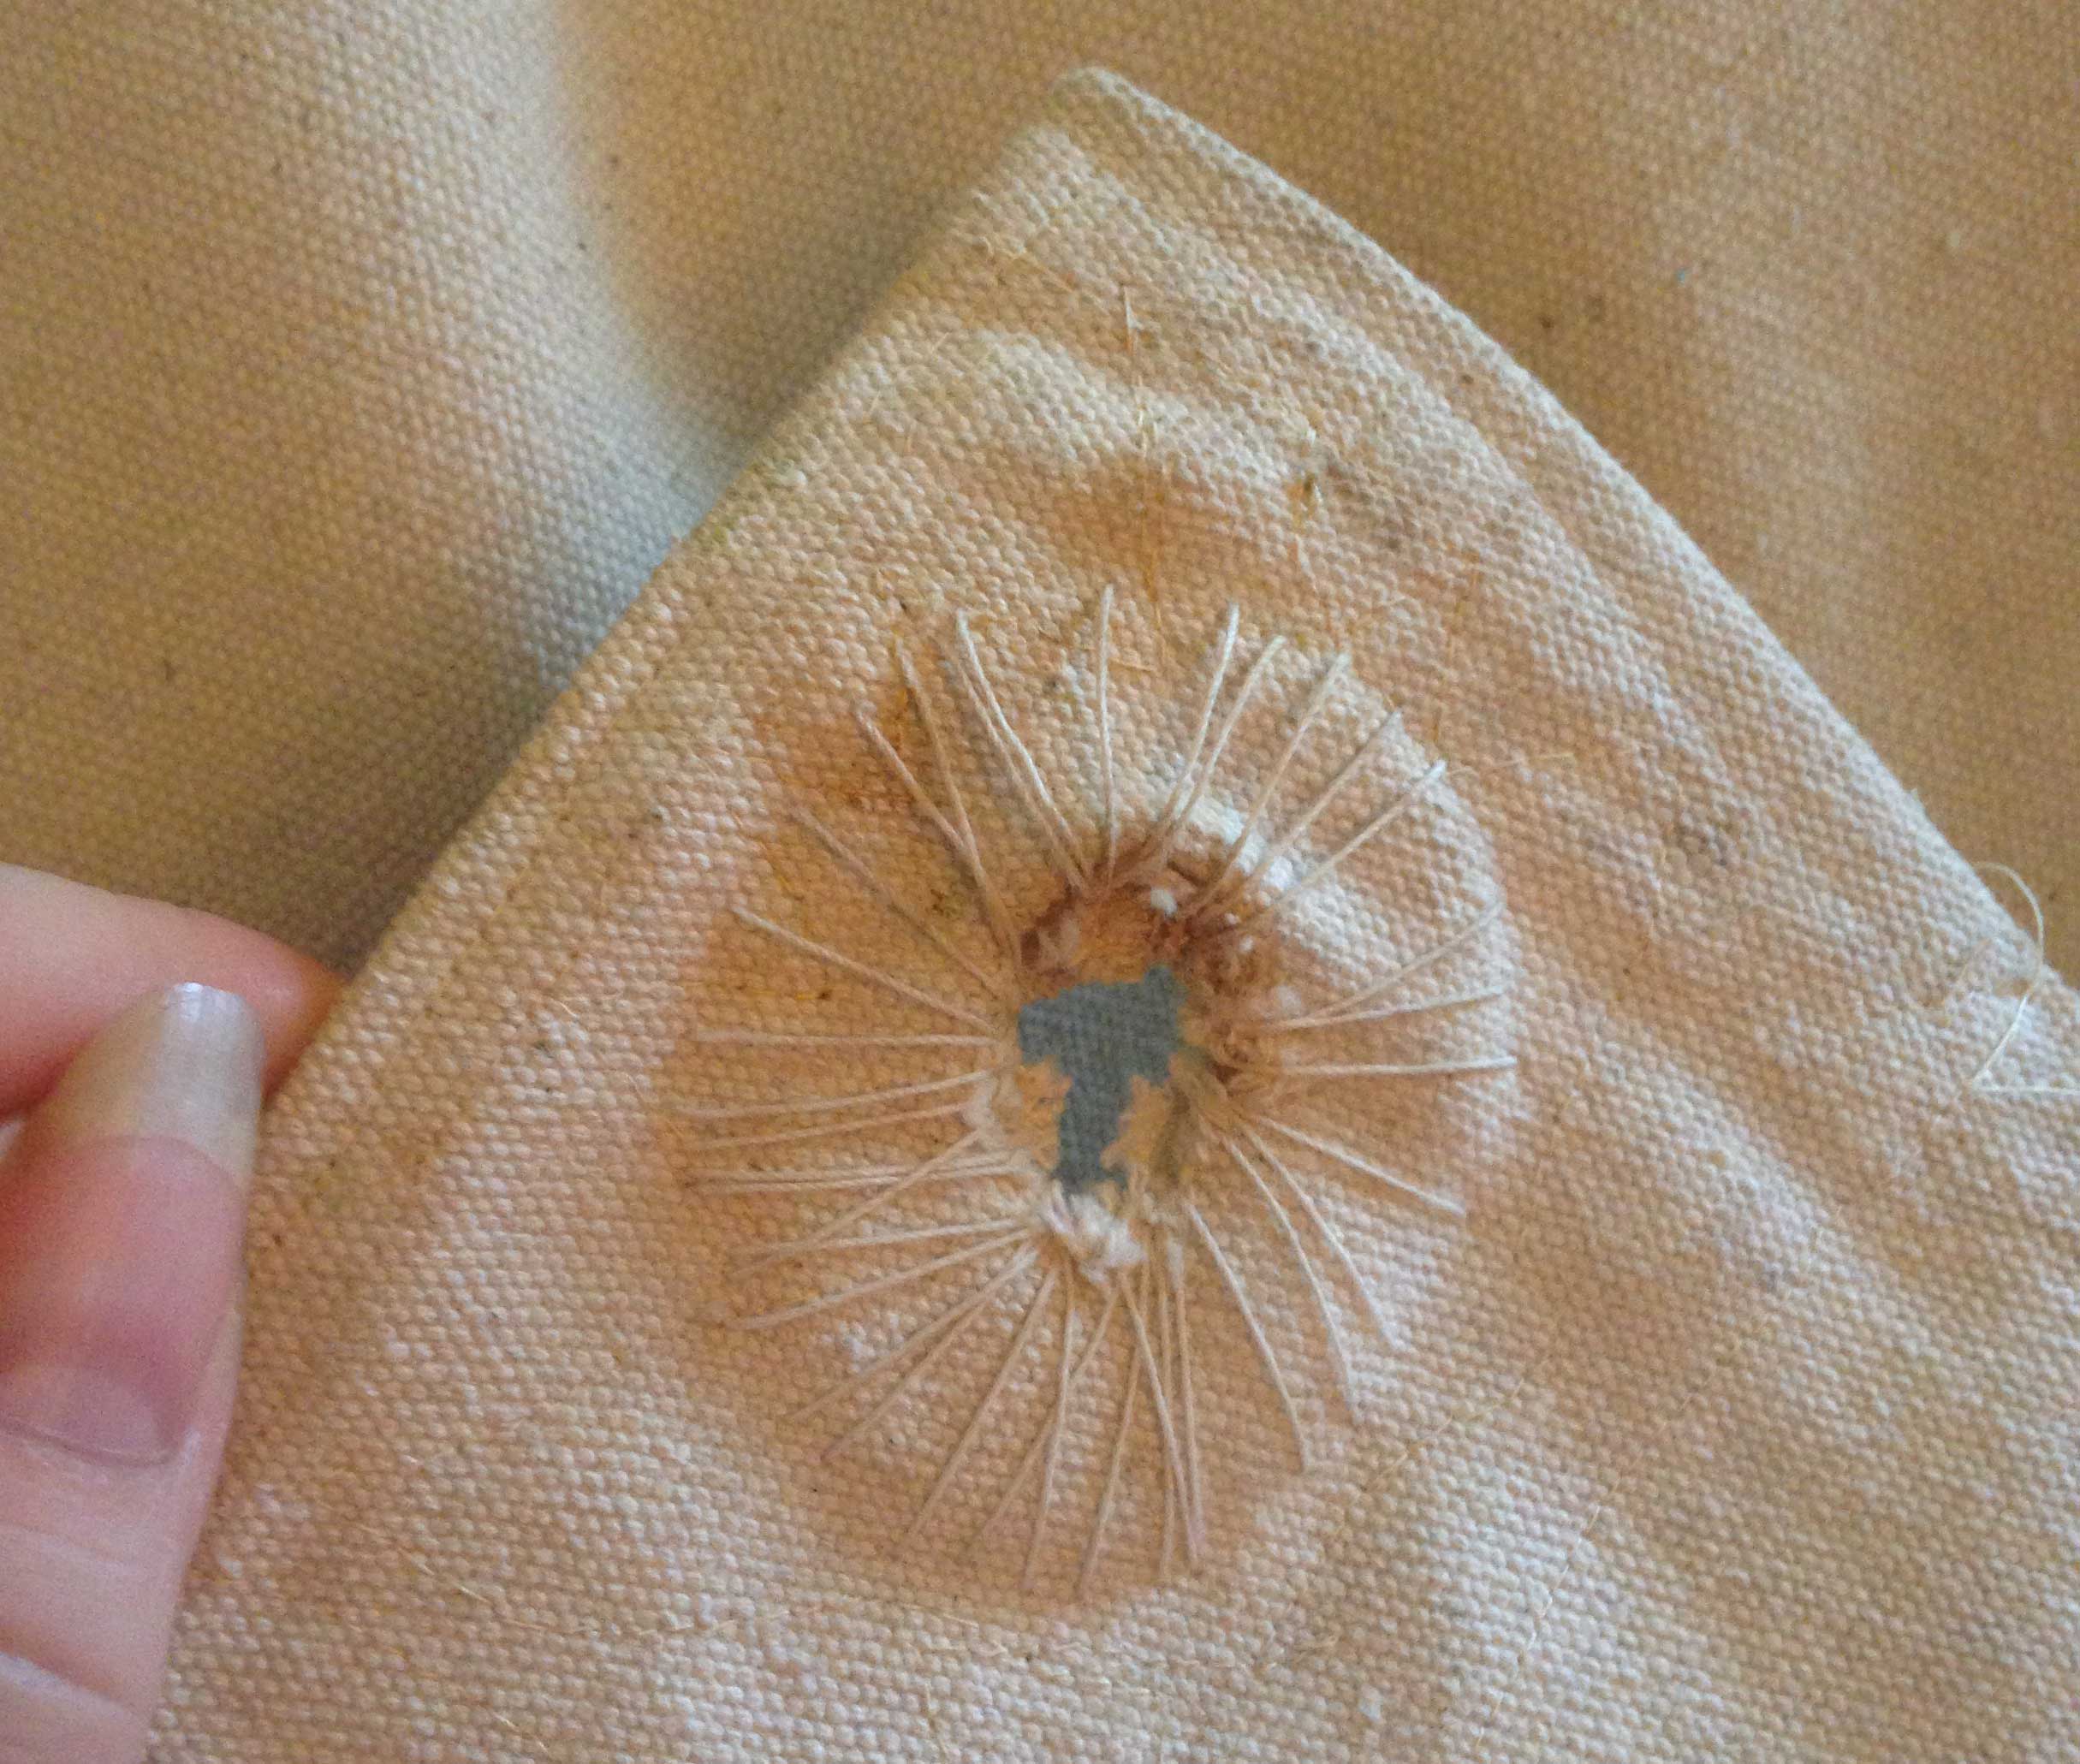
3. Add grommets in each of the four corners, plus an extra one centered on the back edge. We do not recommend the brass grommets you can buy at the craft store — they will likely rip out (been there, done that). Instead, take the time to hand-sew your grommets. Use these directions, and sandwich in the metal ring between the canvas for extra reinforcement. Here’s what our grommets look like after plenty of use. Not pretty, but works great.
4. Cut your four poles to 81″ long and screw in a bolt to each end, making sure about 2″ of the bolt is sticking up. Make sure the bolt is small enough to easily go into your grommets made in step 3.
5. Cut your ridge pole to size (132″ long) and drill 1/2″ diameter holes roughly 6″ in on either side. Make sure your holes are large enough to allow the bolts inserted in step 4 to pass through.
6. If you want the optional privacy wings (we have not added ours yet), attach the longest side to the sides of the back sides of the day shade (use a flat fell seam again) and add grommets to the outer corners so you can stake them down or tie them to your poles.
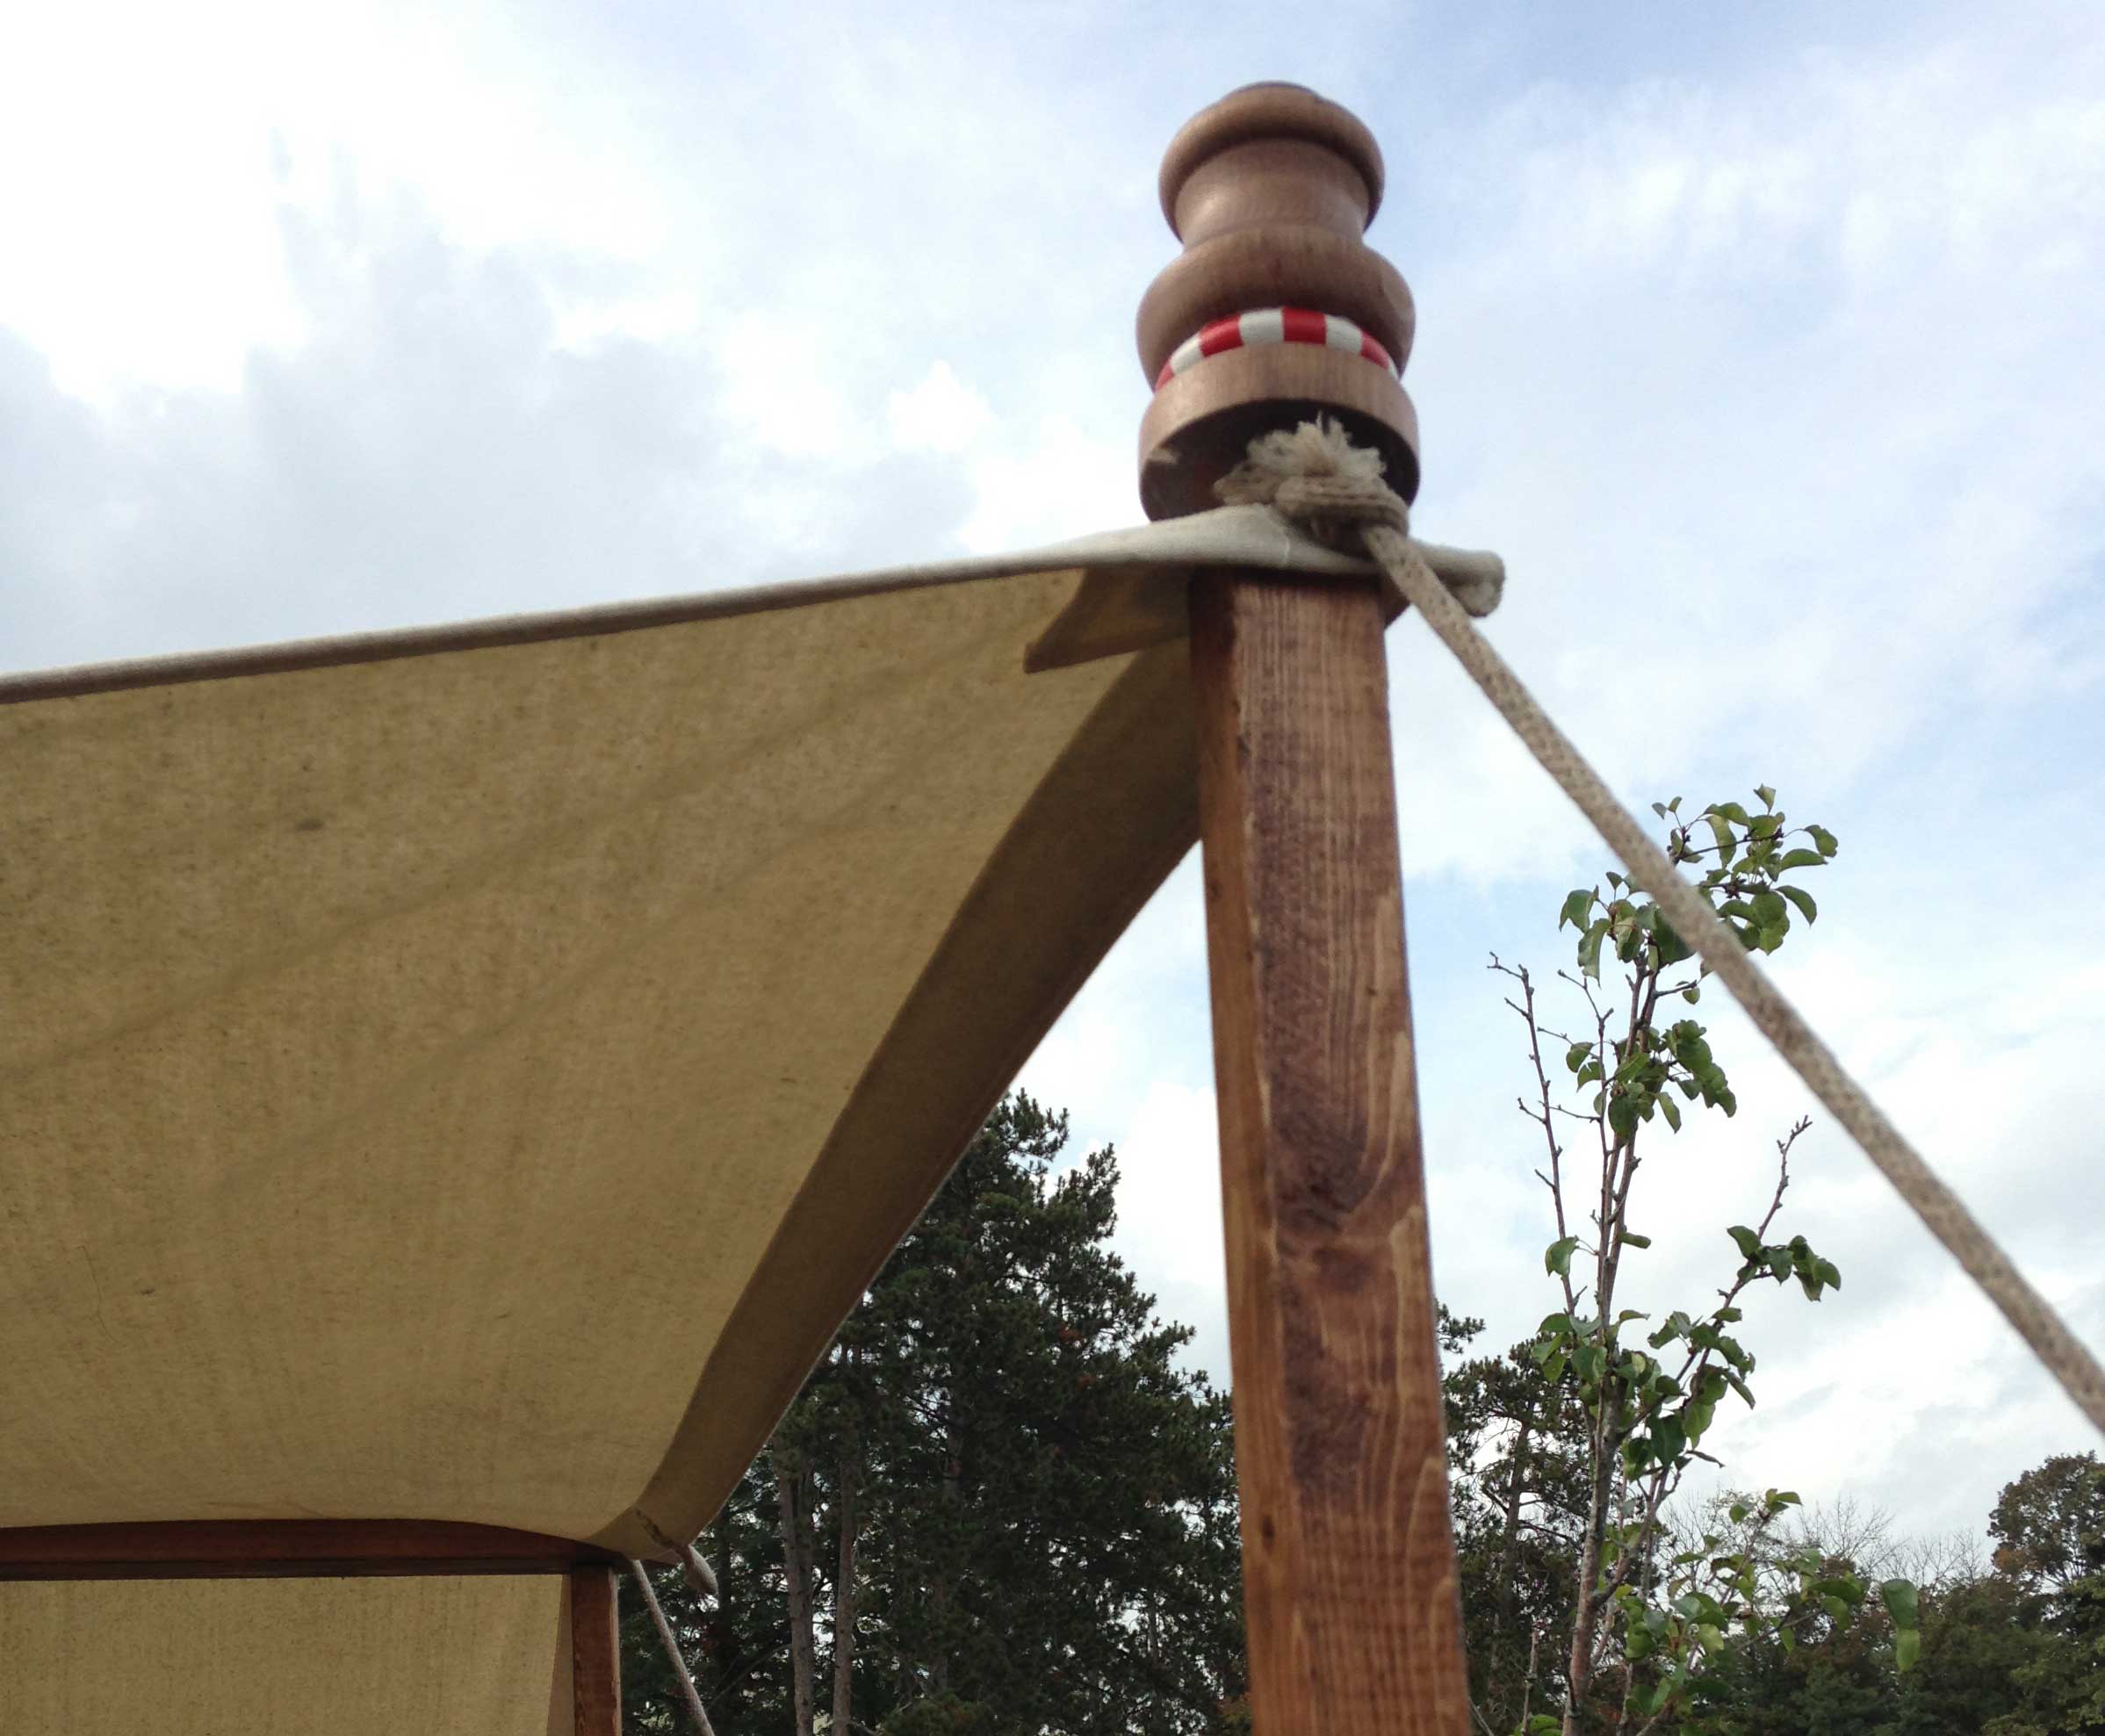
7. If you want finials, find something appropriate at your local hardware store (or make something), drill a hole in the bottom that fits the end of your bolt, and stain/paint to look the way you want. Here’s one of our finials:
That’s pretty much it!
Dayshade Setup:
1. Lay the dayshade on the ground, positioning the back edge where you want it to be.
2. Stake the back edge of the dayshade to the ground using the 12″ nails (or real iron tent stakes, if you have them).
3. Fold the front edge of the dayshade back, put the ridge pole on the ground in about the spot you want it, then fold the dayshade back over the ridge pole (it’s all still flat on the ground at this point).
4. Position the four poles on the ground around the corners of the dayshade.
5. Take a pole, insert it’s top bolt through the hole at the end of the ridge pole, then through the grommet in your canvas — stand it up, hook/tie a rope around the top, and stake it down. Repeat with the pole on the other side of the ridge pole. (We do this as a team — it’s much easier with two people.)
6. Insert the two front poles, attach the rope, and stake them down.
7. If you made finials, just put them over the top of your bolts in your poles (they stay on by gravity).
8. If you attached privacy wings, either tie the sides to the poles or stake the edges down through the grommets you added to each corner.
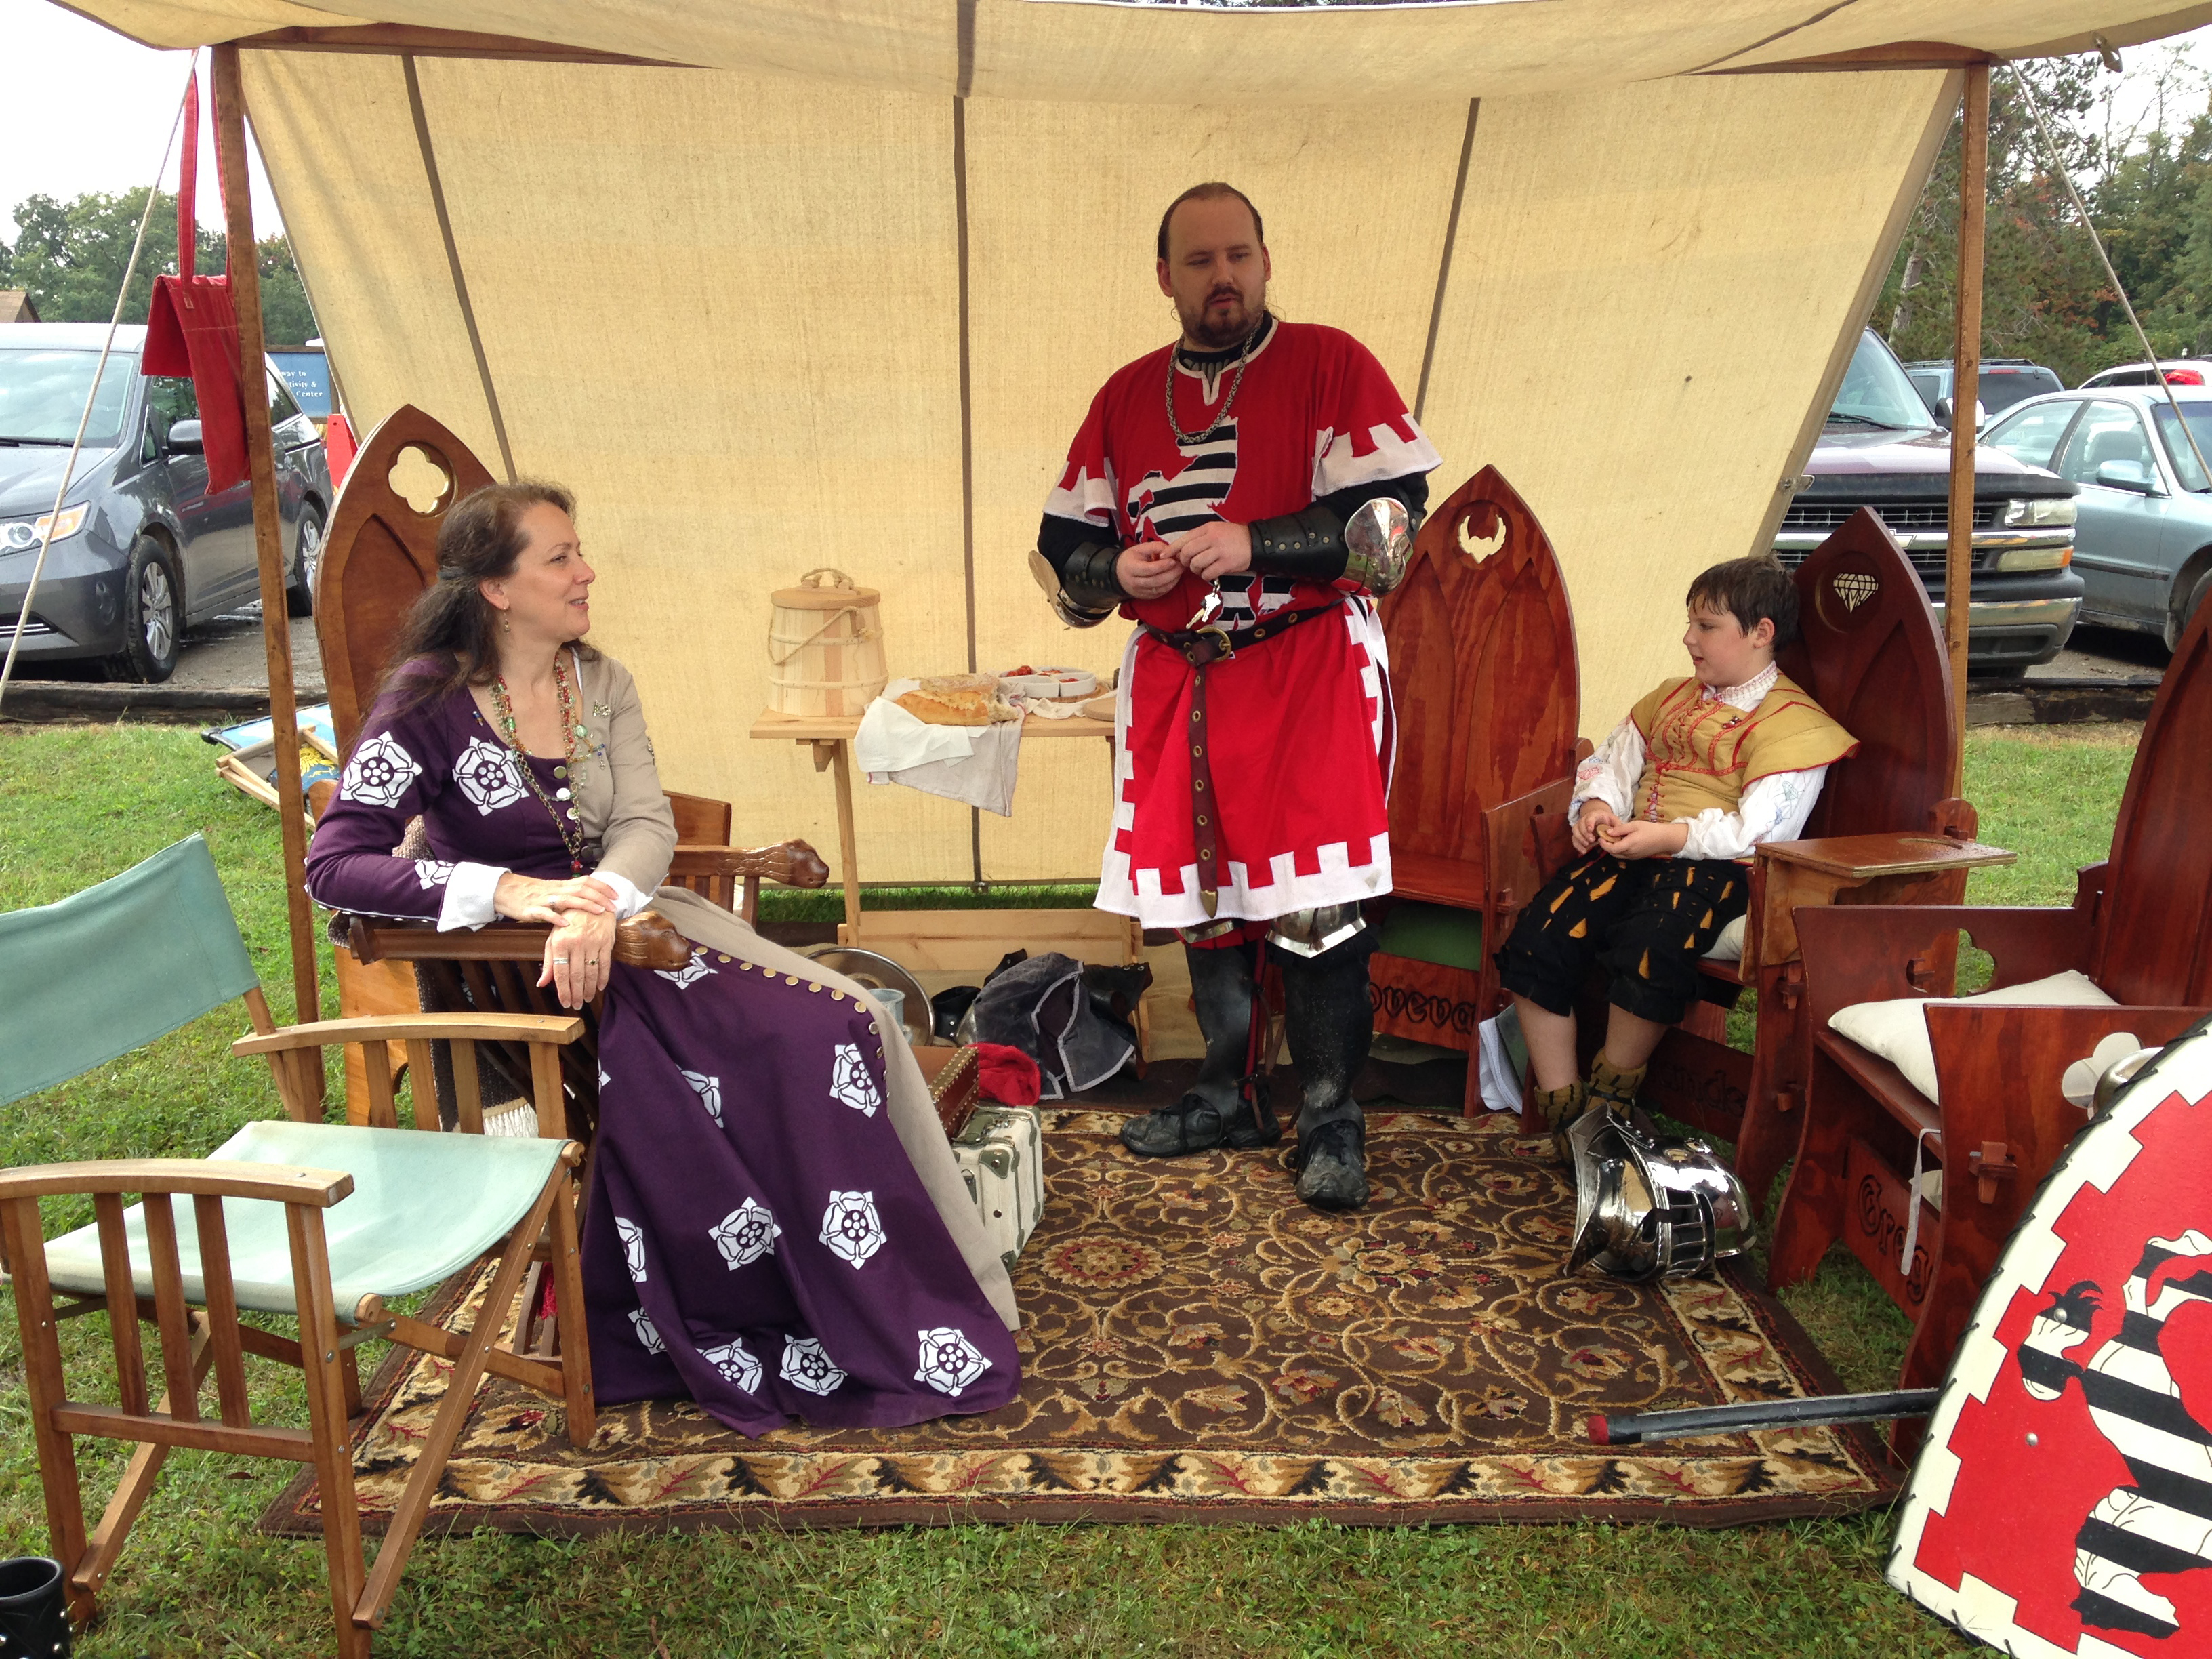
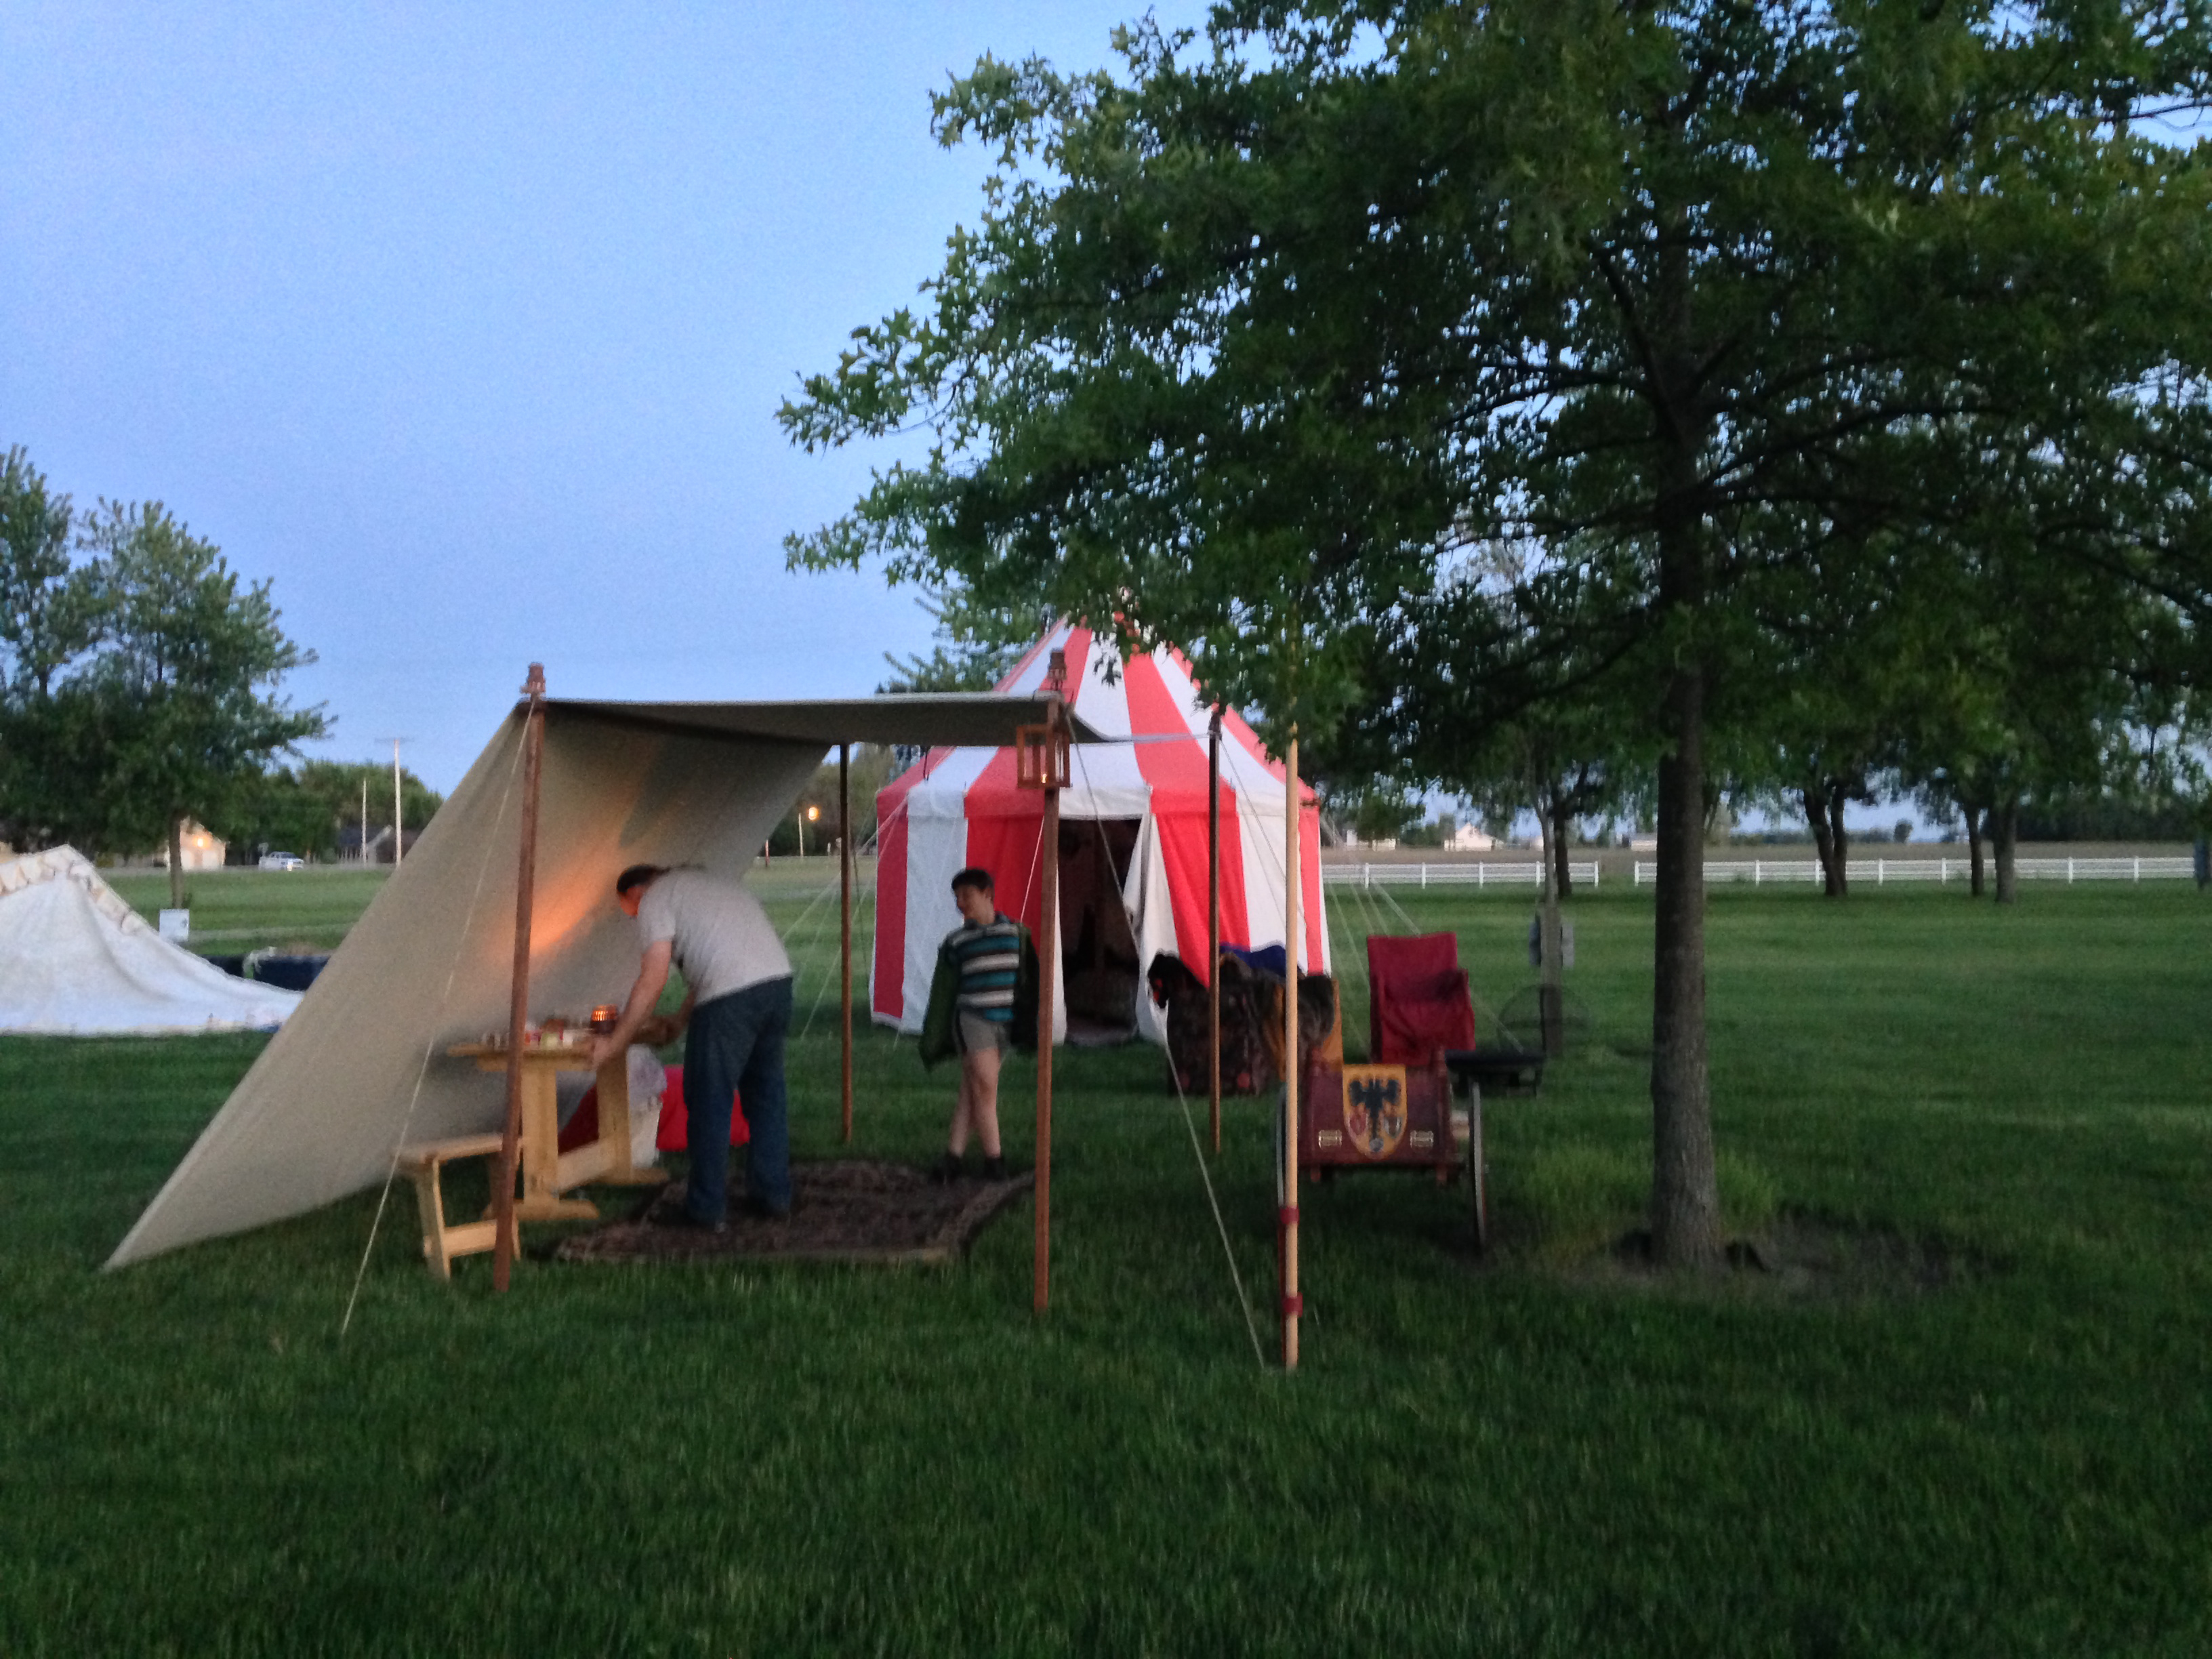
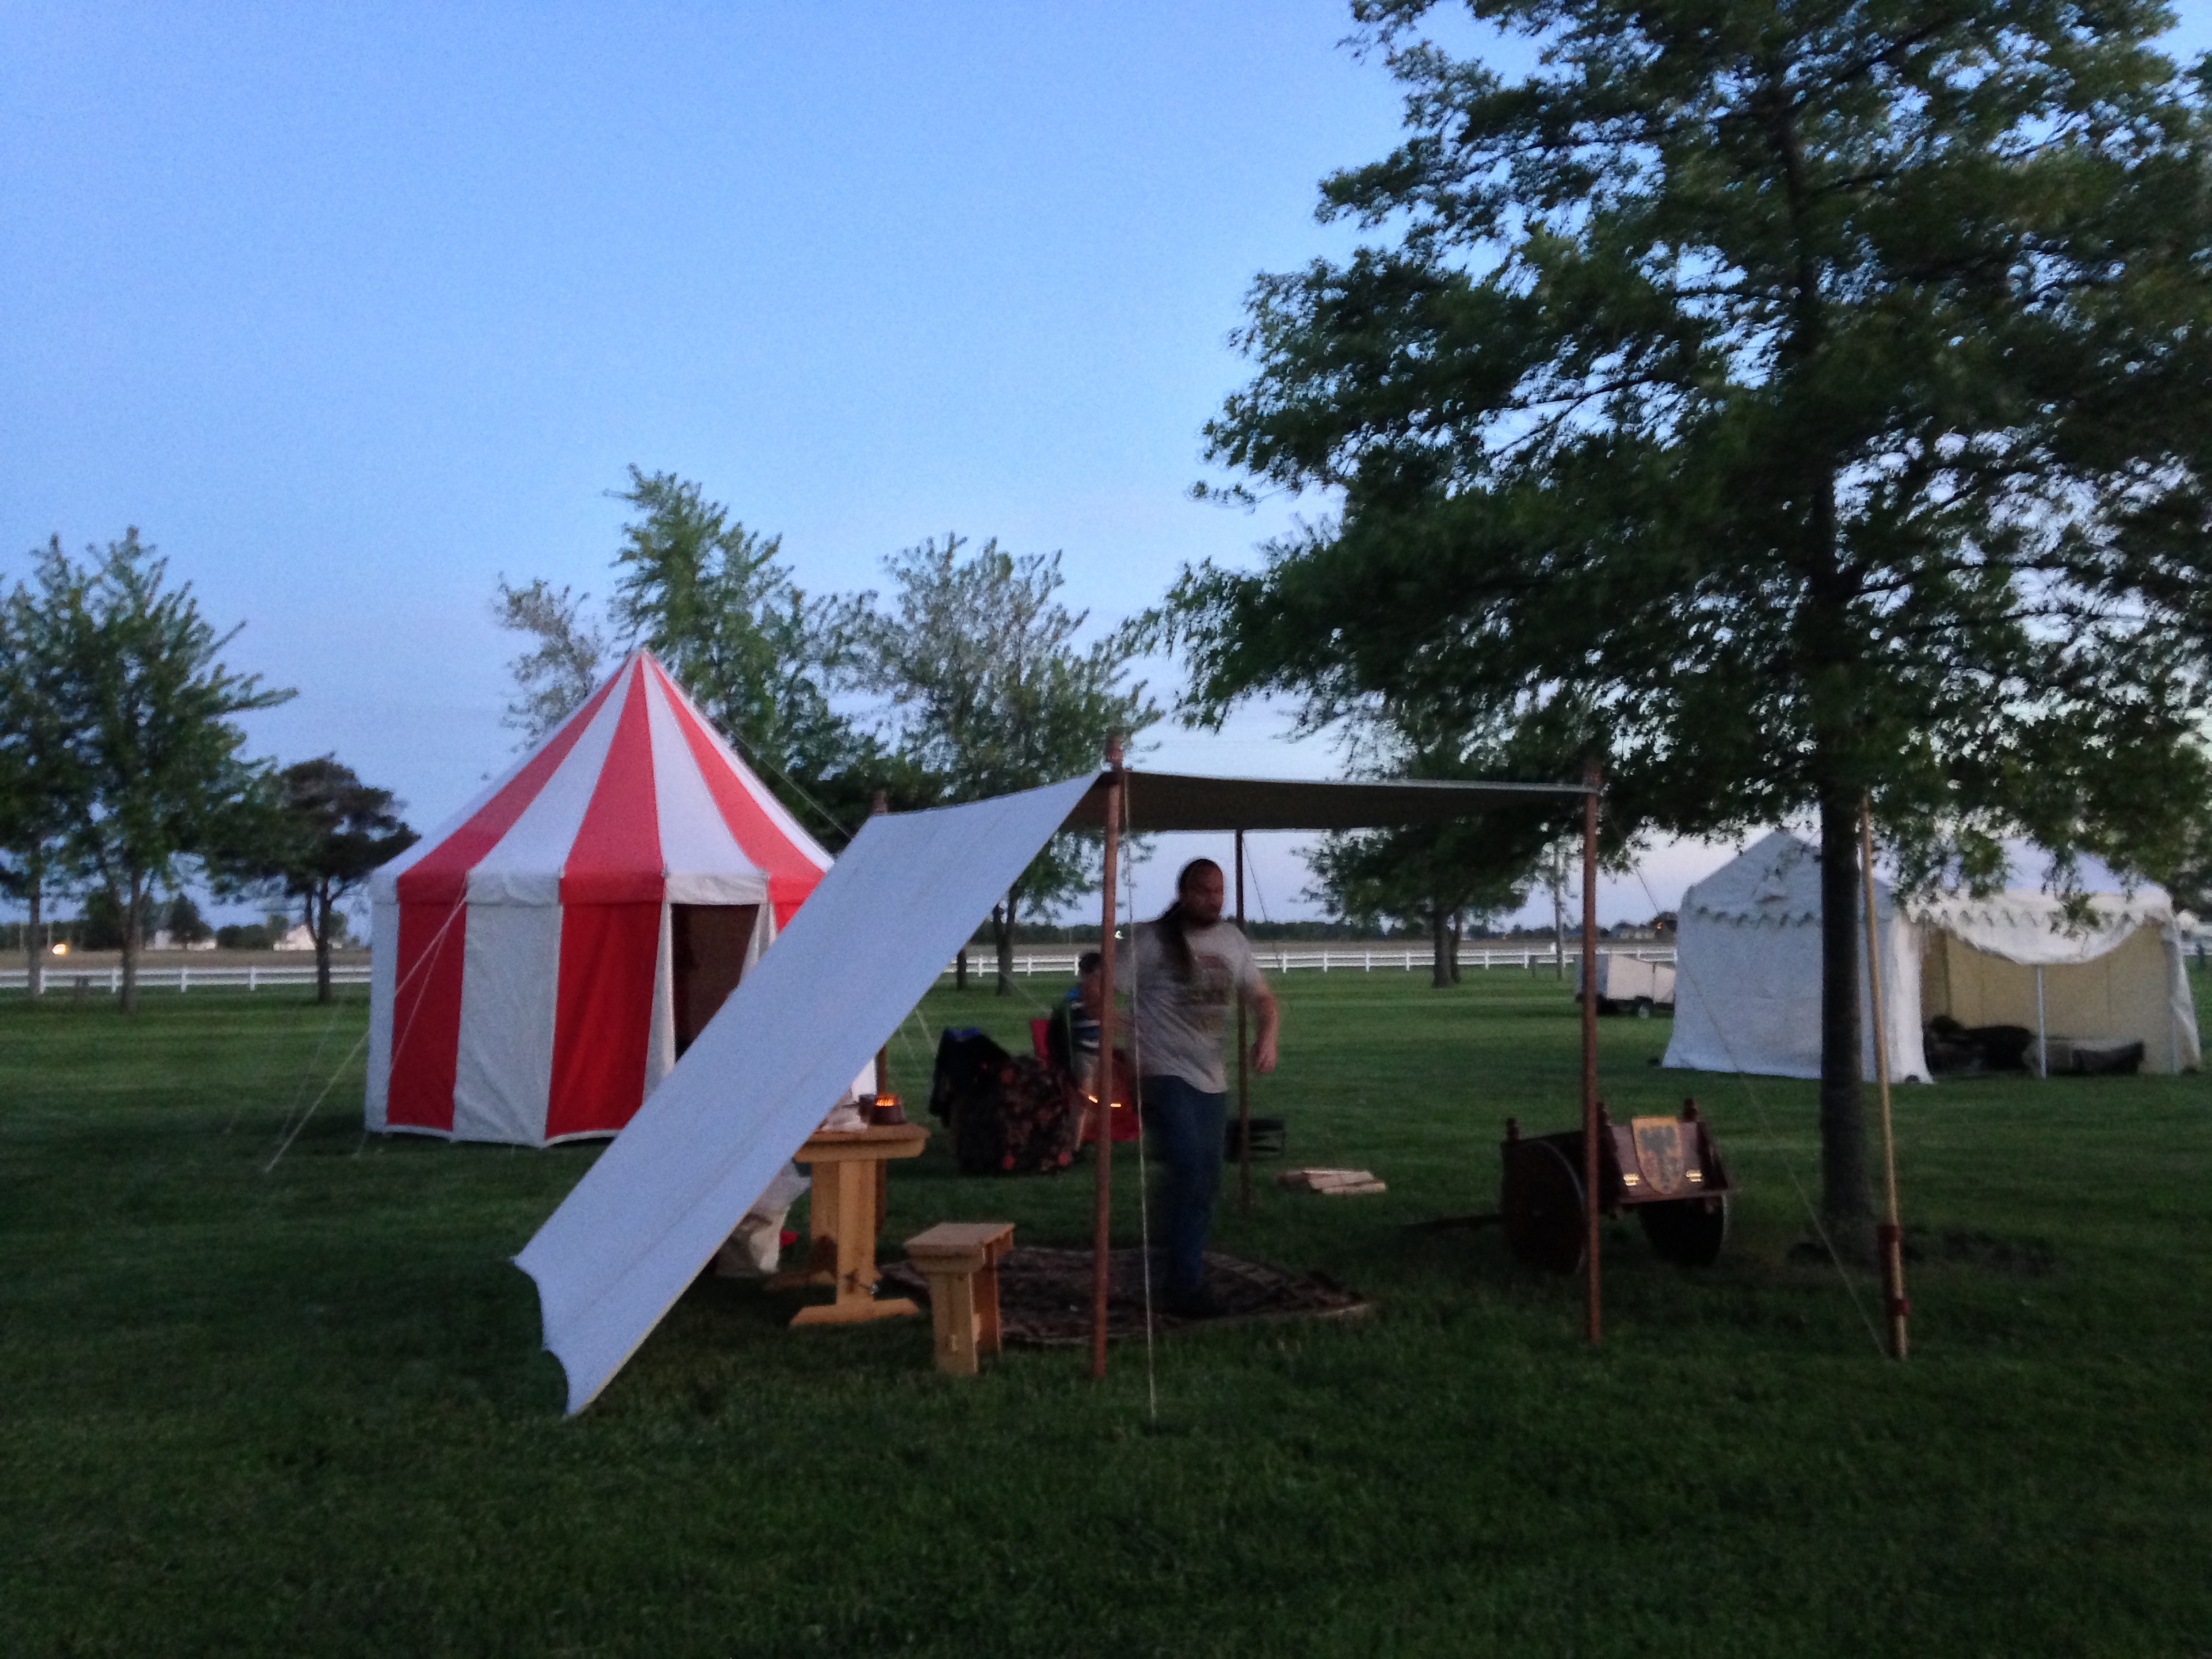
We use this sunshade at day-trip events — it sets up in about 10-15 minutes, and comes down in less time.
Here are some photos of the dayshade at events:
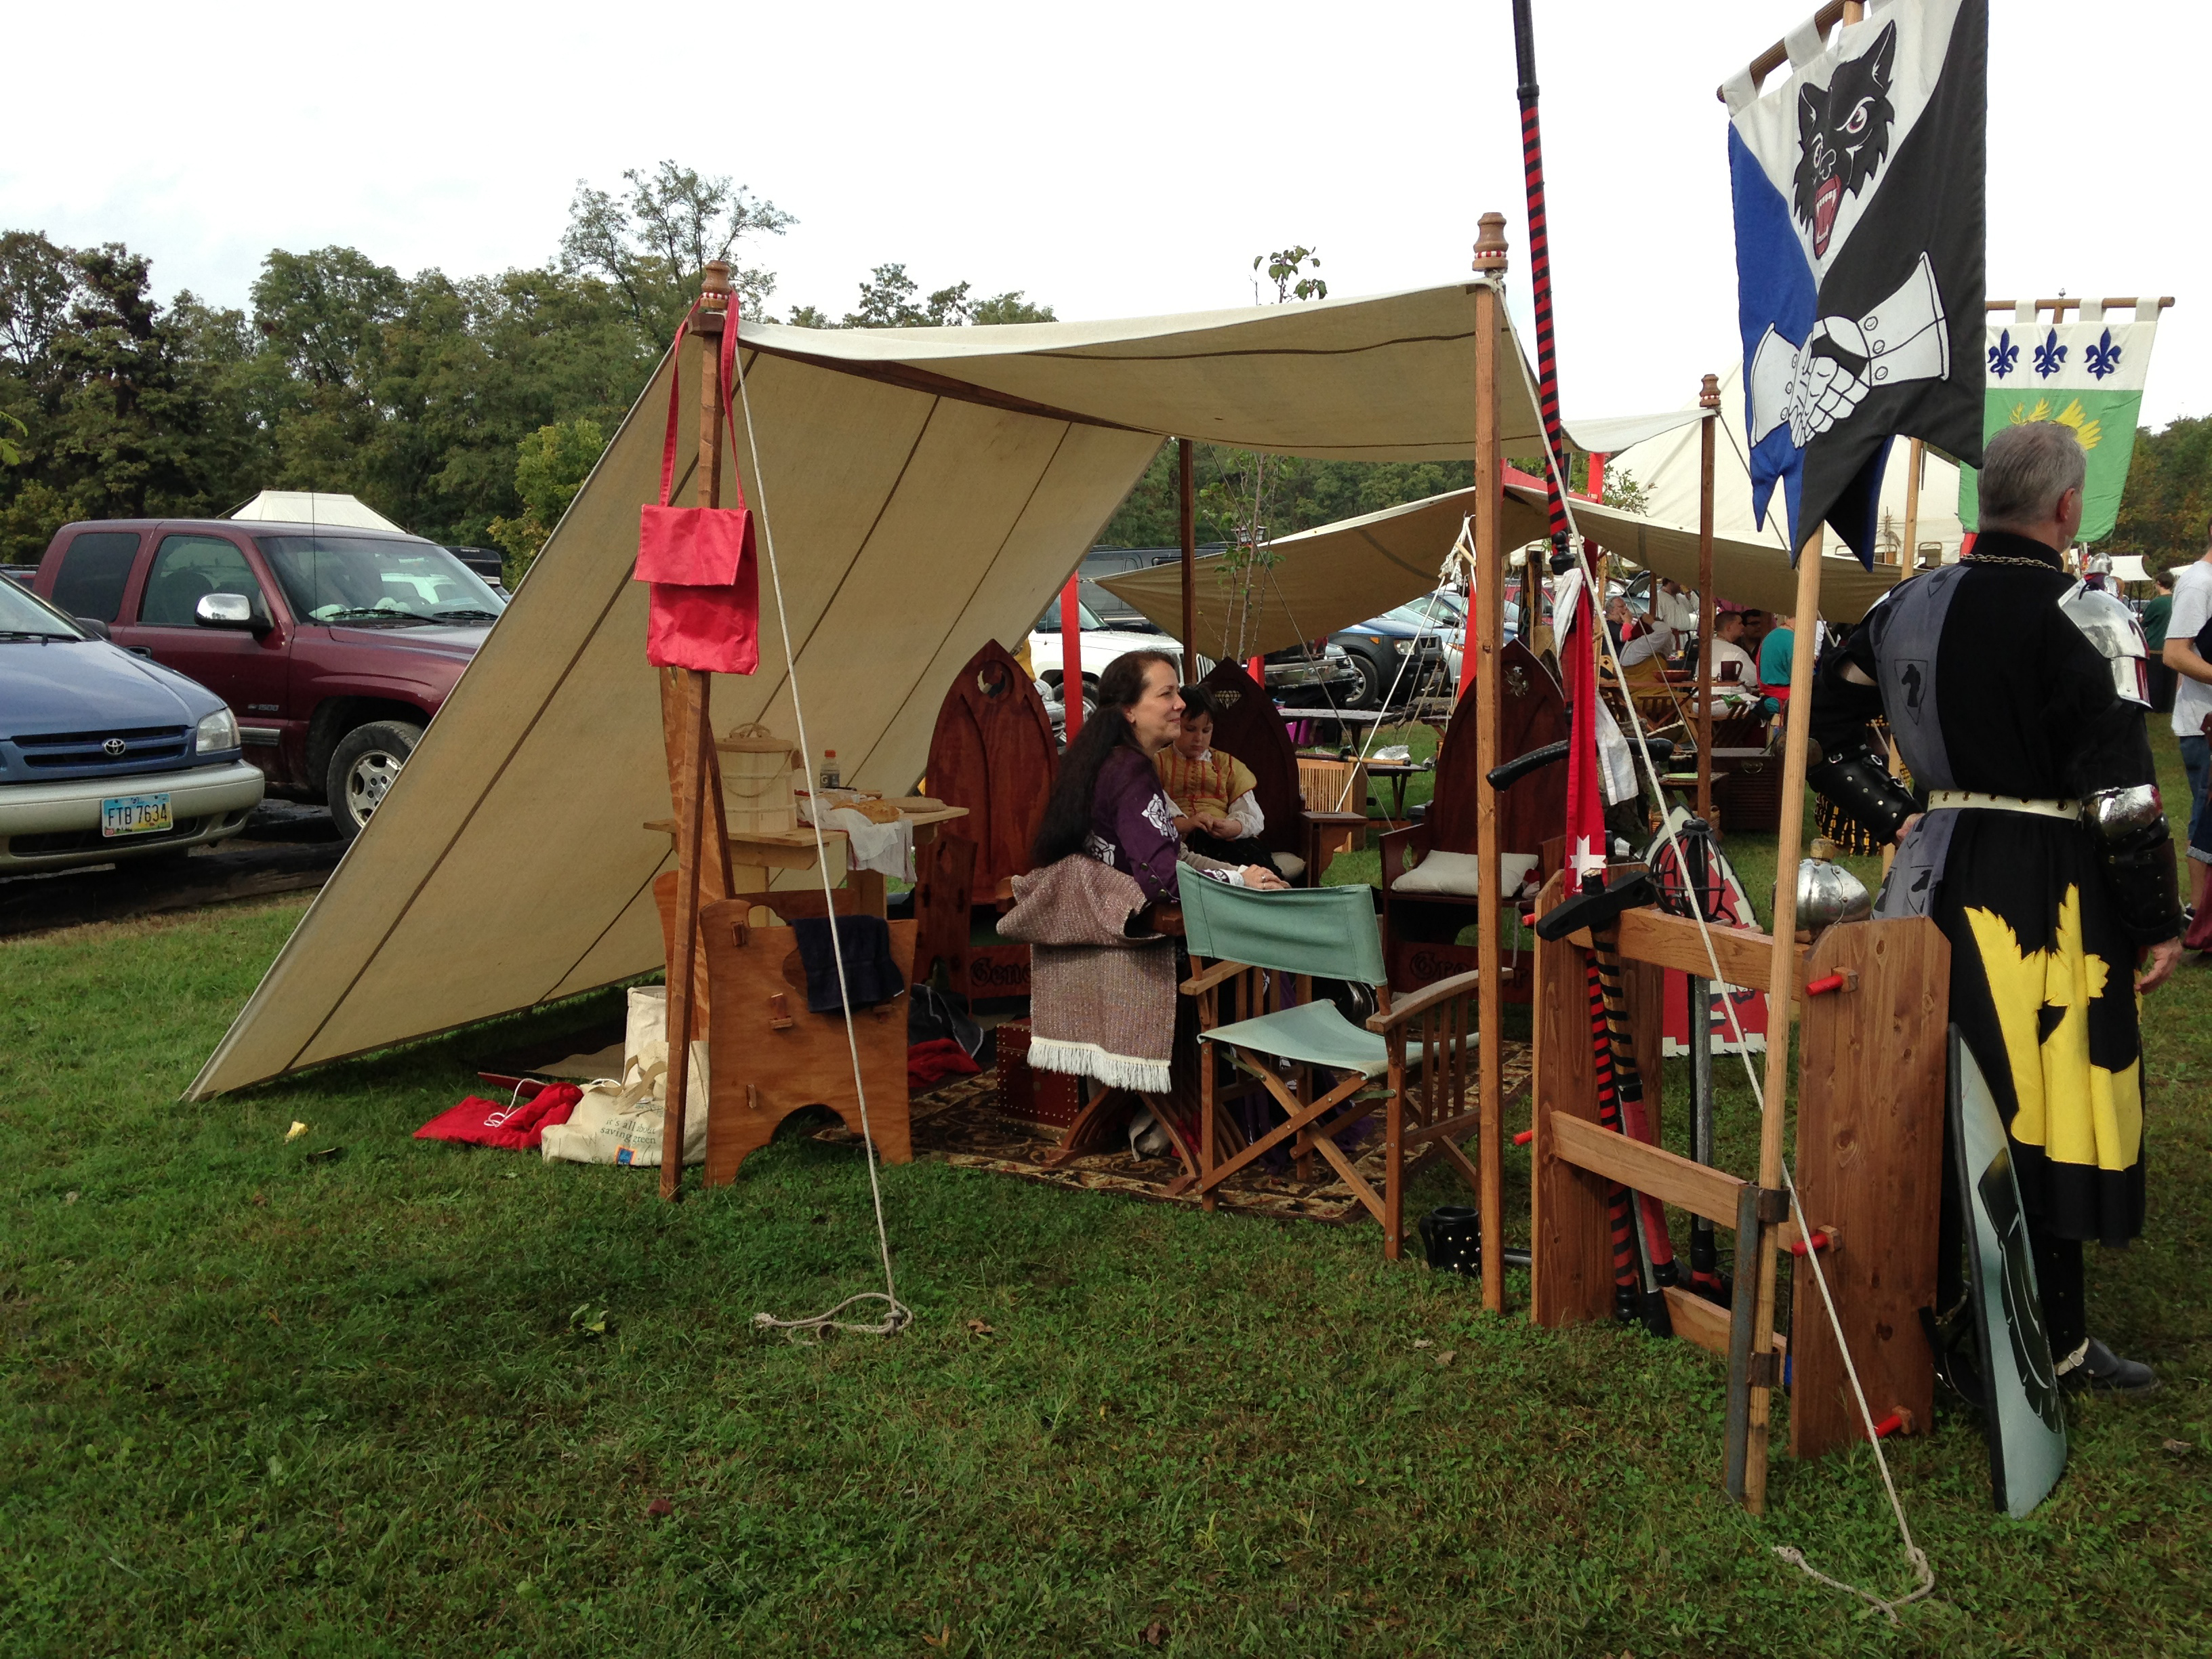
We still plan to attach the wings, but as we have not yet, be aware that our pattern may not be perfect — we haven’t yet tested the wings. Looking at the angle of the dayshade when it is set up, it looks a bit more angled than we allowed for in our pattern. Yet that angle in the pattern should be correct, based on our calculations of the length of the top and back. So keep this in mind and your mileage may vary!
We have plans to pain the back of our dayshade since it provides such a nice big, blank canvas — we’re thinking something like this:
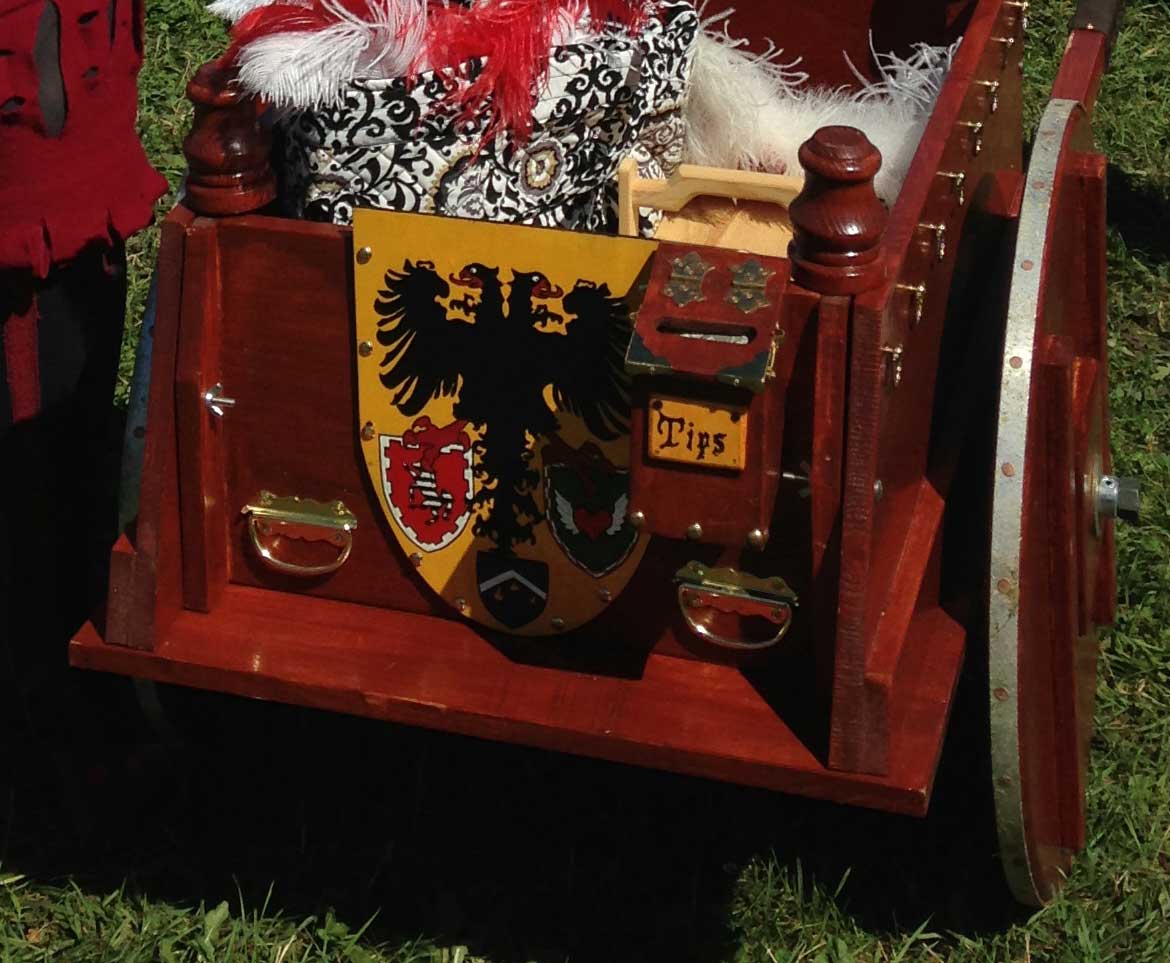
This is the heraldic shield on the back of Gregor’s cart and it incorporates the personal heraldry of our family, plus the German double-headed eagle. We shall see if we manage to do that!
If you have questions about the dayshade, please post here and we’ll do our best to help!